Record a Slide Show with Narration & Slide Timings in PowerPoint
Ever wondered how to record a slide show with narration and slide timings in Microsoft PowerPoint?. This blog post will explain exactly that.
What is the use of Record a Slide Show with narration and slide timings in PowerPoint?
PowerPoint records audio slide-by-slide rather than in one continuous file, allowing creators to easily re-record a slide if they make a mistake or need to change something later.
The following are the steps to record a slideshow with narration and slide timings in PowerPoint, and they are:
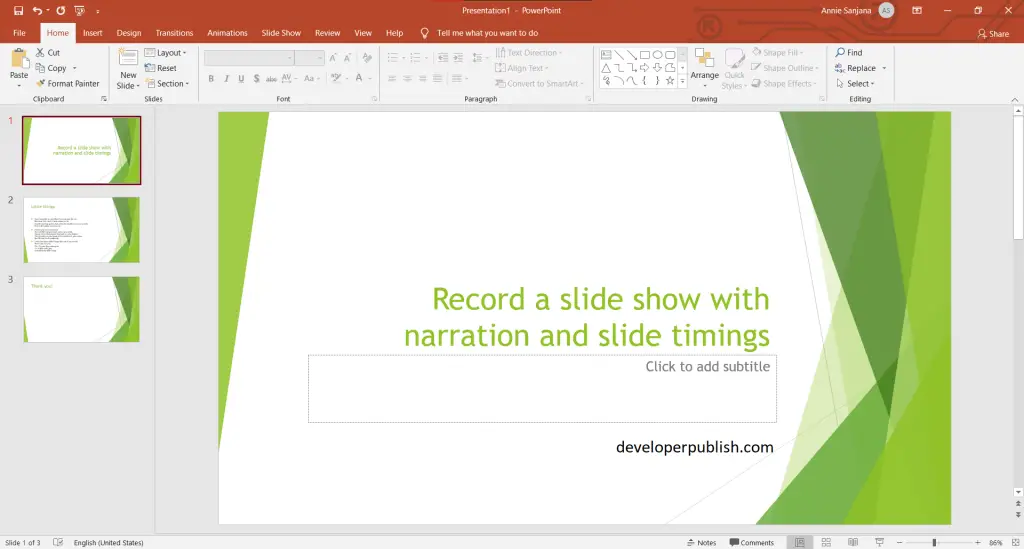
- First, create a PowerPoint presentation with the required number of slides in it.
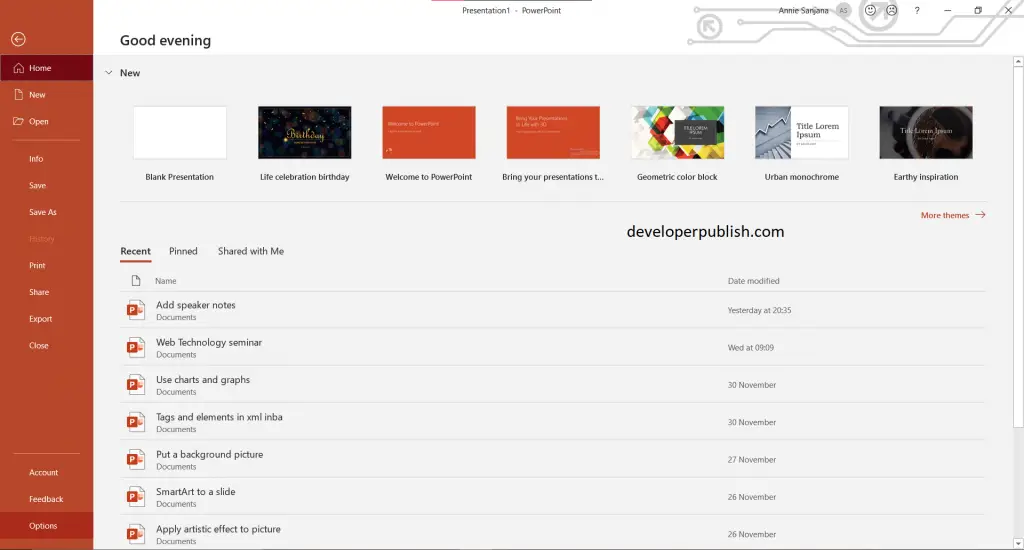
- Now click on the File tab > then options.
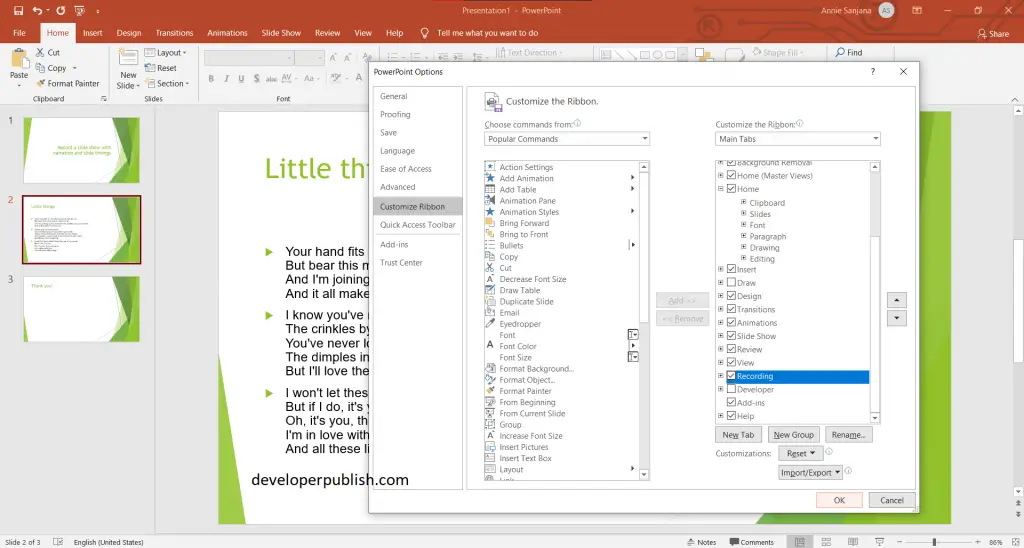
- Here you can see a New dialog box named PowerPoint Options pops up after selecting the Options from the File tab.
- In PowerPoint Options pane > click on the customize ribbon option > then tick the box named Recording under the Main tabs > press OK.
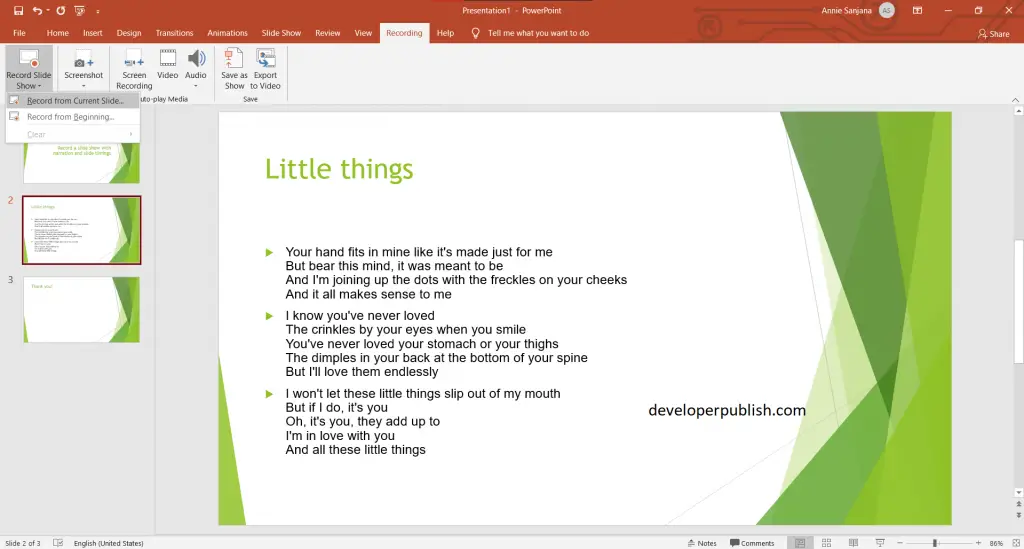
- Now you can see a new tab named Recording.
- To start recording, click on Recording Tab > then on Record Slide Show > you can either, select record from the beginning or record the current slide.
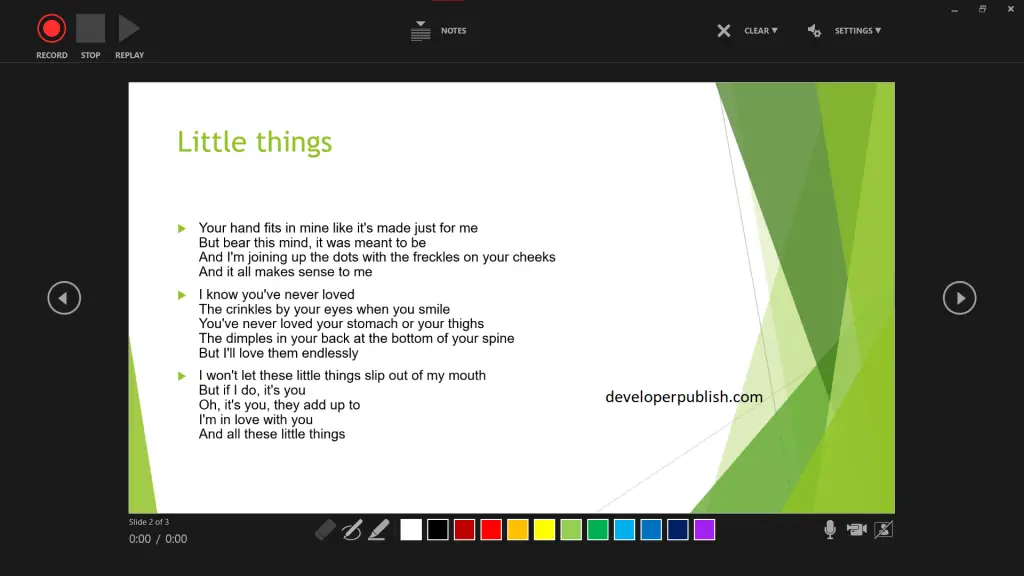
- As you can see, the slide is now opened as a recording window.
- You can record the slide with the narration in it.
- You can also shoot yourself while recording (make sure your camera is on).
- You can also highlight the text and can also erase the highlighted text.
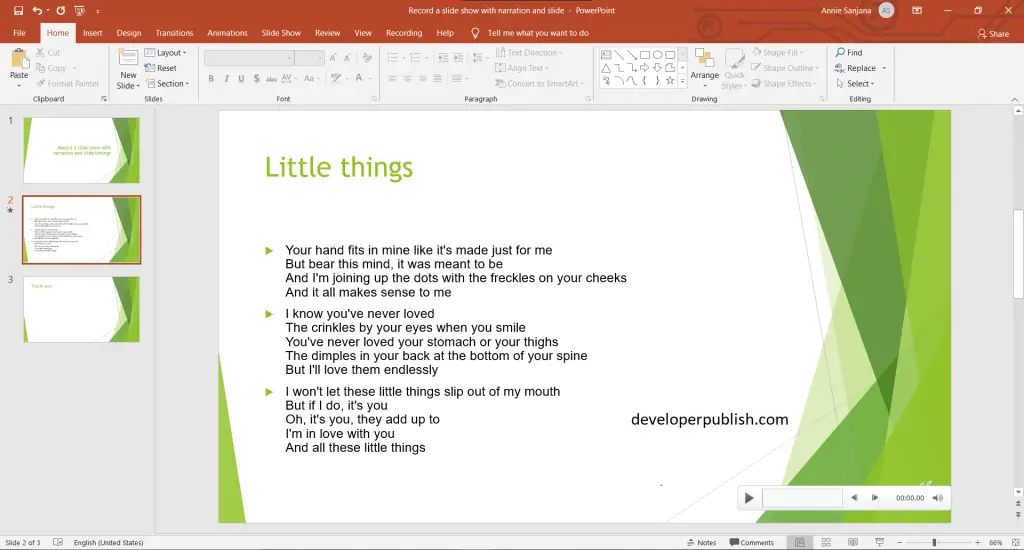
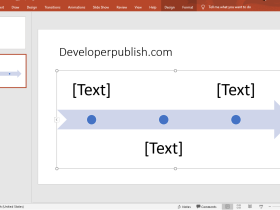
- The image below can be a result of your recorded slide.
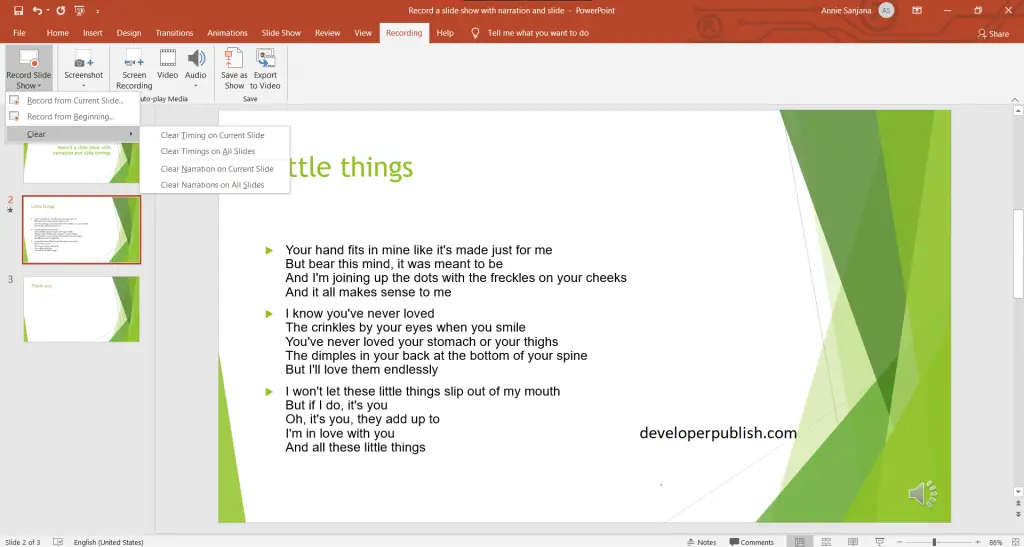
- If you want to clear the recordings done, then click on the recording tab > record slide show > select clear option.
- You will be able to record again.
We hope that this article was helpful and understandable.


Leave a Review