In this post, you’ll learn about Timeline in Microsoft PowerPoint and how to create a one in your PowerPoint presentation.
Timeline in PowerPoint
The Timeline in PowerPoint helps represent information related to time in graphical view. It will help the viewer to understand easily. Microsoft PowerPoint provides an easy way to create this feature in your presentation.
How to Create a timeline in PowerPoint?
- To get started, go to the Insert tab.
- Select the SmartArt command from the Illustrations group.
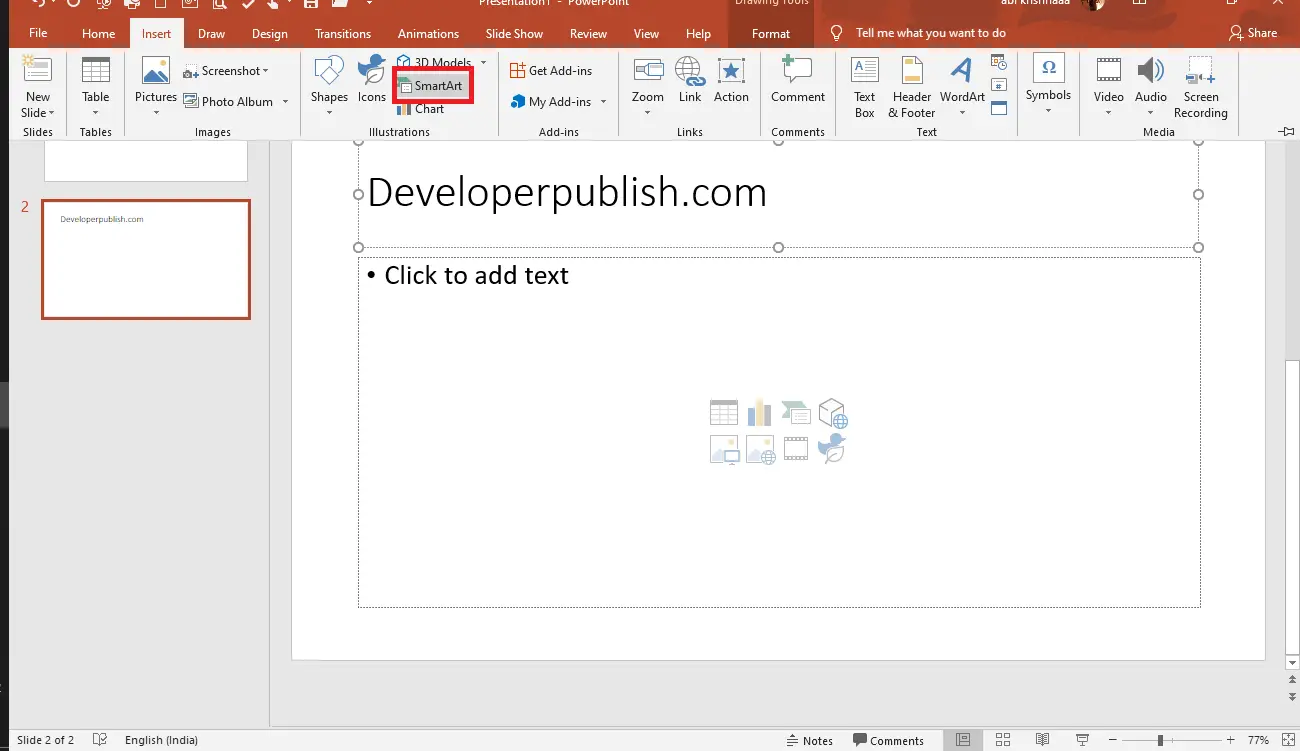
- Now, the Choose a SmartArt Graphic will appear on your screen.
- Click on the Process from the left pane of that window.
- Select a desired timeline from the Process and click the Ok button.

You’ll be having two timeline functions called the Basic Timeline and the Circle Accent Timeline.
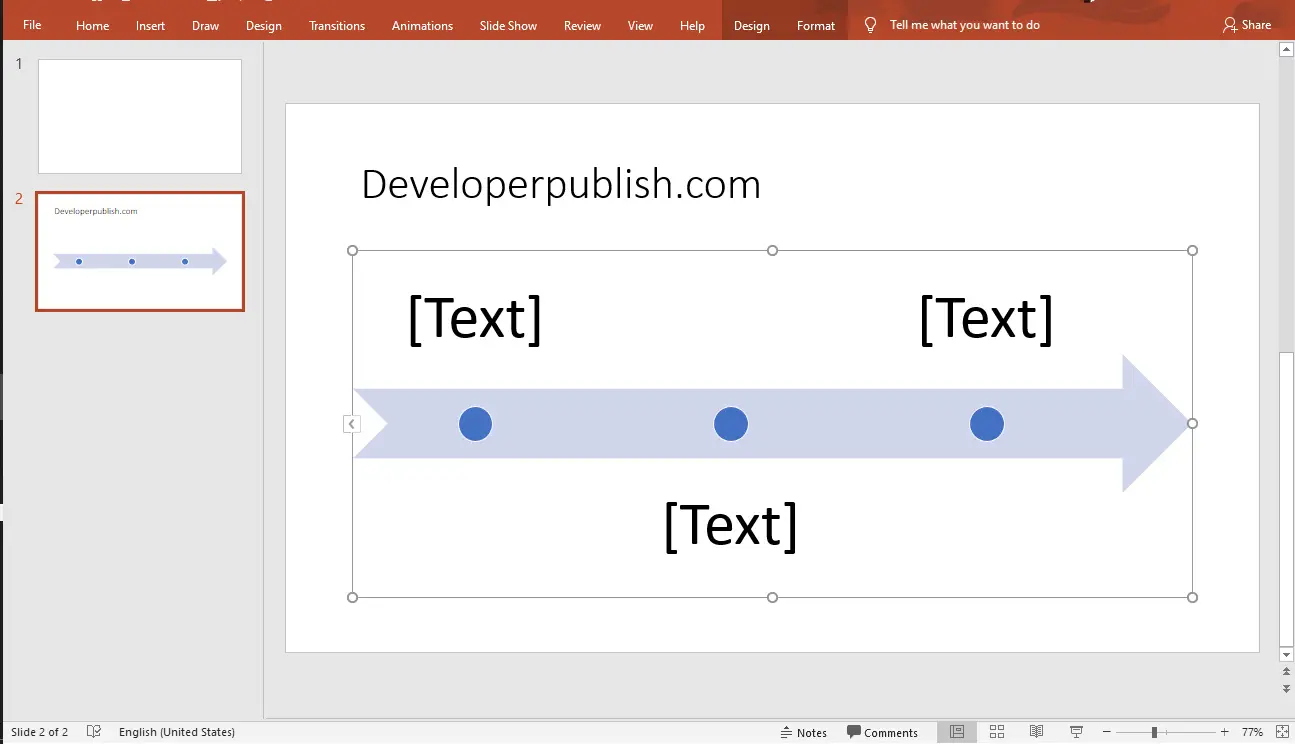
- You can see the created Timeline in your Powerpoint Presentation.
- Now, you can add or type text to the Timeline graphic according to your requirements.