In this article, you will learn how to change the power plan in your Windows 11 PC.
How to Change Power Plan in Windows 11?
Power Plan in Windows 11 is how your computer consumes and manages power. Maintaining an efficient power plan helps you in saving energy, maximizing system performance, and increases battery life. When you change your power plan, it affects all the users as it is a system setting. Your system might have a default power plan but you can change it according to your needs.
Windows 11 power plan options:
- Balanced
- Power saver
- High performance.
- Ultimate Performance exclusive for Windows 11 Pro for Workstations.
- Custom
You can change the power plan of your machine by the following method:
- Using Control Panel to change power plan
Let’s learn about the above method in detail.
Change Power Plan in Control Panel
- Search for control panel in the search option in the taskbar.
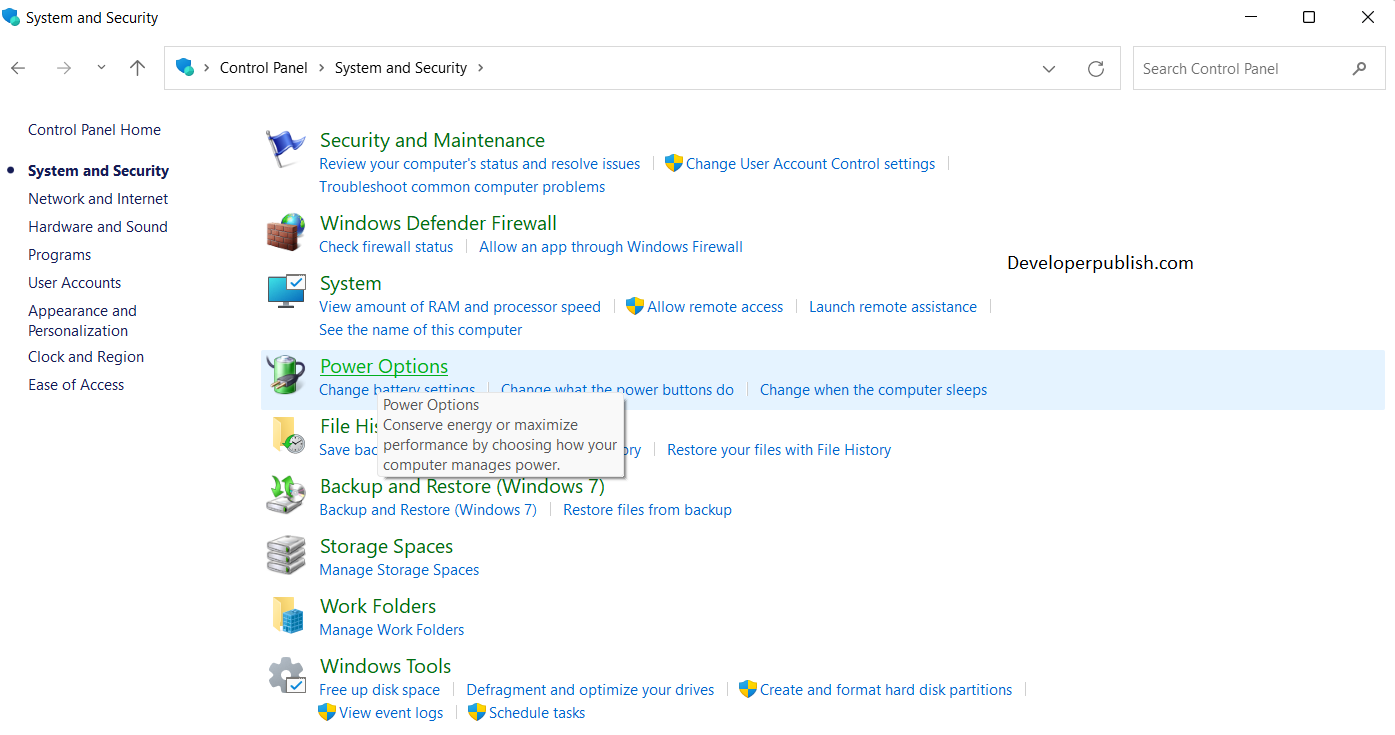
- Under the System and Security option, click on the Power Options icon.
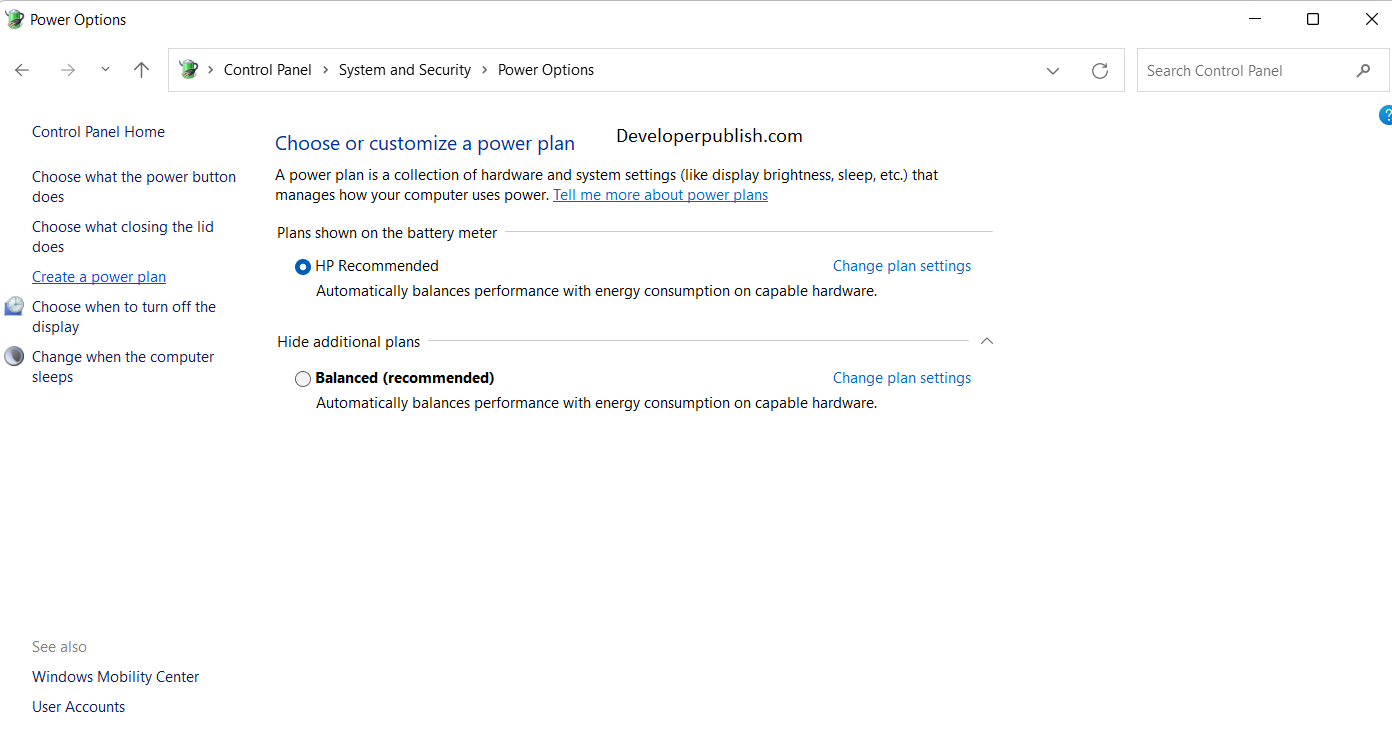
- In the left pane, click on create a power plan option.
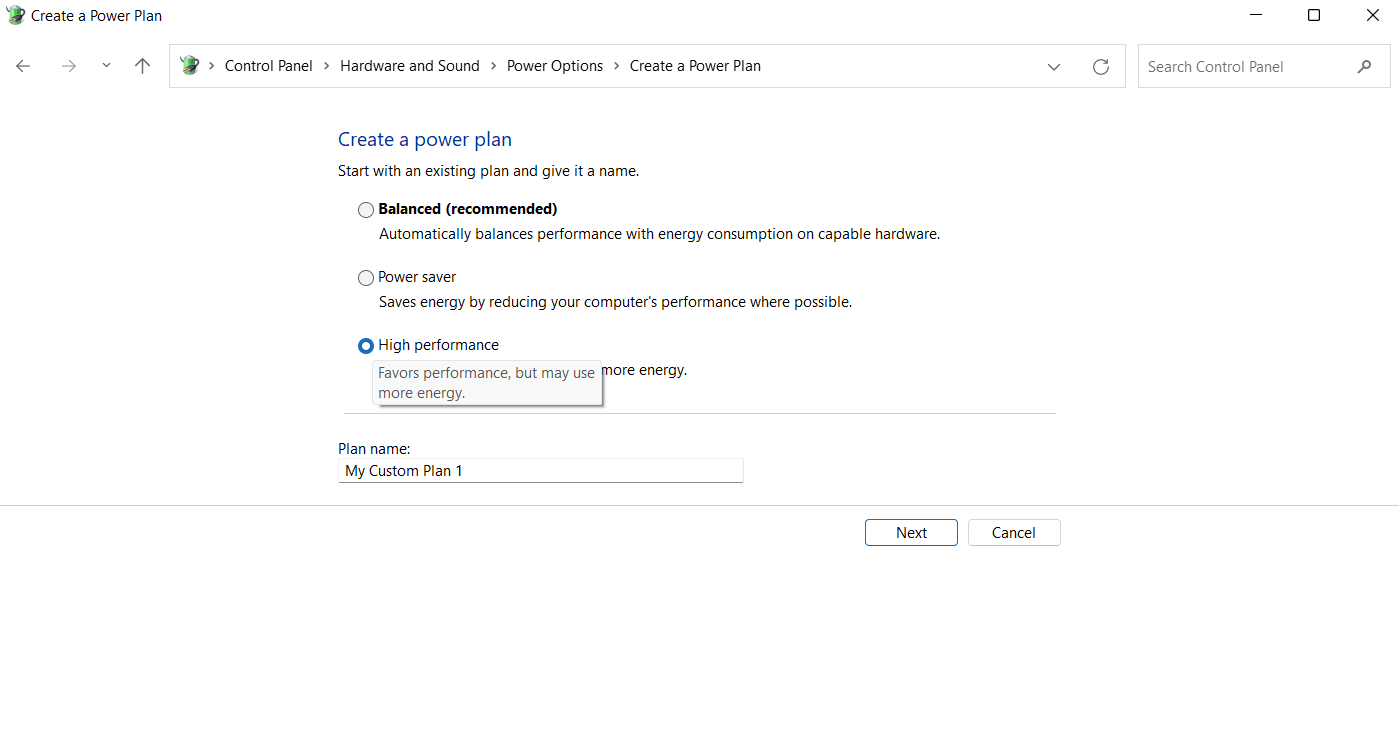
- Choose an option and click next.
- Manipulate the settings in the consecutive windows and click create.
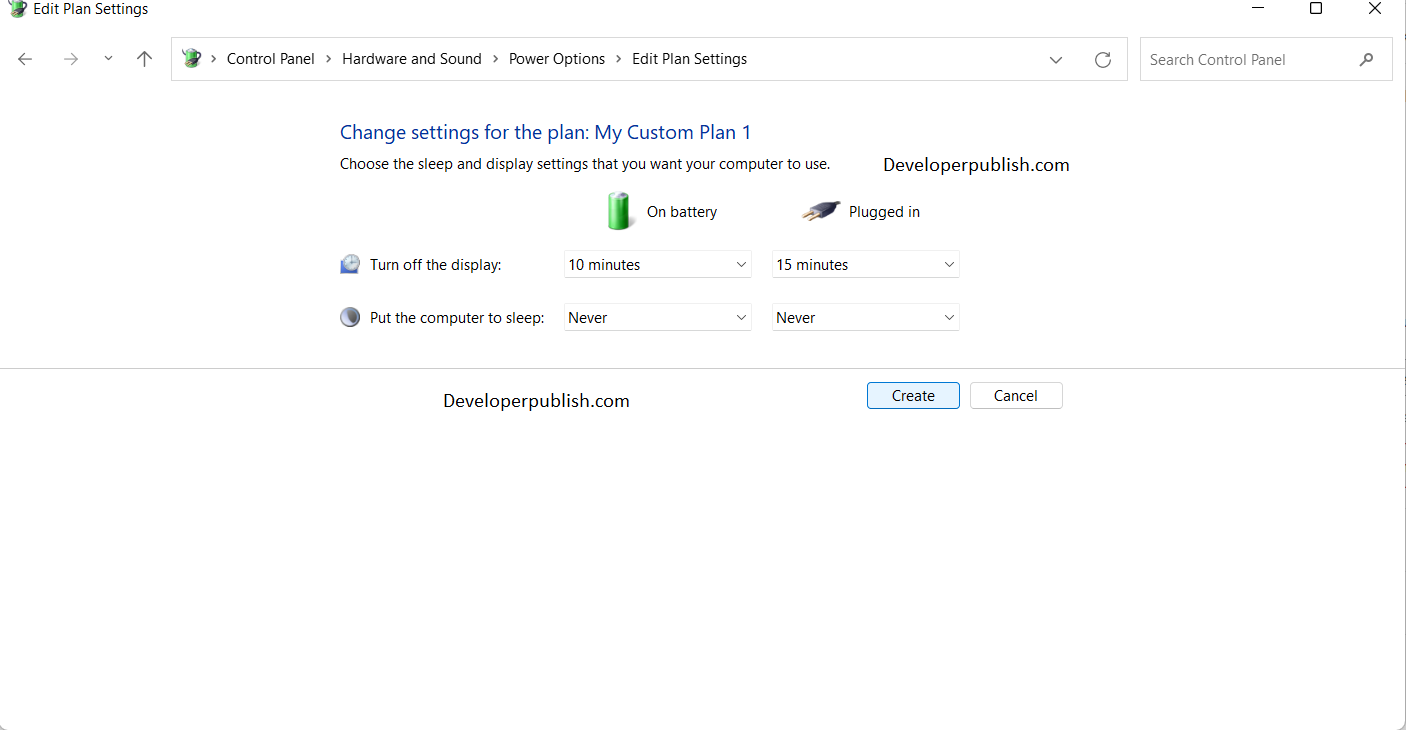
- Now, you have successfully created your power plan