In this post, you will learn how you can specify rows and columns in excel and set print titles in Excel which will get printed on each page. It provides various advantages for you making the readability of the excel sheet much better after printing.
When you print your worksheet in Excel, it usually gets broken into pages and the title of the rows and columns gets printed only on the first page. Microsoft Excel provides a solution for this and lets you print your titles on every page you want.
How to Set Print Titles in Excel?
Follow the below steps to print titles in your excel worksheet during printing.
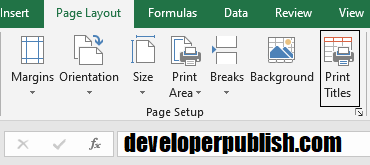
- Firstly select the worksheet then go to Page Layout Tab, in the Page Setup group you will find an option called Print Titles.
- When you click on it, a Page Setup dialog box opens up.
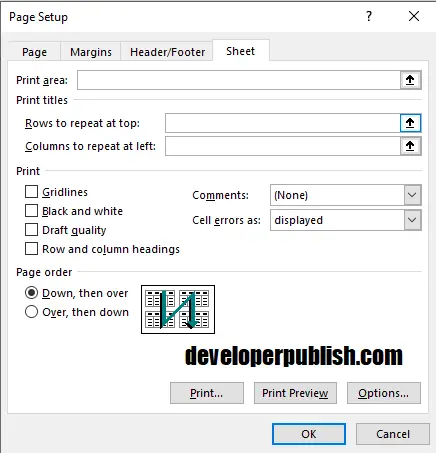
- Go to the Sheet tab and under the Print Titles in either Rows to repeat at top select the row or in Columns to repeat at left select the column which has the titles you want.

- After selecting click on Print Preview to have a preview of the changes you made.

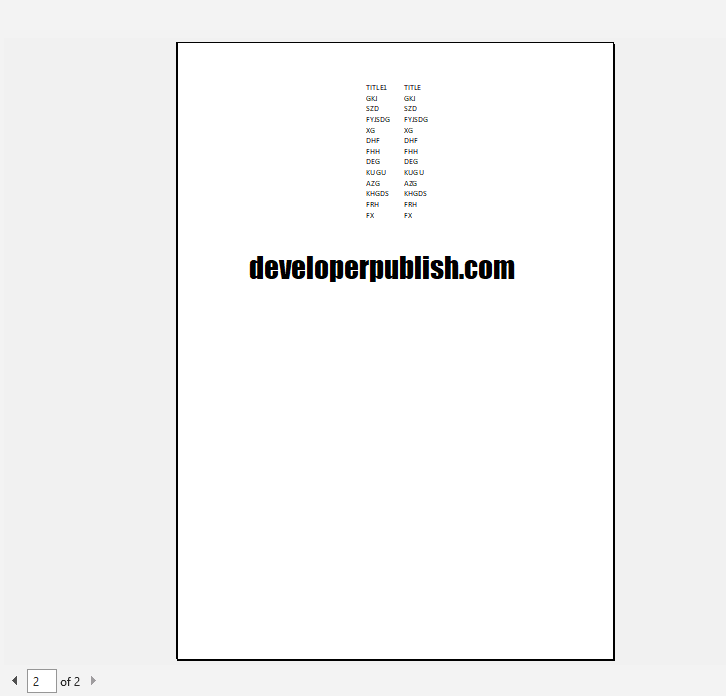
- Then finally click on OK.