In this post, you will learn how to Change the Product Key or License Key of Windows 11 in your PC.
How to Change Product Key or License Key in Windows 11?
On a longer run of a system, you need to change the product key for several reasons including upgrading to a higher version. To change the product key or license key in windows 11, you can follow any of the below methods.
Change your product key in Windows via Settings
- Open the Settings application or press the Windows + I key on your keyboard.
- Under the system settings, scroll down click on Activation
- Click on the Upgrade your edition of Windows tile.
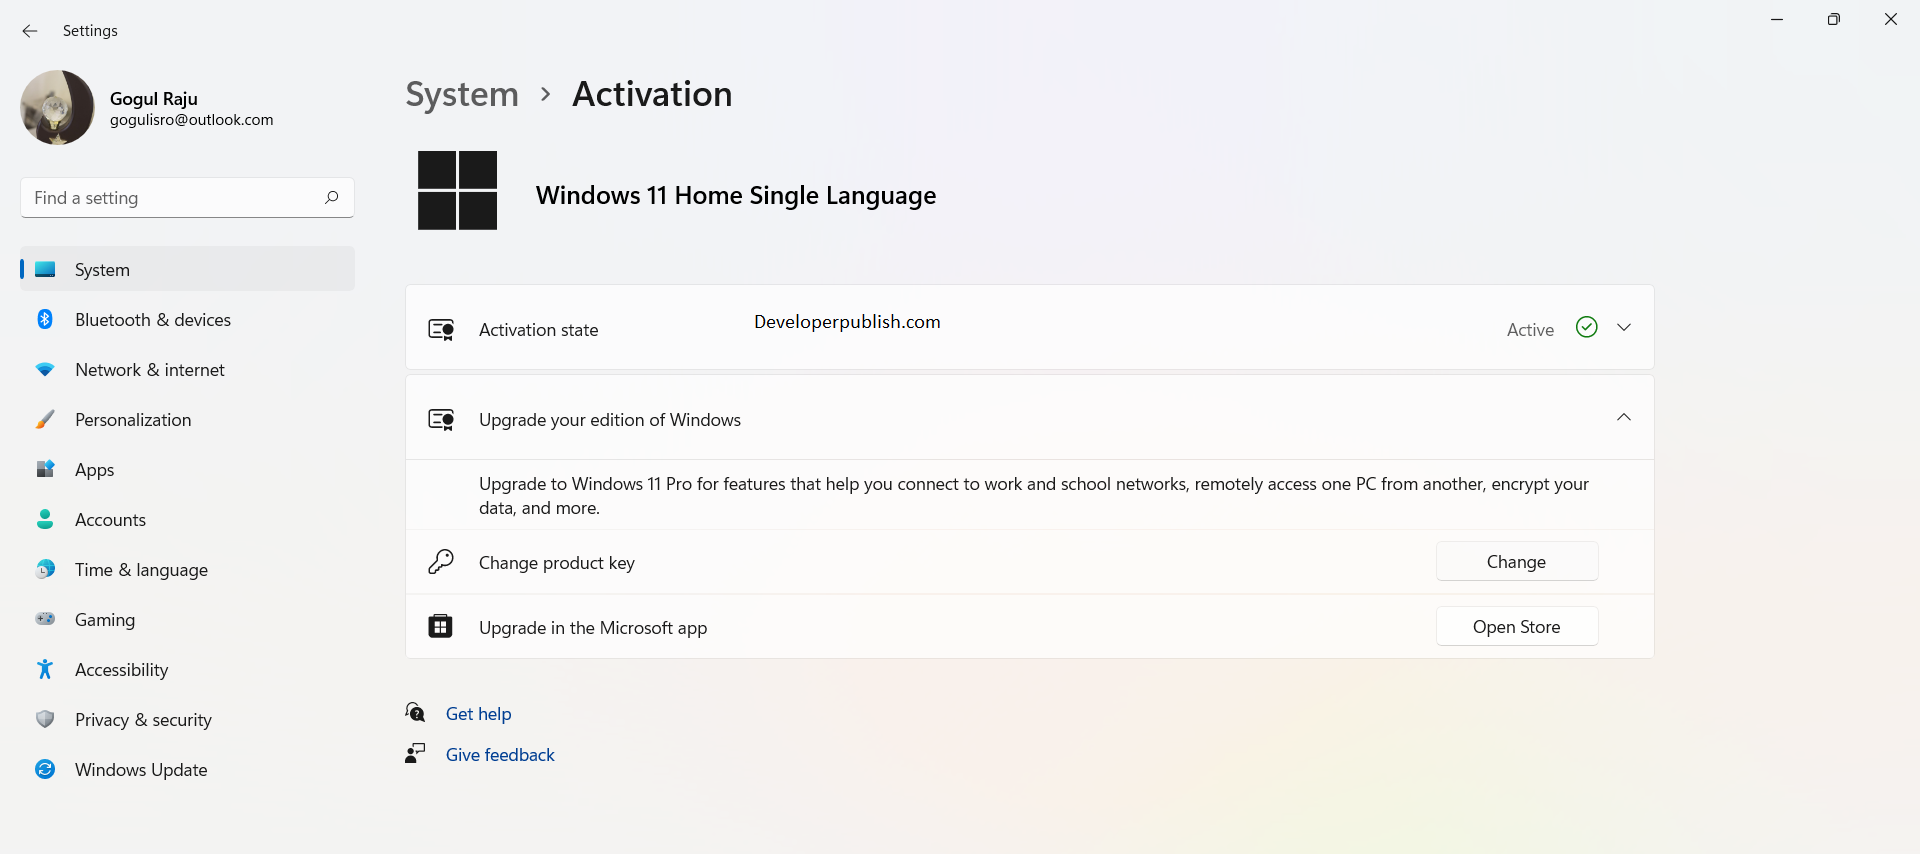
- In the drop-down, click on the change button on the change product key option.
- Enter the new product or license key in the dialogue box.
- And click on Next to activate the new license key.
Through Control Panel
Open the control panel from the Start menu and navigate to the following location:
Control panel ≫ System and Security≫ System≫ Related Settings ≫ Product key and Activation
Now follow steps 3-6 from the above method.
Command Prompt and activation
- Open the command prompt from the start menu or run the ‘cmd’ command in the Run menu.
- Enter the following command:
slmgr.vbs -ipk <New product key>- And then press enter.
- You have successfully changed the product key.