In this post, you will learn how to change the Maximum Size for Recycle Bin in your Windows 11 PC.
How to Change Maximum Size for Recycle Bin in Windows 11?
Recycle bin is a temporary folder, where all your deleted files are stored for a certain amount of time before getting permanently deleted from your machine. Generally, the deleted files stay in the recycle bin for 30 days unless being changed or until it gets full. Windows automatically allocates storage size or space for recycle bin.
To change the size of the recycle bin on Windows 11, follow these steps:
- On your desktop, locate the Recycle bin icon and right-click on it and select Properties from the pop-up menu.
- In the Properties window, select the drive from the recycle bin location
- Under the Settings for the selected location, you could find the custom size option.
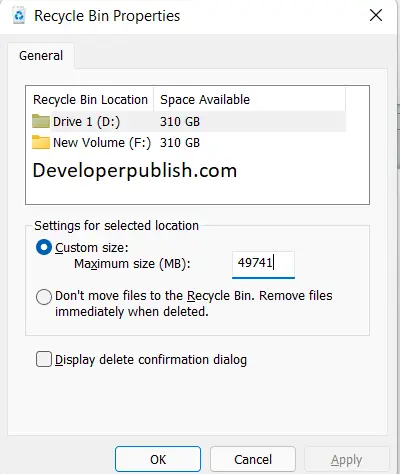
- In the “Maximum size (MB)” field, enter your required size for the bin.
- Then click “Apply and then OK” to save the changes.
- For each drive, you need to specify the recycle bin size.
You can also explore the other options available on the menu.