In this post, you will learn about Memory Compression in Windows 11 and how to use it.
Memory Compression in Windows 11
- How to check if Memory Compression is Currently Enabled or Disabled
- To Enable Memory Compression
- To Disable Memory Compression
How to check if Memory Compression is Currently Enabled or Disabled?
- Open PowerShell from windows terminal admin.
- Enter the following command: Get-MMAgent
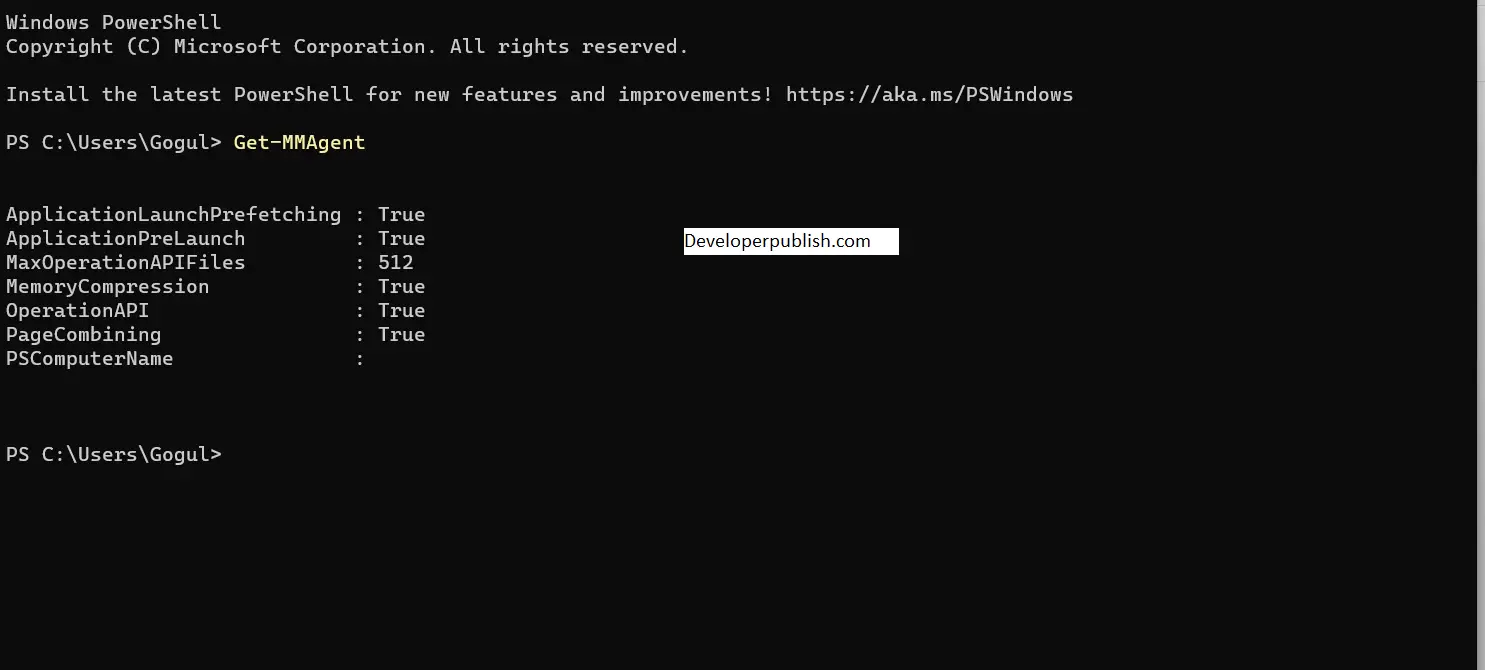
- Press enter and check if MemoryCompression is shown as True (enabled) or False (disabled).
To Enable Memory Compression
- Open PowerShell from windows terminal admin.
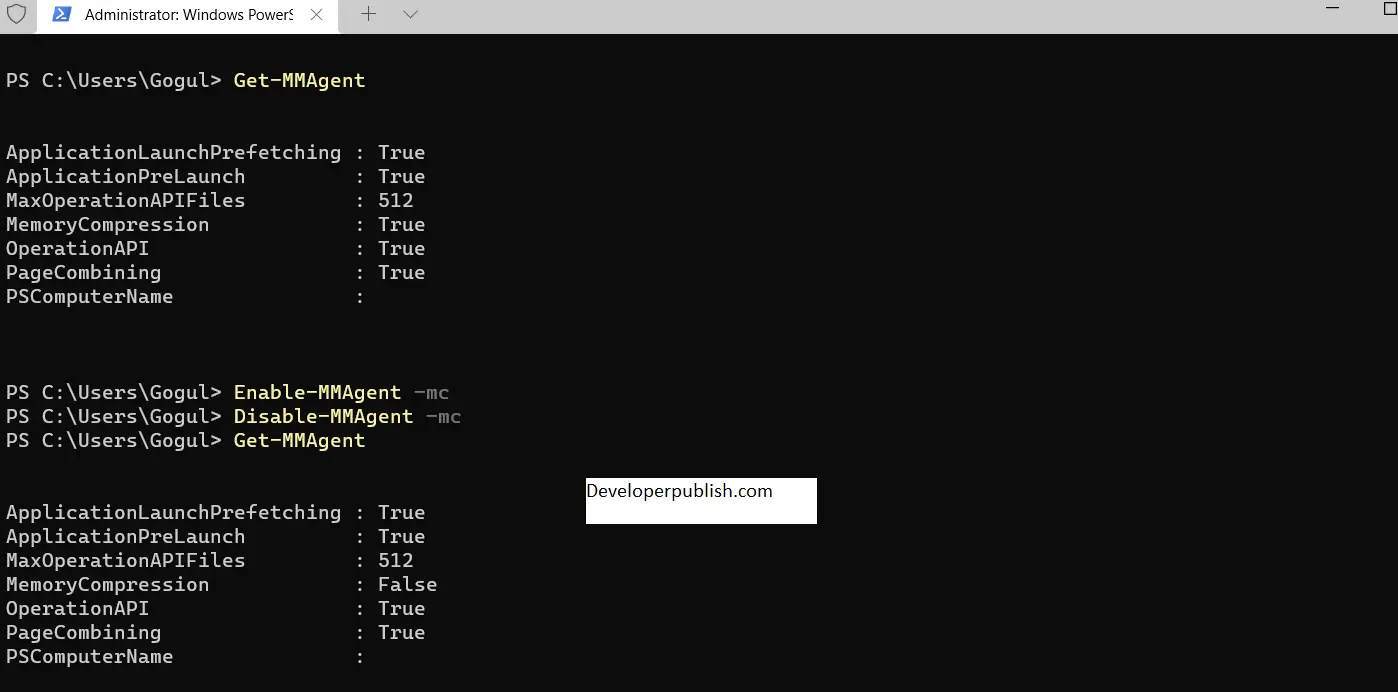
- Enter the following command: Enable-MMAgent –mc
- Press enter, once the command is executed successfully, exit the application.
- Now restart the computer to apply the changes.
To Disable Memory Compression
- Open PowerShell from windows terminal admin.
- Enter the following command: Disable-MMAgent –mc
- Press enter, once the command is executed successfully, exit the application.
- Now restart the computer to apply the changes.