This post explains in simple steps on how to show a Ruler in Microsoft Word using simple terms.
The Ruler option in Microsoft Word allows you to controls the margins of the page. Also, help in align and adjust the various elements and Indents of the paragraph.
How to Show Ruler in Microsoft Word?
Let’s see how to show Ruler in your Word document with the coming steps:
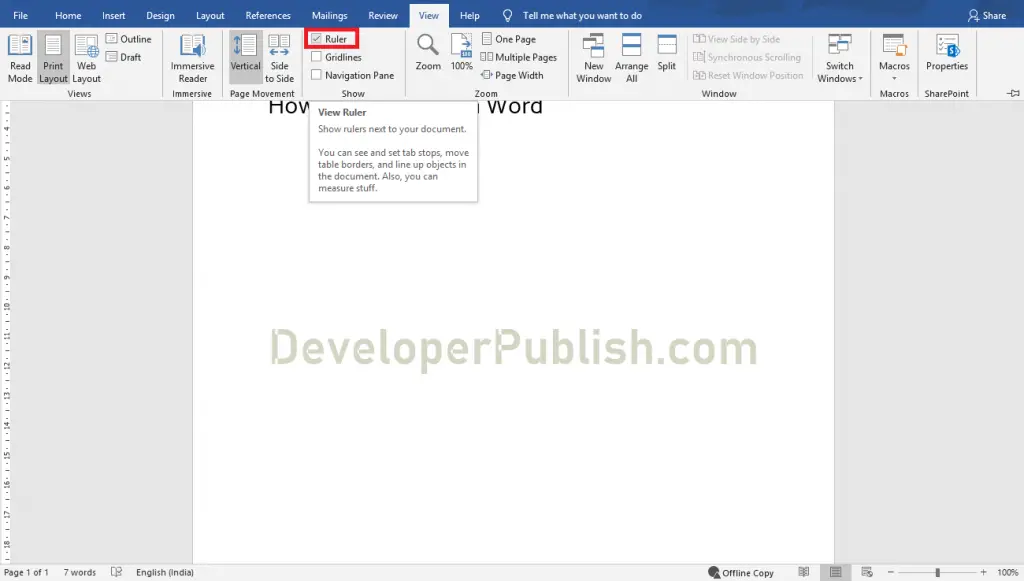
- Go to the View tab in the ribbon.
- Now, Click the Ruler option in the Show group.
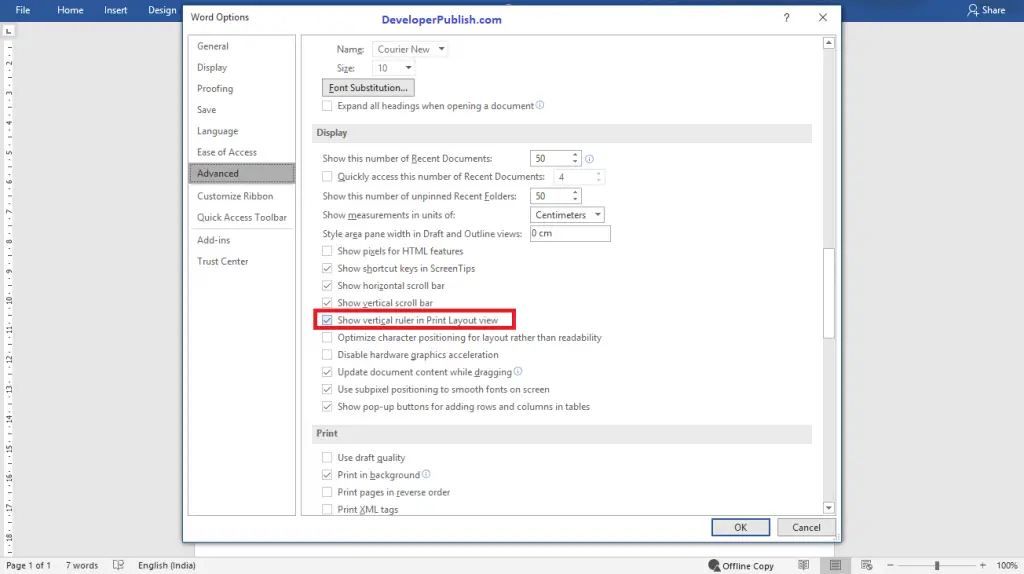
To Activate the Vertical Ruler, do the following steps:
- Go to File and select the Options.
- Now, Select the Advanced option from the Word Options dialogue box that appears on your screen.
- Click the Show vertical ruler in Print Layout view.
- Click the OK button.
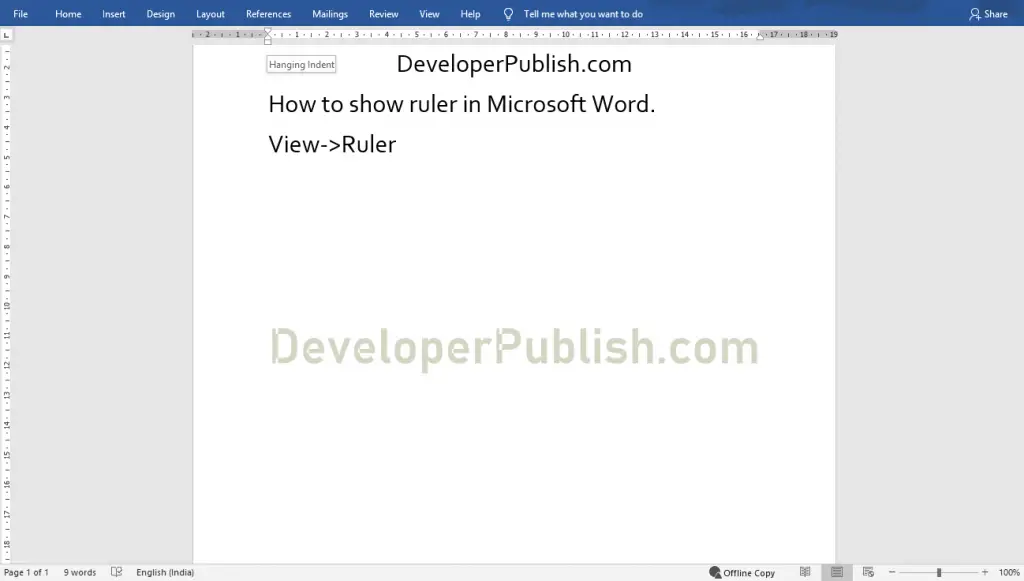
Now, you can see that the Ruler appears on your Word document as in the below image.
To remove the Ruler, Go to the View tab and again click the Ruler option.