How to Change Scrollbar Size in Windows 11?
Scrollbars are a useful tool that allows users to navigate through content in various applications, such as web browsers, text editors, and more. In Windows 11, the size of the scrollbar can be customized to make it easier to use. In this blog post, we’ll show you how to change the scrollbar size in Windows 11.
How to Change Scrollbar Size in Windows 11?
In Windows 11, the size of the scrollbar can be changed through the Settings app or the Registry Editor. Here are the steps for each method:
Using the Registry Editor
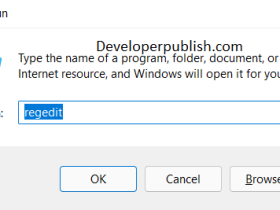
- Press the Windows key + R to open the Run dialog box.
- Type “regedit” (without quotes) and press Enter.

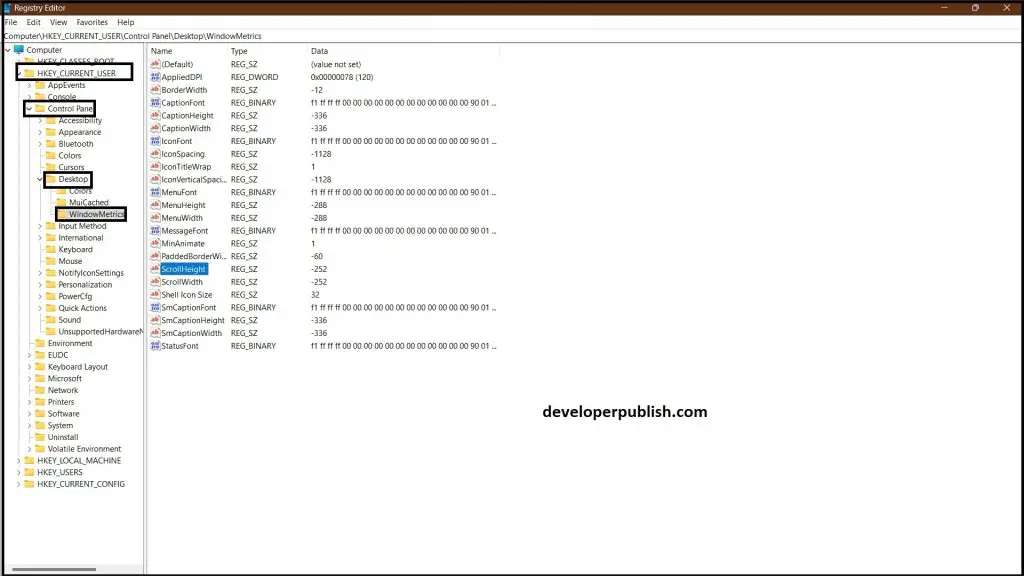
- In the Registry Editor, navigate to the following key: HKEY_CURRENT_USER\Control Panel\Desktop\WindowMetrics.
- Look for the “ScrollHeight” and “ScrollWidth” values.
- Double-click on each value and change the value data to the desired size in pixels.

- Close the Registry Editor and log off and back on to see the changes take effect.
Note: Changing values in the Registry Editor can be risky and may cause problems with your system if not done correctly. It is recommended that you create a backup of your Registry before making any changes.
Customizing the size of the scrollbar in Windows 11 is a simple process that can be done in just a few clicks. By following the steps above, you can make the scrollbar larger or smaller, depending on your preferences and needs. With a larger scrollbar, it can be easier to use and navigate through content in various applications. Give it a try and see how you can enhance your Windows 11 experience!


Leave a Review