Protecting your personal information is of utmost importance, especially when it comes to your computer’s local account. Windows 11 provides a simple yet effective way to maintain the security of your local account by allowing you to change your password easily. In this blog post, we will walk you through the step-by-step process of changing the password of your local account in Windows 11, ensuring that your personal data remains safe and secure.
How to Change Password of your Local Account in Windows 11?
To change the password of your local account in Windows 11, you can follow these steps:
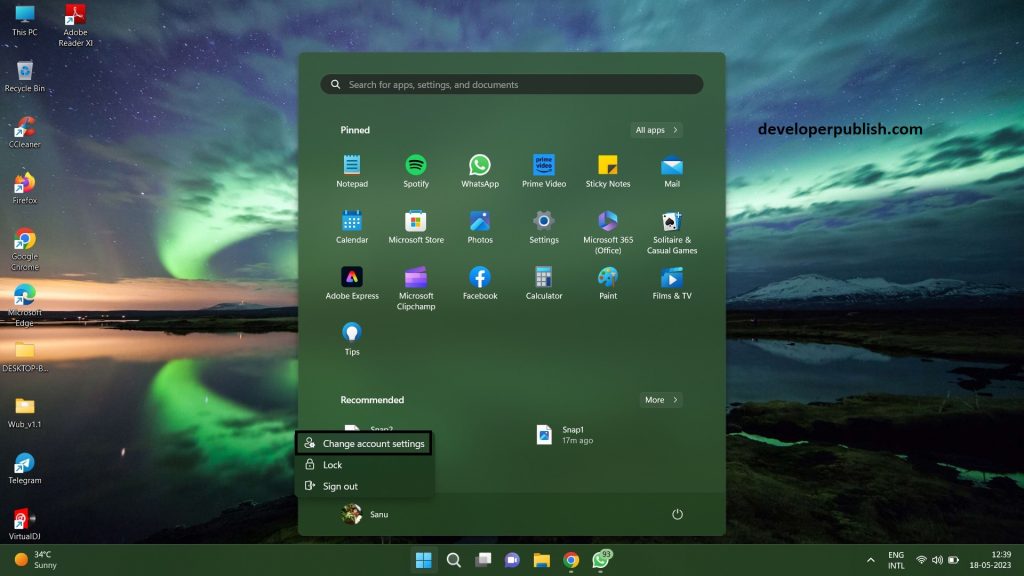
- Press the Windows key on your keyboard or click on the Windows icon in the taskbar to open the Start menu.
- Click on your account picture located at the top right corner of the Start menu. This will open the Account settings menu.
- In the Account settings menu, select “Change account settings.” This will open the Accounts settings page in the Windows Settings app.
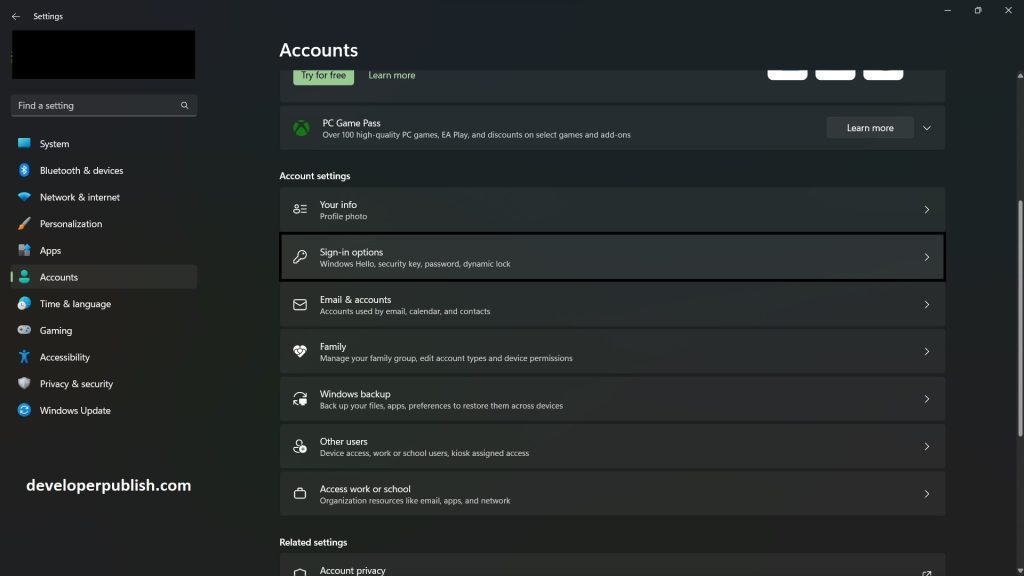
- On the Accounts settings page, click on “Sign-in options.”
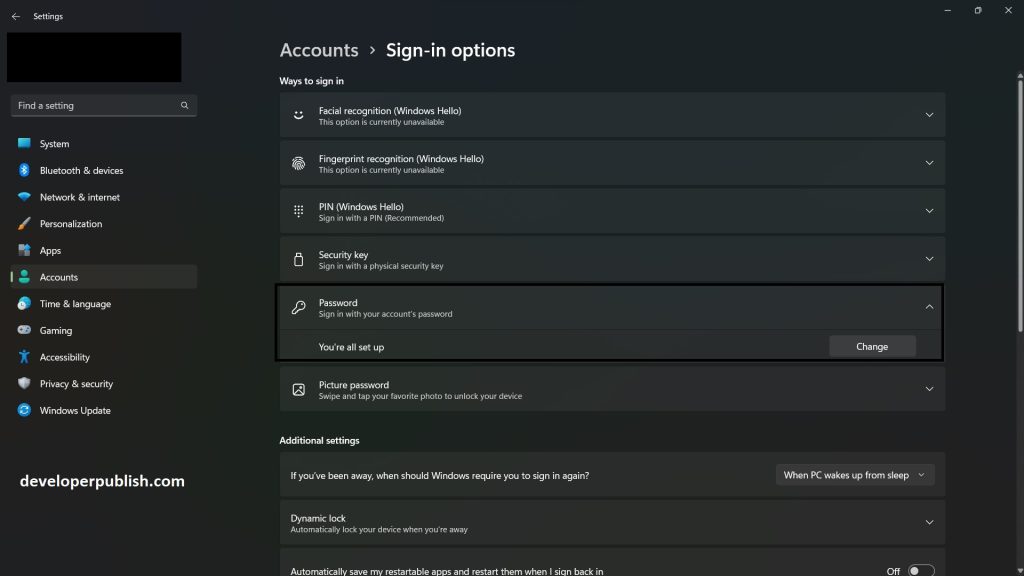
- Under the “Password” section, click on the “Change” button.
- Windows will prompt you to verify your current password. Enter your current password and click on “Sign in.”
- Now, you will be able to set a new password. Enter your current password in the “Current password” field and then enter your new password in the “New password” and “Reenter password” fields.
- Optionally, you can also provide a password hint to help you remember your password. However, make sure the hint is not too obvious or easily guessable.
- Click on the “Next” button to save the changes and set your new password.
- Once the password change is successful, you will receive a notification confirming the update.
Remember to choose a strong and unique password that combines upper and lowercase letters, numbers, and special characters. Additionally, it’s good practice to change your password regularly to help maintain the security of your account.
Taking the necessary steps to change your password on a regular basis is vital for maintaining the security of your local account in Windows 11. By following the step-by-step guide outlined above, you can easily change your password and ensure that unauthorized access to your account is prevented. Remember, creating a strong and unique password is key to enhancing your overall security. Be sure to choose a combination that is not easily guessable and consider using a password manager to store and manage your passwords securely.
Investing a few minutes into changing your local account password can provide you with peace of mind and safeguard your personal information from potential threats. Stay proactive in protecting your Windows 11 account, and enjoy a secure and worry-free computing experience.