Gmail is one of the most popular email services used worldwide, offering a wide range of features and tools to manage your emails. One such feature is the ability to automatically forward emails from specific senders to another email address. In this blog post, we will discuss how to auto-forward emails from specific senders in Gmail.
How to Auto-Forward Emails From Specific Senders in Gmail?
You can set up automatic email forwarding in Gmail to forward emails from specific senders to another email address. Here are the steps:
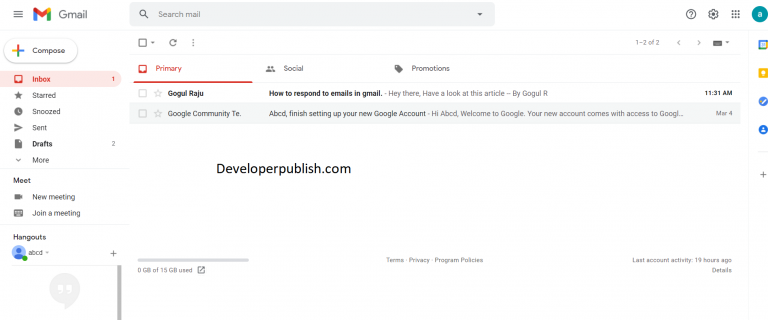
- Log in to your Gmail account.

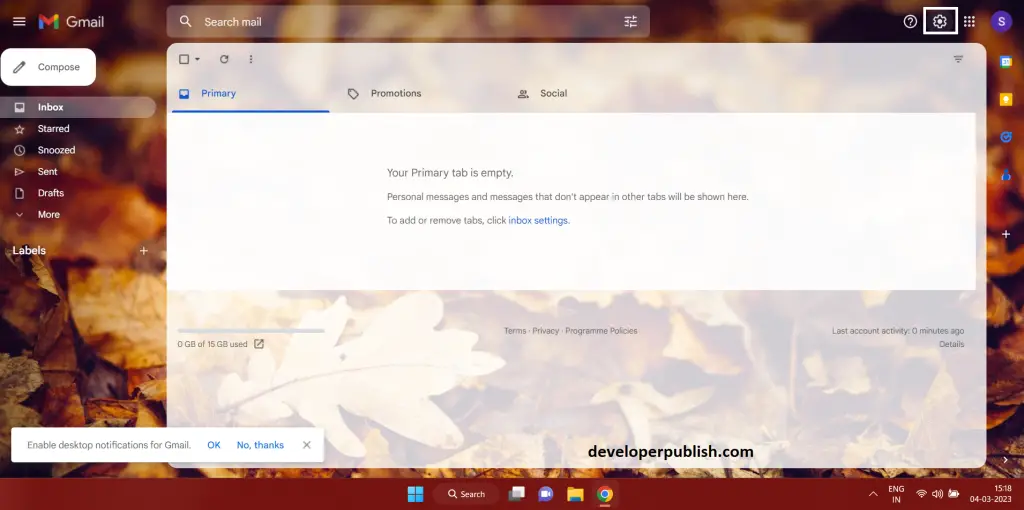
- Click the gear icon in the top-right corner and select “Settings” from the drop-down menu.
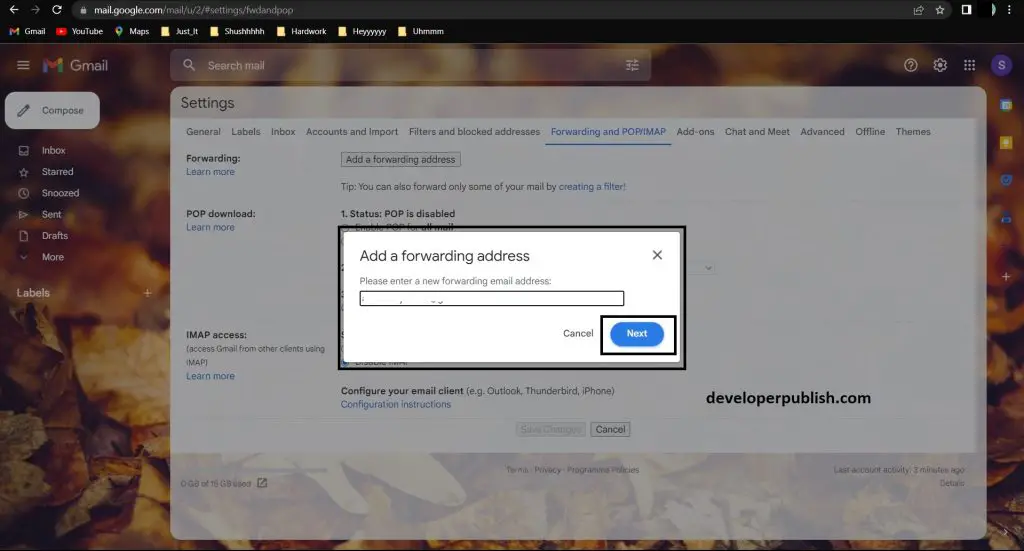
- Click on the “Forwarding and POP/IMAP” tab.
- Click on the “Add a forwarding address” button.

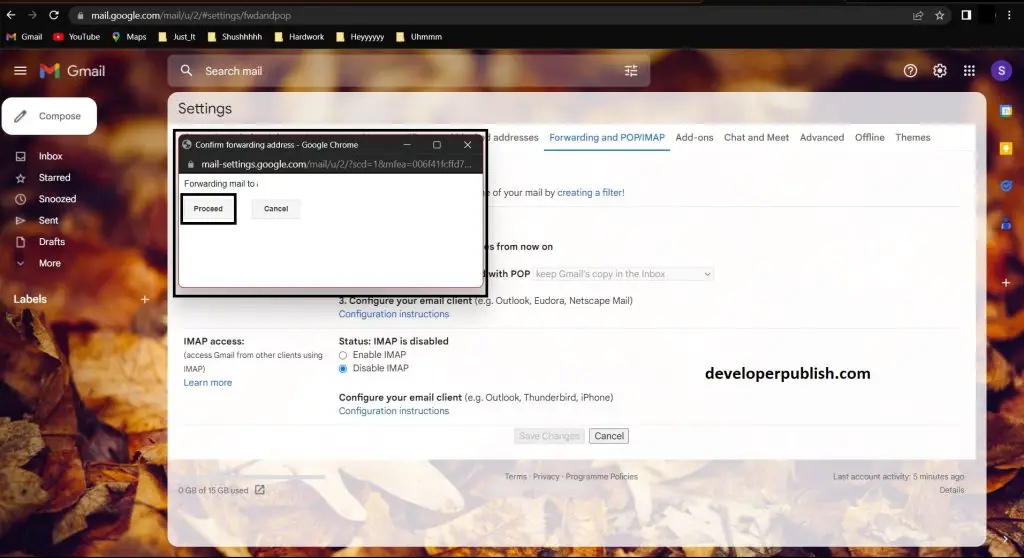
- Enter the email address where you want to receive the forwarded emails and click “Next.”
- Click “Proceed” and then click “OK” to confirm the email address.
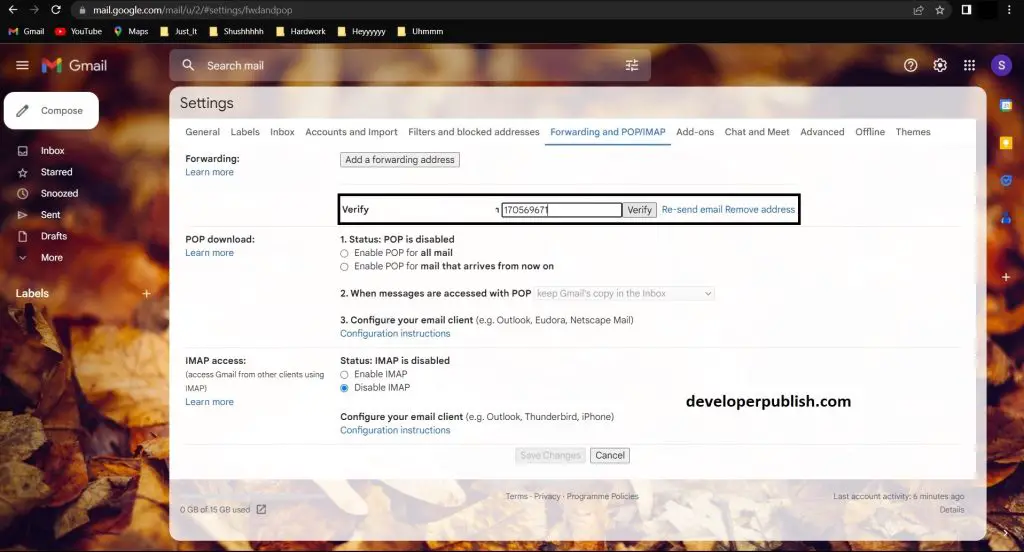
- A verification code will be sent to the email address you entered. Check your inbox and enter the verification code in the box provided.
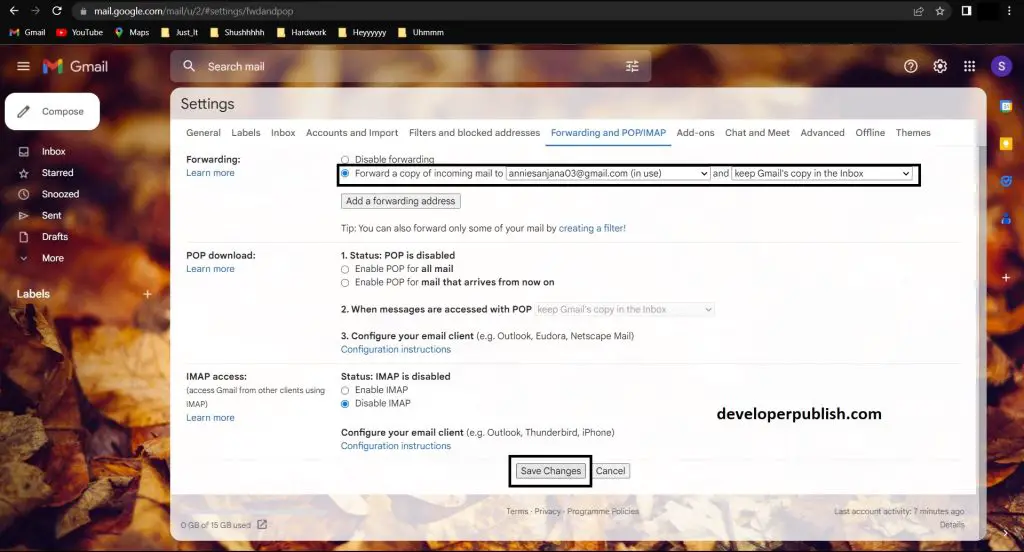
- Once the email address has been verified, select “Forward a copy of incoming mail” and choose the email address where you want to receive the forwarded emails.
- Click “Save Changes.”
- That’s it! Now any emails you receive from the specified sender will be automatically forwarded to the email address you specified.
- Select the option to “Forward a copy of incoming mail to”. After verifying the email address, go back to the “Forwarding and POP/IMAP” tab in Gmail settings. Select the option to “Forward a copy of incoming mail to” and choose the email address you just added.
- Choose the sender’s email address you want to forward emails from. In the same section, click on the “Add a forwarding address” button again. This time, enter the email address of the sender you want to auto-forward emails from and click on “Next.”
- Choose what to do with the emails. In the next window, select the option to “Forward it to” and choose the email address you want to forward the emails to. You can also choose to keep a copy of the forwarded emails in your Gmail inbox by selecting the option “Keep Gmail’s copy in the inbox.”
- Click on “Save Changes”
Note: If you want to stop auto-forwarding emails from a specific sender, simply go back to the “Forwarding and POP/IMAP” tab in Gmail settings, and remove the email address from the list of forwarding addresses.
In conclusion, auto-forwarding emails from specific senders in Gmail can save you time and make your email management more efficient. By following these easy steps, you can set up auto-forwarding for specific senders and ensure that you never miss an important email again.