How to Add graphics to labels in Word?
This post guides you and shows how to add graphics to labels in Microsoft Word in simple terms.
Sometimes you may feel that only text is quite a bore for your labels so, you have to add graphics to make your Labels spicy and colorful.
How to Add graphics to labels in Word?
Let’s insert the graphics to your labels with the following steps:
- Open a blank document in Microsoft Word.
- Go to the Mailings tab in the ribbon.
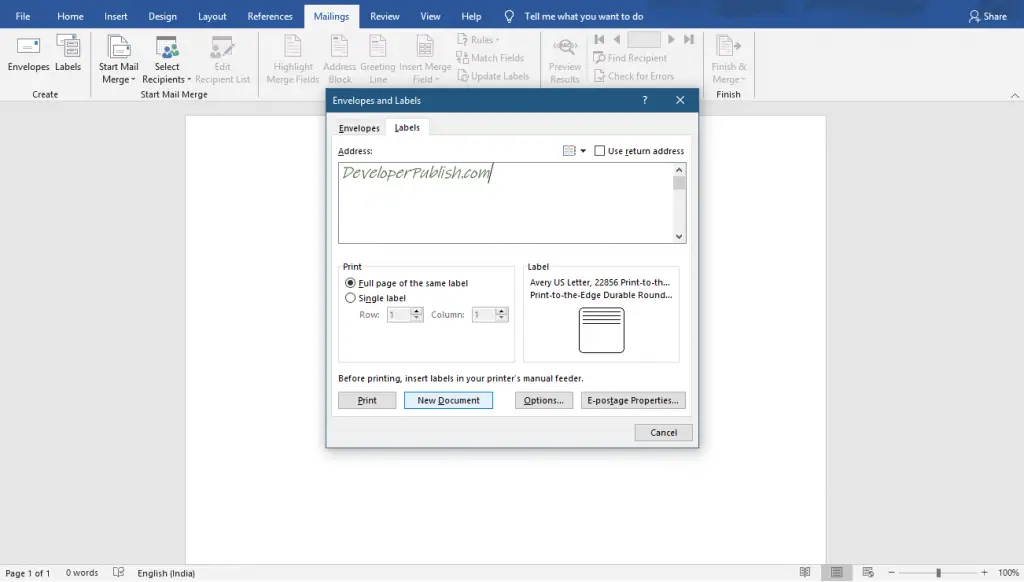
- Click the Labels option.
- Enter the address or information that you want in your label in the Address text box.
- Now, Click the New Document button.
- Bring the cursor to the beginning of the text in the Label list.
- Now, insert a graphic image using the Insert tab.
- You can resize and move the image using the handles on the edges.
- Now, click the Layout Options button, which appears at the corner of the image when you click on the image.
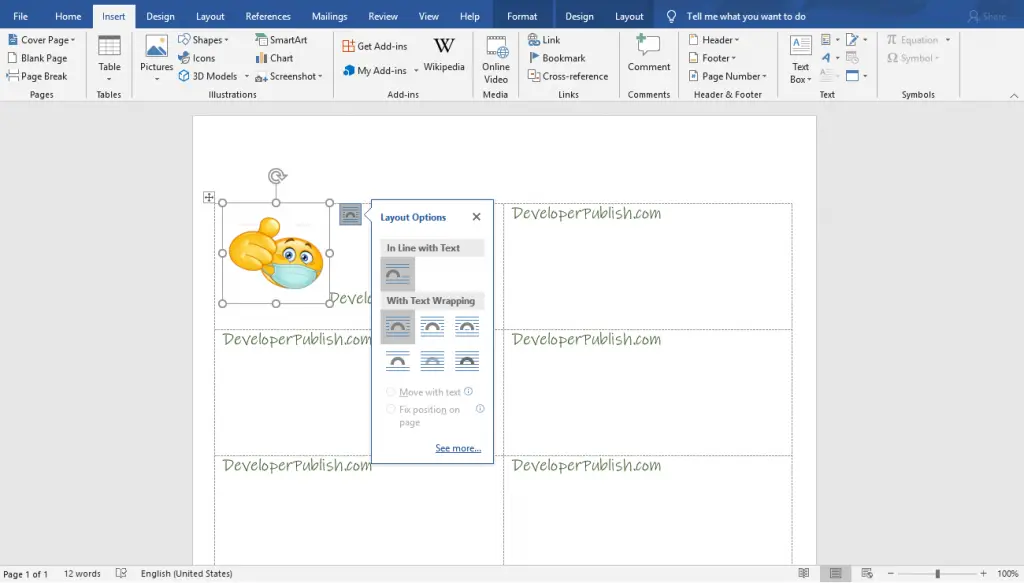
- Select Square text wrap from the With Text Wrapping list available in the Layout Option drop-down list.
- Now, you can get your perfect Labels.
- To apply it to the remaining Labels, select the first label Copy and Paste it on the remaining.
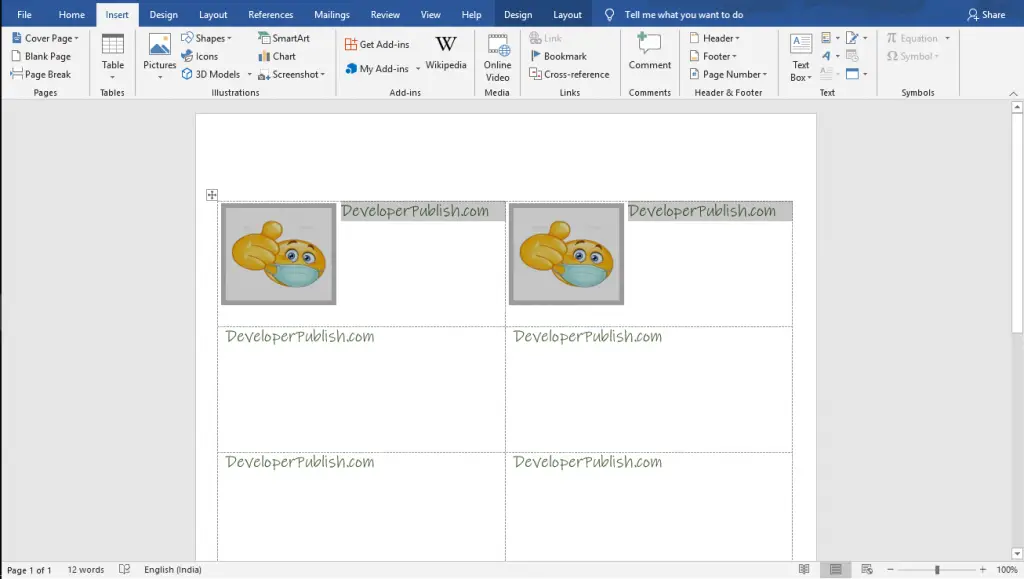
- Now, your Labels with attracting graphics created and ready to print, shown in the below image.

I hope this post helped you to create Creative Labels.
Use Ctrl+C to copy and Ctrl+V commands to copy and paste the Labels.


Leave a Review