This post demonstrates you to create and print labels in Microsoft Word.
Microsoft Word provides the best feature to create and print labels based on the Address or information that you give.
How to Create and Print Labels in Microsoft Word?
The following steps allow you to create and print a label in Word:
- Open a New document in Microsoft Word.
- Go to the Mailings tab in the ribbon.
- Now, select the Labels button from the Create group.

- The Envelopes and Labels dialogue box will appear on your screen as in the below image.
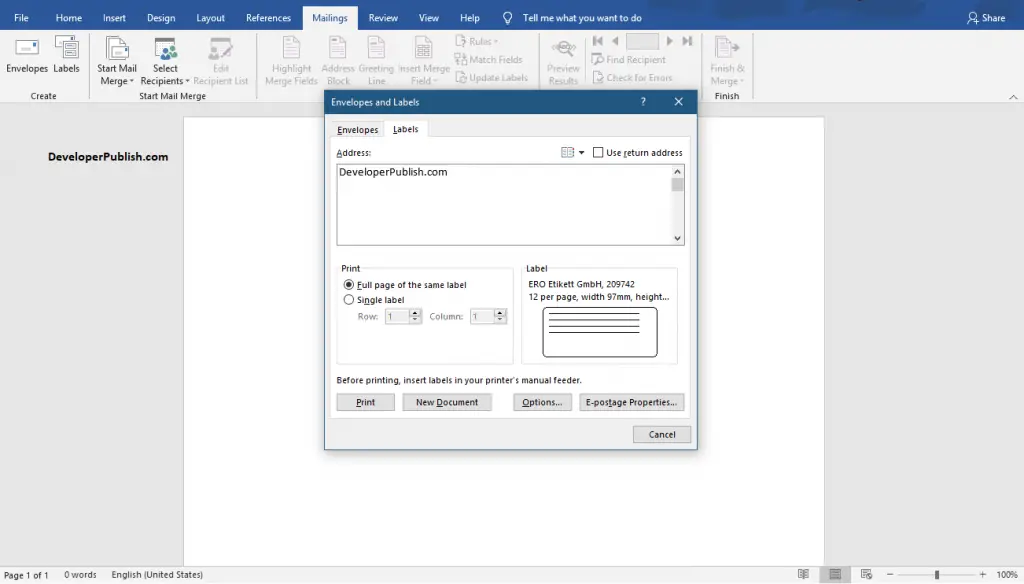
- Now, enter the Address or information in the Address: text box.
- To insert the Address from your contact list, click the Insert Address button on the top.
- To change the font type of the Address, select the Address, Right-click, and select the font or paragraph.
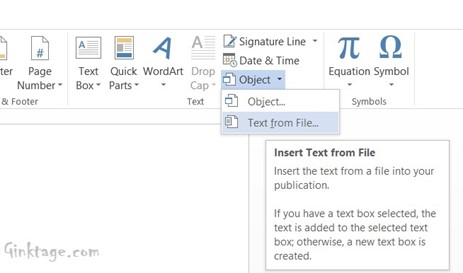
- To get more options, Select the Options button to get the Label Options dialogue box.
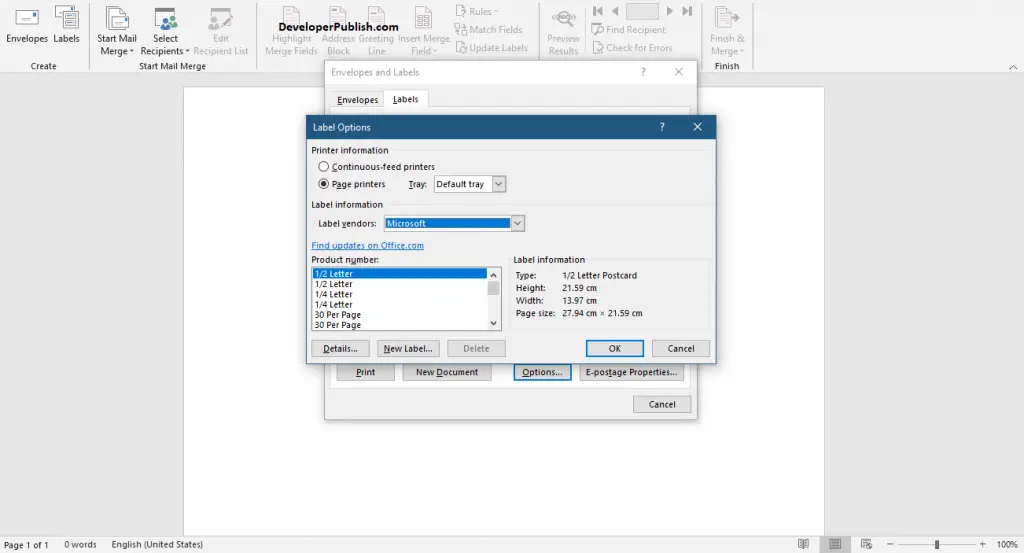
- Enter Printer Information.
- Now enter the Label vendors and Product number in the Label information part.
- Now, Click the Ok button.
- Finally, select the Print options.
- Now, your labels are ready.
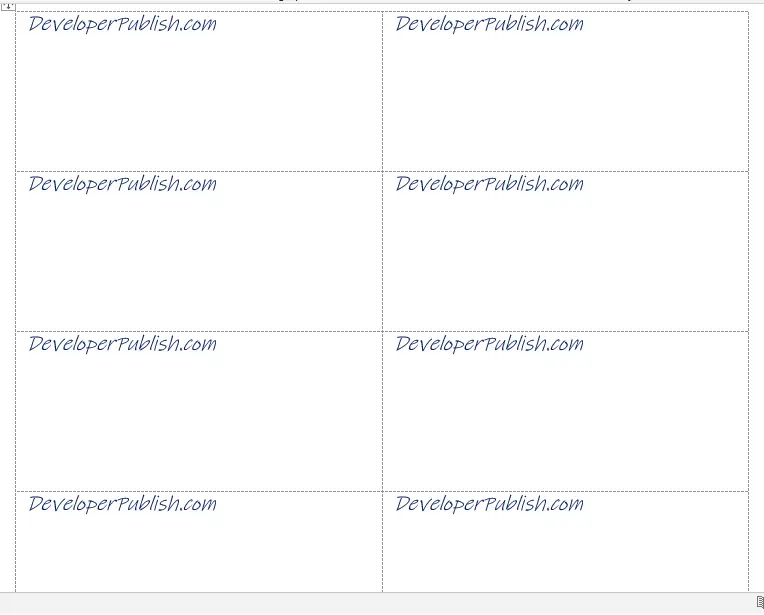
Select the New Document option for a preview so that you can able to save it for later use.