In this article, you will learn about the Different Ways to Hibernate Computer in Your Windows 11 PC.
Different Ways to Hibernate Computer in Windows 11
Sleep mode and hibernate are both similar. Sleep mode puts your system in sleep when you are away or not working in the system. All the files and applications you were working on are saved in the RAM. But when in hibernate mode, the files are saved in the hard drive as a “Hiberfil. sys” file. By this method, even when the battery runs out, your work is being preserved in the RAM.
In the older versions of Windows, hibernate mode was available in the shutdown menu. But in Windows 11, it is removed and you can access the hibernate mode in different ways
Hibernate in Control Panel
- Search for the Control Panel in the search or in the Windows Start menu.
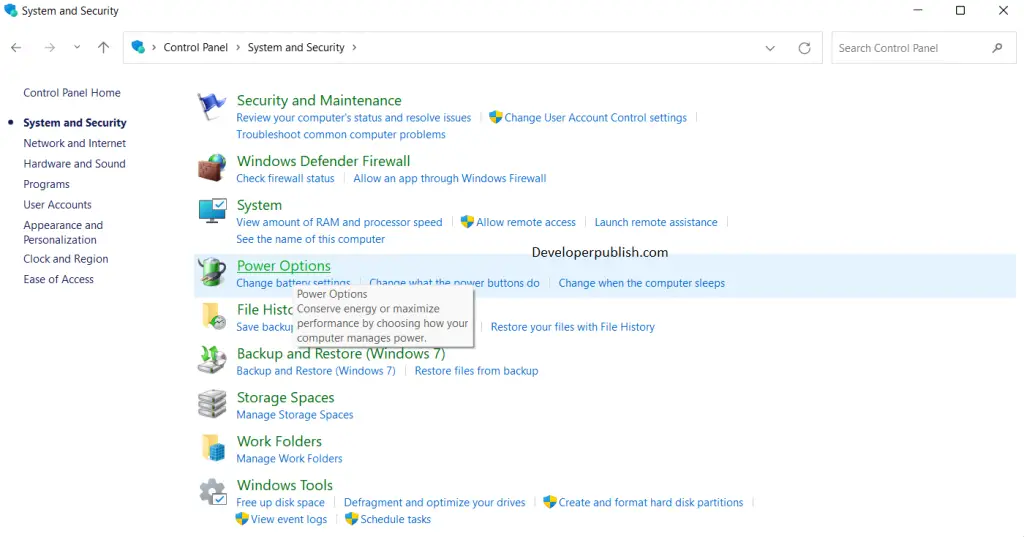
- Under the System and Security, and click on Power Options.
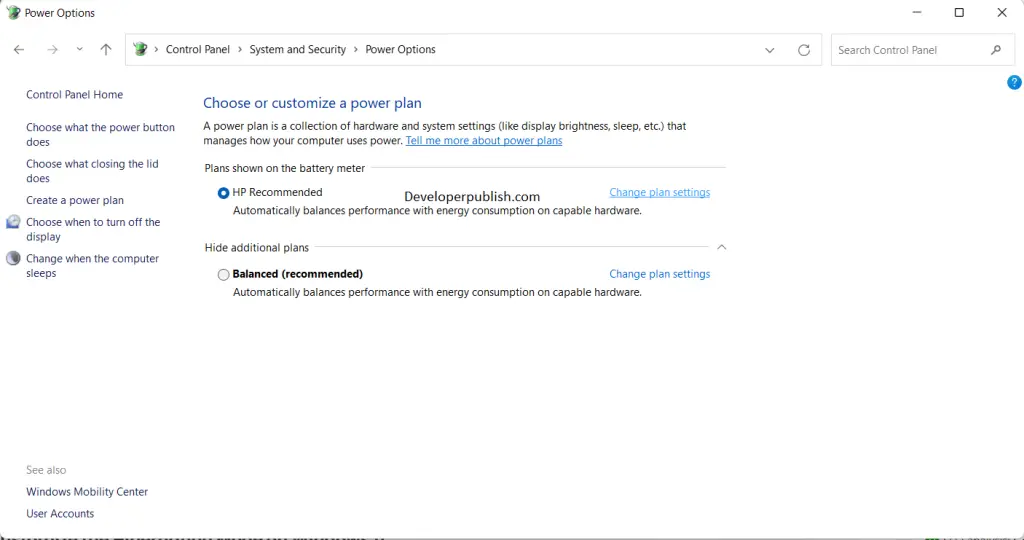
- Now, click on Change what the power buttons do.
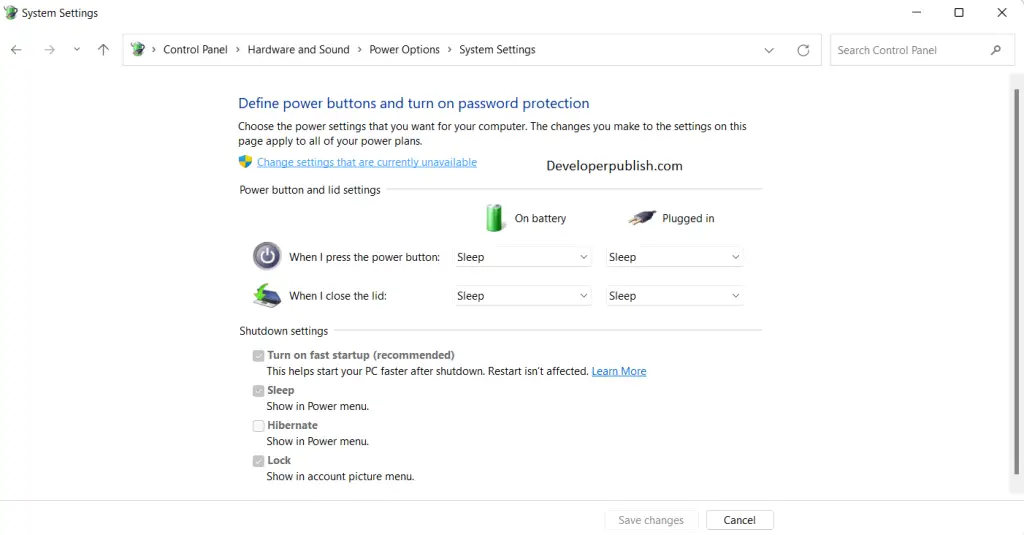
- Click on Change settings that are currently unavailable.
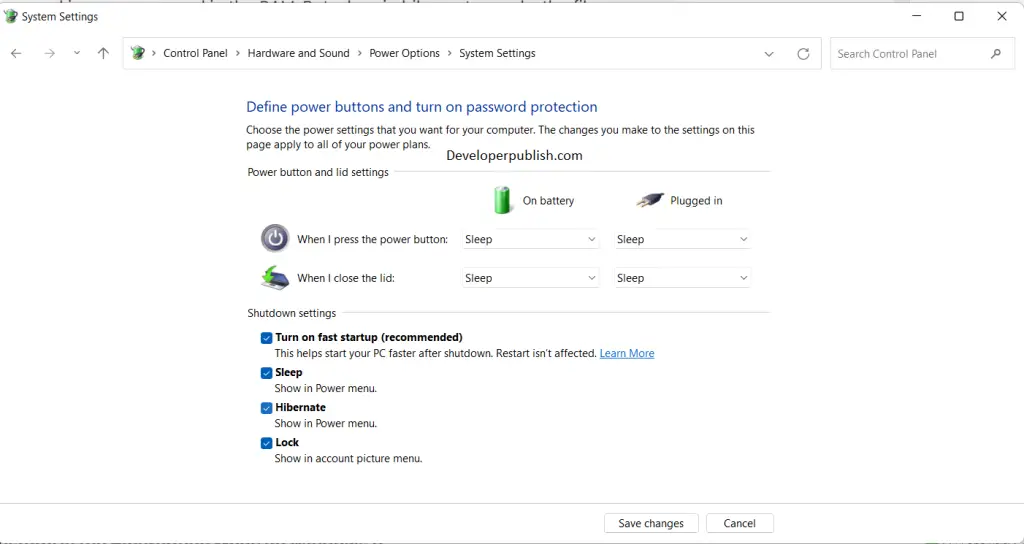
- In the Shutdown settings, check the Hibernate and click on save changes to enable the hibernate mode on Windows 11.
So now, when you access the shutdown menu, you can see the hibernate option in the menu.
Customize the Hibernation Mode on Windows 11
You can customize the hibernate mode to make it more useful.
- Open the Control Panel and click on System and Security.
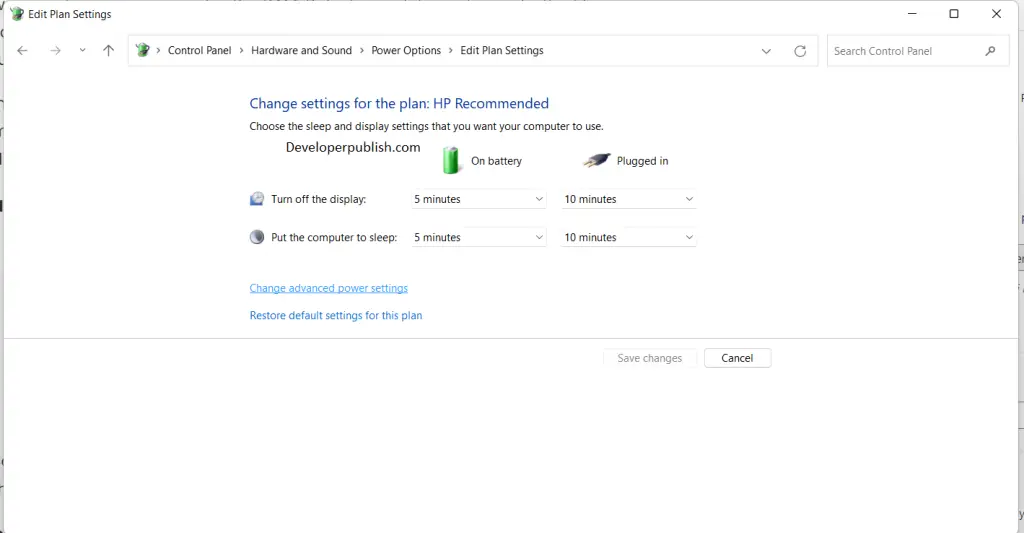
- Click on the Power Options, and then click om the Change Plan Settings.
- Now click on the Change advanced power settings to open the Power Options dialogue box.
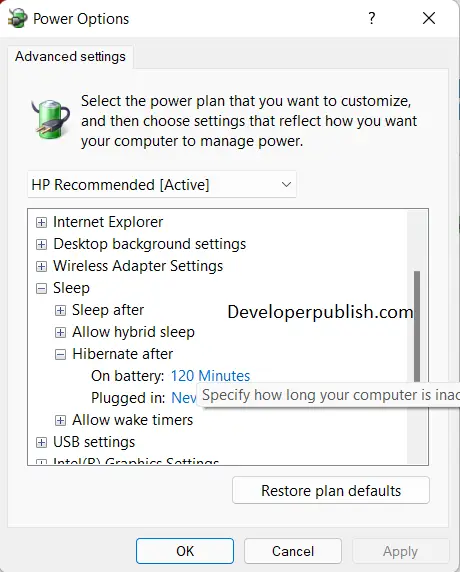
- Click on the Sleep options to expand and now on Hibernate after options.
- Adjust the required On Battery and Plugged in hibernation mode timings.
- Now click apply and then Ok.

