This is an article, where you’ll get to know about the Time and Date formats in Microsoft Excel in detail.
Microsoft Excel has a feature that allows you to choose the format of the date and time according to your wish and also of your location.
How to change the date format in Excel?
- Select the cell which has a date.
- Right-click on the cell and choose the Format cells option.

Tip: Use the control keys Ctrl+1 to open the Format Cells dialog box.
- When the dialog box opens up choose Date under Category under Number tab.
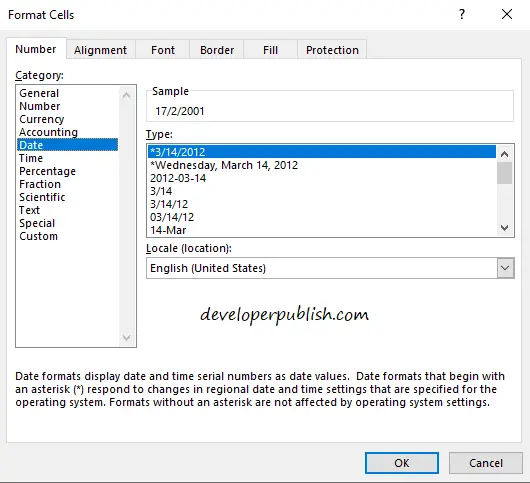
- In the Date category, you’ll find various types of format.
Let’s get to know all the types of format in detail.
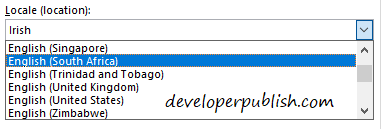
Firstly set your location by clicking on the drop-down list icon of the Locale bar. Because if you change the location the format also changes according to that.
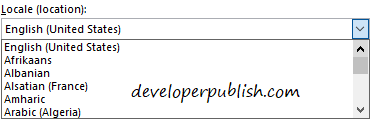
Note: The language of the wordings also changes according to the location you set.
Now in the Type field, you’ll find various types of format depending upon the location you selected.
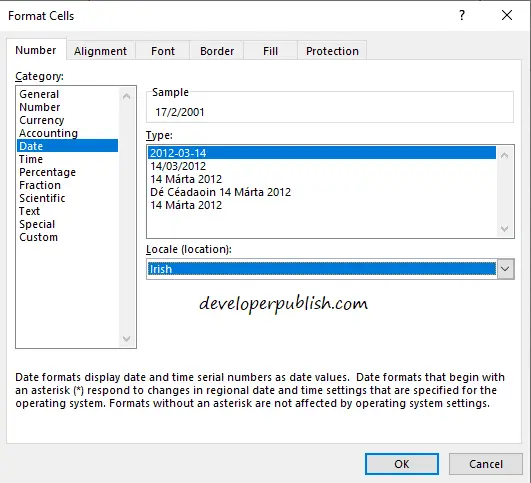
The formats that begin with * (asterisk), will change if there are changes made in the computer settings i.e the operating system.
The other formats without asterisks remain the same no matter the changes in the Operating system.
It has various formats like displaying only the date and month, only the month or just the month year.
Excel also has formats that let you display the time with the date.
Click on OK, after selecting the format of your choice, to save the changes you made.

The changes you made will be reflected in the worksheet.
How to change the time format in Excel?
To change the format of the timings, follow the below steps.
- Select a cell with timings in it.
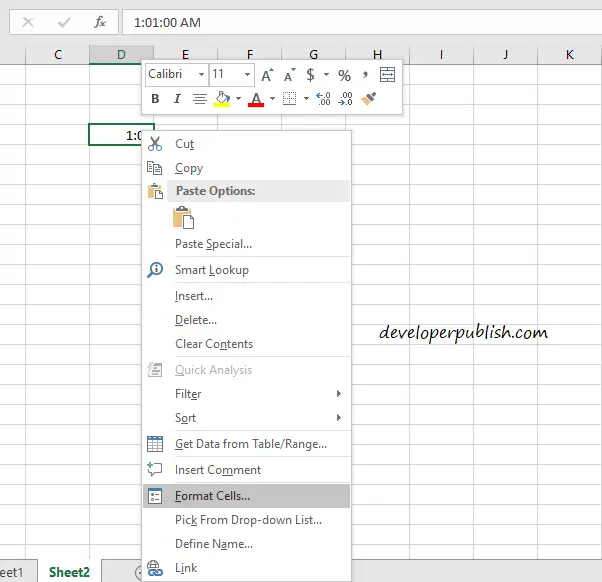
- Similarly, open the Format cells dialog box by either using the right-click method or using the control keys.
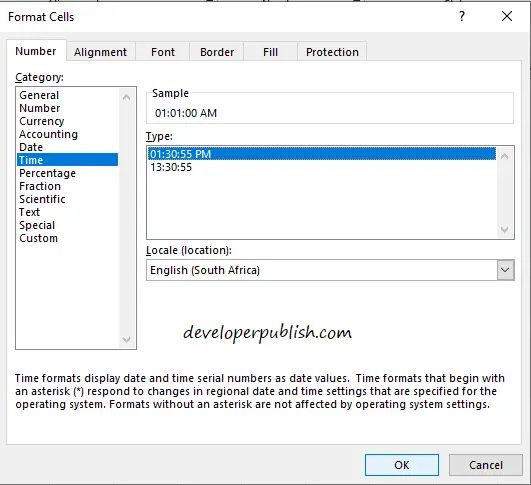
- Under the Number tab in Category choose Time.
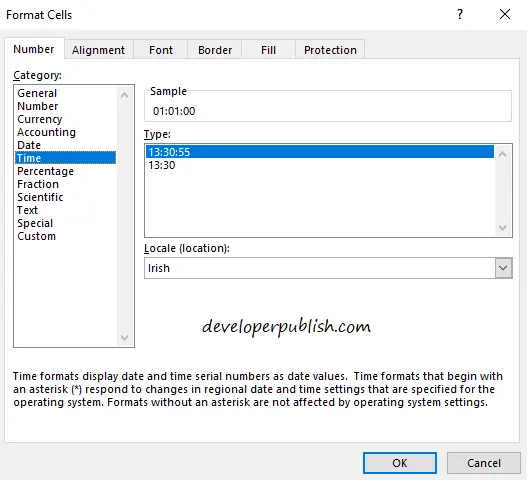
Set the location by selecting your location in the drop-down list provided by the Locale bar.
For example, we’ve set the location as South Africa and the locale i.e, the language is English.
Note: Language also changes per the location you select.
Once you set the location.
Go to the Types field where you’ll find a list of formats. Here the formats with the asterisk symbol mean the same thing as mentioned above i.e, those formats change if there are changes made in the computer settings i.e the operating system.
From the above example, for the location we’ve selected, only two formats are available.

But in general, many formats are available.
In types apart from the ones with asterisk symbol Excel provides quite a lot of options for changing the format.
You can choose any one of the formats.
After finalizing your choice, click on OK to save your changes.
This is how the timings look like after the changes you’ve made.

This is how you customize the formats of Date and Time in Microsoft Excel.