The TRANSPOSE function in Excel carries out the job of converting the range of cells from rows to columns. Or columns to rows, it flips the orientation of a range of cells or arrays. This post will fill you in with the information on the TRANSPOSE function in Excel.
TRANSPOSE function.
Fliping the orientation of a range of cells or arrays is the primary job for the TRANSPOSE function in Excel. It changes a range of cells from rows to columns and columns to rows. Just like all other functions, the TRANSPOSE function in Excel also uses the syntax for flipping the orientation. The syntax contains returns the value after flipping the orientation of the range of cells by getting the array values.
Syntax
=TRANSPOSE(array)
Let’s look out how the TRANSPOSE function performs step by step.
How to use Transpose Function in Excel?
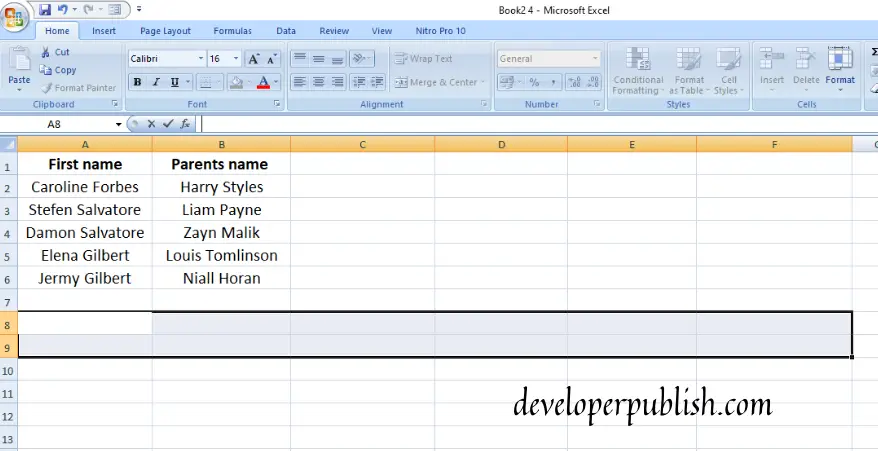
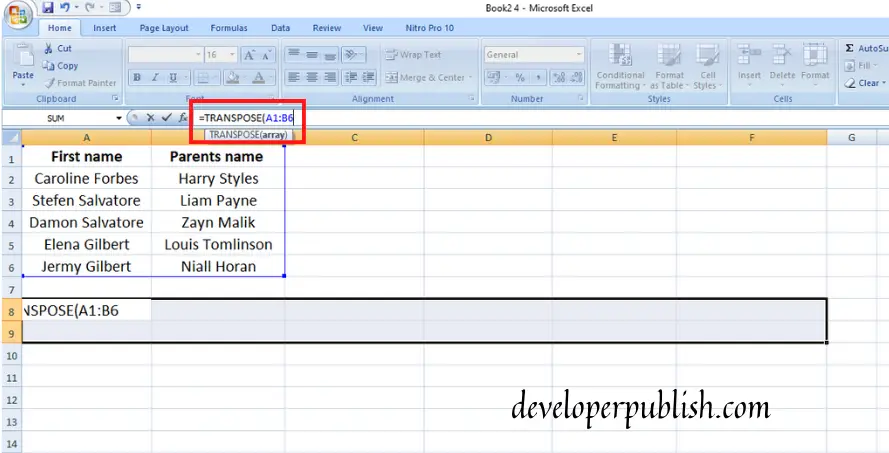
- Type the data in a range of cell and place the curor where you want to paste the flipped version of the particular data you want to. And select a range of empty cells to paste the result as this TRANSPOSE function works like that. [ for making the formul work for multiple range of cells, multiple range of empty cells has to be selected. ]
2. After selecting the range of cells, type the formula and simply drag the range of cells for which you have to change the orientation.
NOTE: You can type the formula in the formula bar rather than typing the cell, as it will unselect the empty cell.
3. Just like we do in all other functions, you cannot just give enter to get the result. Since this formula has to work for multiple cells, there is a certain format for getting the result. After typing the formula, you have to give “ctrl+shift+enter”. Only then the formula will be applied for all the selected cells.

This is how the TRANSPOSE functions help us in flipping the orientation of a range of cells. Hope this post filled you in with the needed information.