In this post, you will be learning about a simple tip on how to stop automatic updates in Windows 10.
How to disable automatic updates using Settings in Windows 10?
If you want to skip an update, you can pause updates until the day you want to apply them. Using the Settings app, you can stop system updates .
To disable automatic updates temporarily using Settings option,
- Open Settings.
- Click on Update & Security.
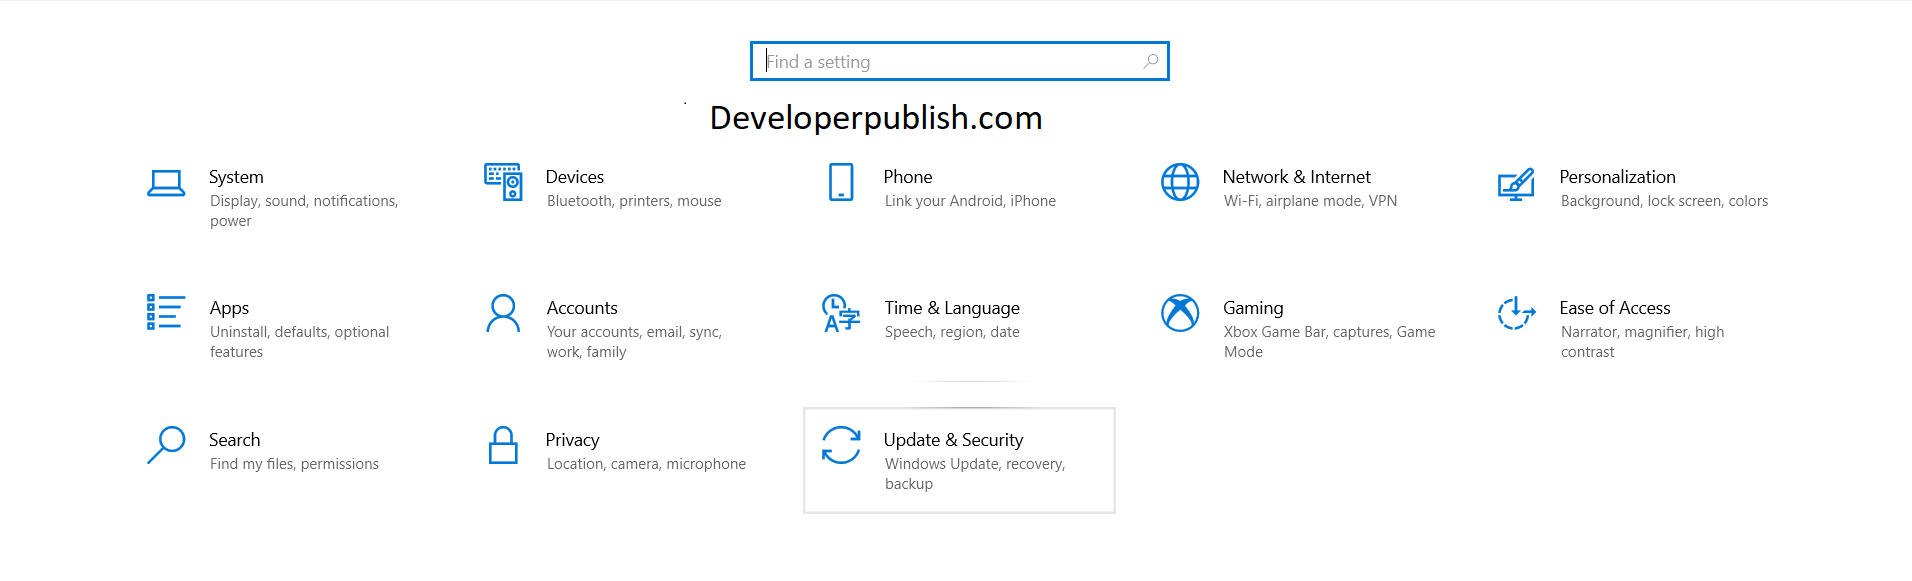
- Now, Click on Windows Update.

- Click the Advanced options button.
- Under the “Pause updates” sections, use the drop-down menu and select how long to disable updates.
How to disable automatic updates using Group Policy in Windows 10?
To disable automatic updates on Windows 10 permanently,
- Open Start.
- Search for gpedit.msc and click it.
- Group Navigate to the following path:
- Computer Configuration > Administrative Templates > Windows Components > Windows Update
- Double-click the Configure Automatic Updates policy.
- Check the Disabled option to turn off the policy and disable automatic updates permanently.
- Click the Apply button.
- Click the OK button.
How to disable automatic updates using Registry?
To disable Windows 10 update permanently modifying the Registry,
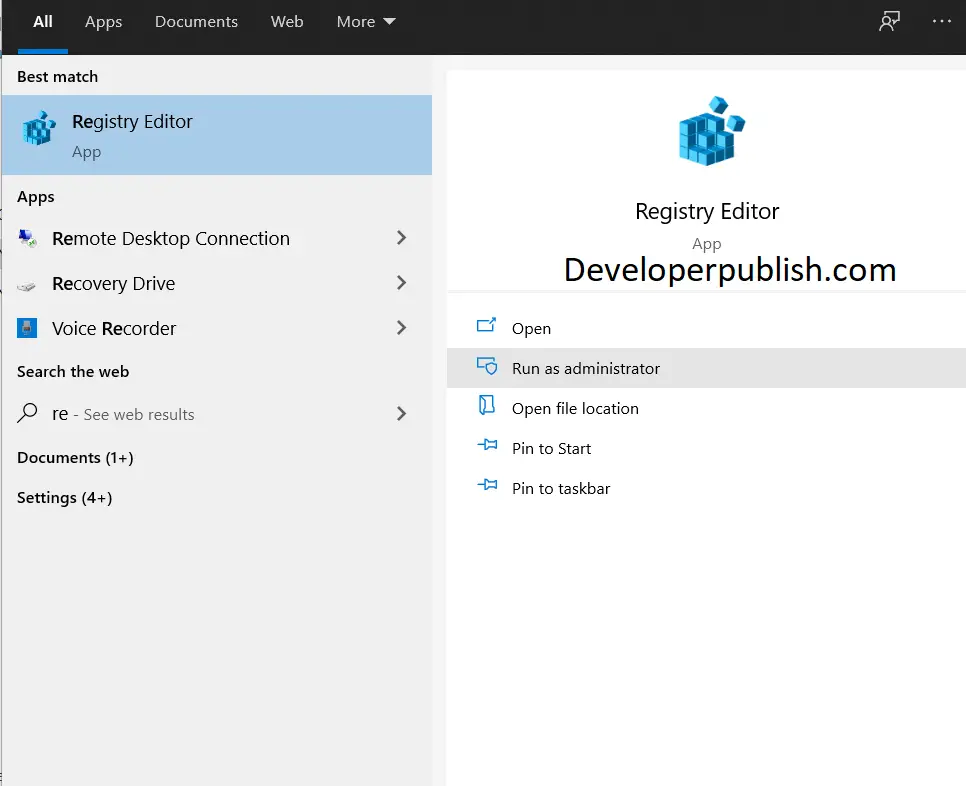
- Open Start.
- Search for regedit and click it.
- Navigate to the following path:
- HKEY_LOCAL_MACHINE\SOFTWARE\Policies\Microsoft\Windows
- Right-click the Windows (folder) key, select the New submenu, and then choose the Key option.
- Name the new key as WindowsUpdate and press Enter.
- Right-click the newly created key, select the New submenu, and choose the Key option.
- Name the new key AU and press Enter.
- Right-click the AU key, select the New submenu, and choose the DWORD (32-bit) Value option.
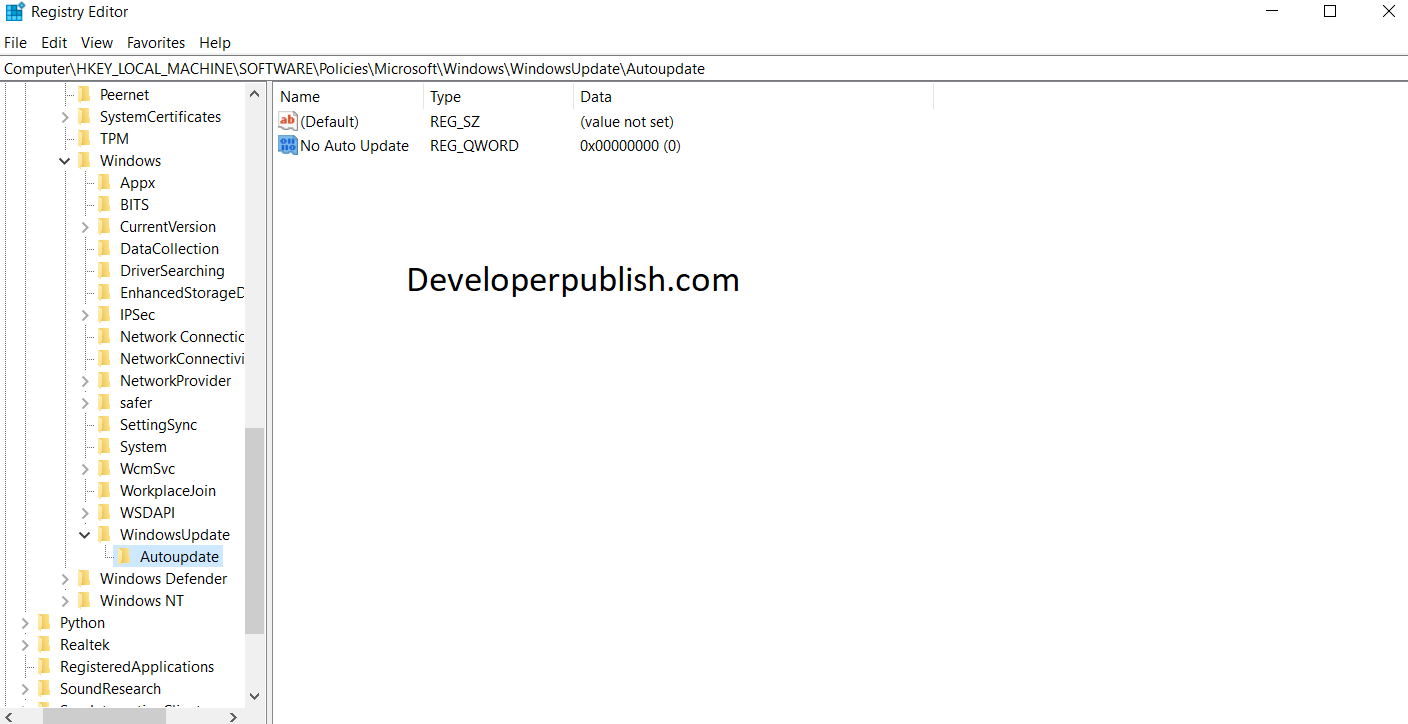
- Name the new key NoAutoUpdate and press Enter.
- Double-click the newly created key and change its value from 0 to 1.
- Click the OK button.
- Restart your computer.