How to Flush & Reset the DNS Cache in Windows 11?
In this post, you’ll learn about Flush & Reset the DNS Cache in Windows 11.
First, let’s understand what DNS Cache and Flushing is all about.
What is a DNS Cache?
A DNS Cache, aka Domain Name System Cache. DNS Cache is a record of all queries made to the DNS Server from your browser. When you input an URL into your browser, your browser sends a request to the DNS server asking for the URL’s IP address. After your browser receives the IP address, it can load the correct website in your window.
What does flushing mean?
Flushing DNS will clear any IP addresses or other DNS records from your cache. This can help resolve security, internet connectivity, and other issues.
How to Flush &Reset the DNS Cache in Windows 11?
The following are the steps to flush & reset the DNS Cache in windows 11, and they are:
- Go to the main page on your windows 11.
- Click on the search menu or press F9 to open the search option.
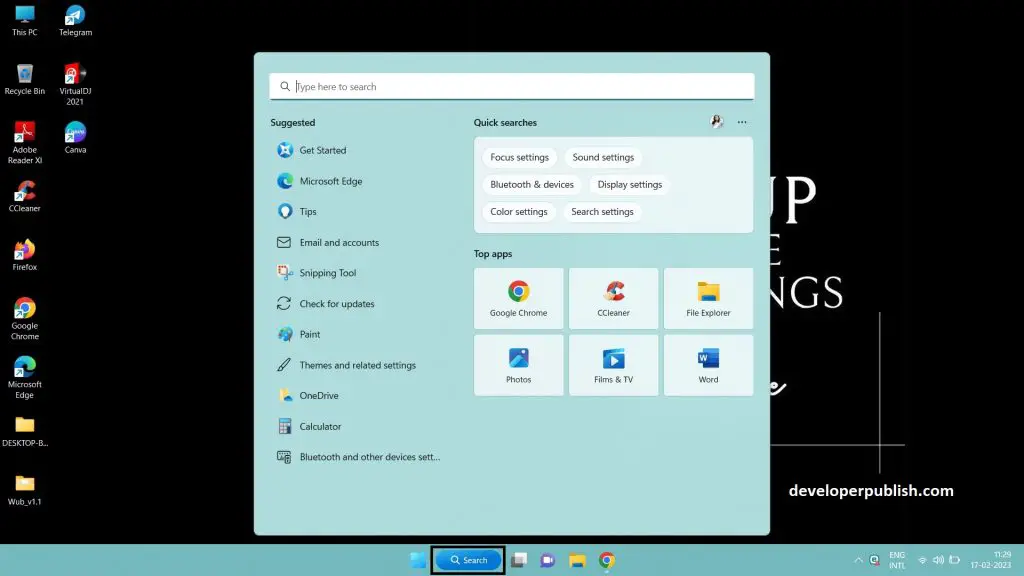
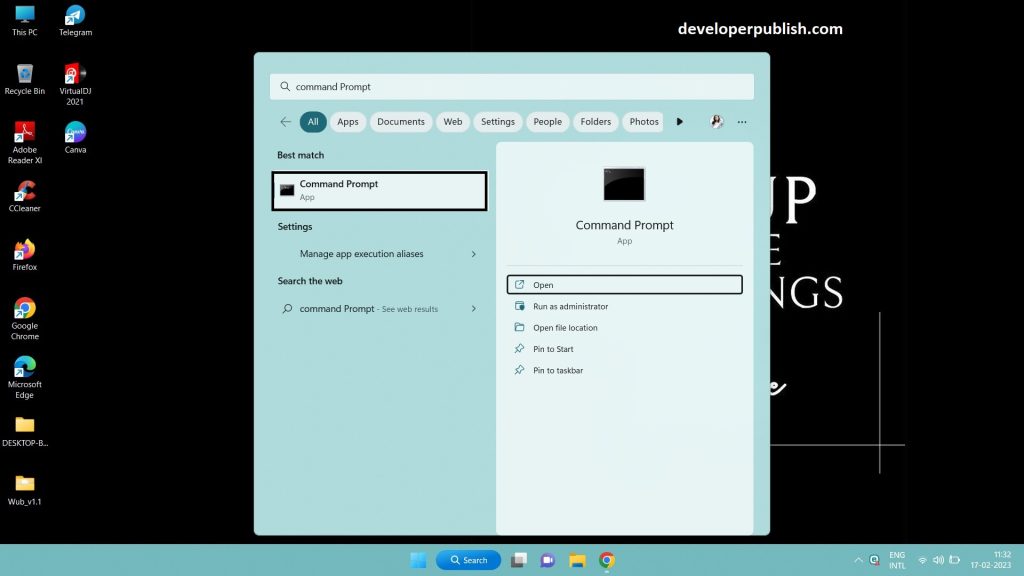
- On the search bar, type for command prompt.
- Click on the command prompt to open.
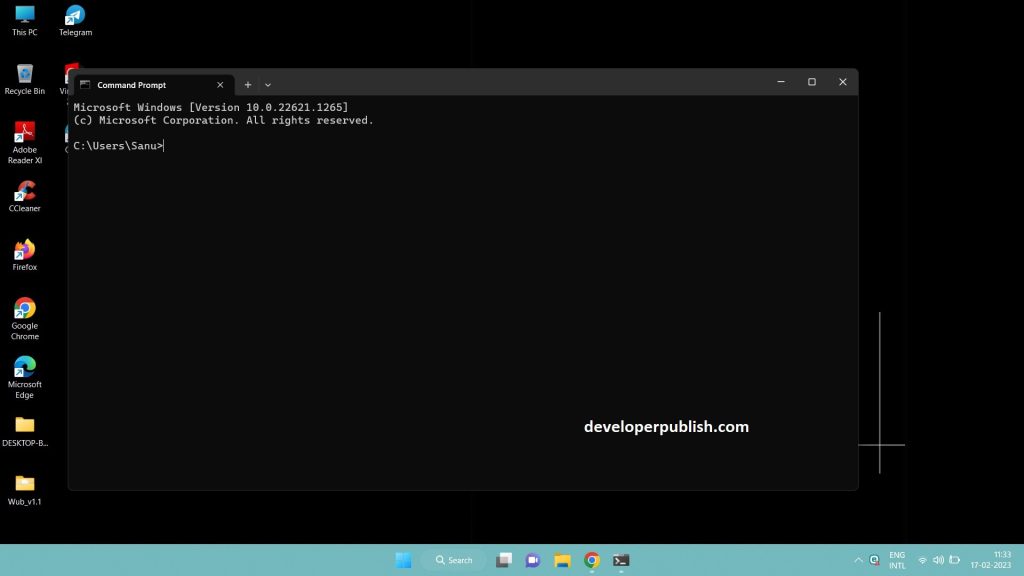
- The command prompt window appears.
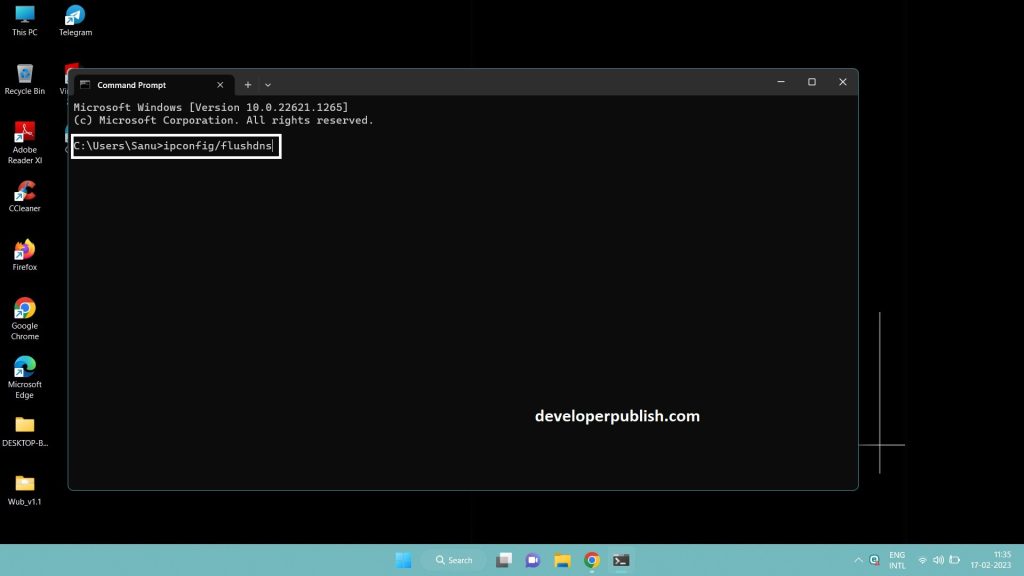
- Use the “ipconfig/flushdns” command to flush and reset the DNS Cache.
- This command will help in flushing the DNS Cache.
- Once the command is used, then the result will be displayed as successful.
- The result appears as Successfully flushed the DNS Resolver Cache.
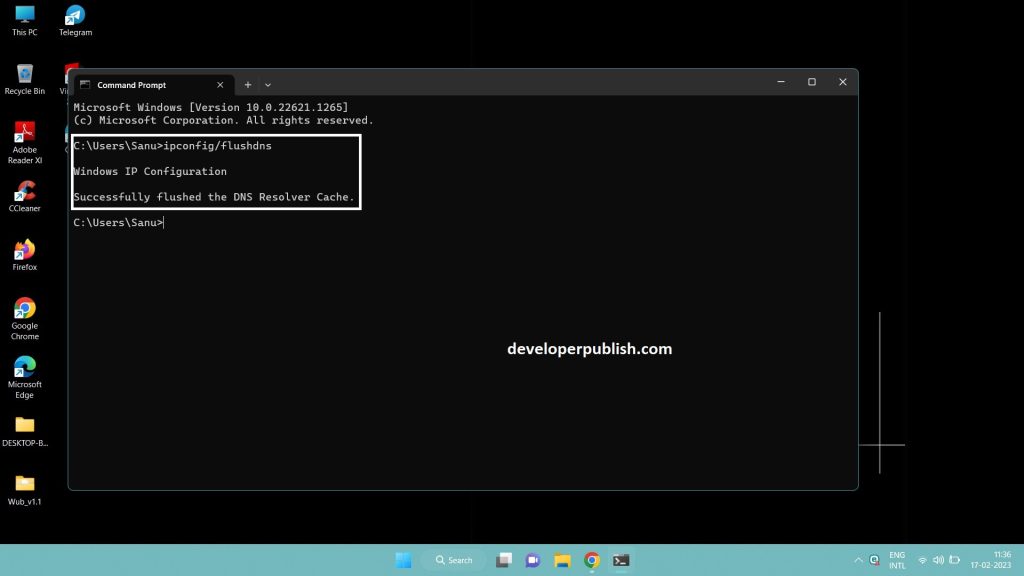
- Now your DNS Cache will be flushed in windows 11.



Leave a Review