I have been trying the Windows 8 Consumer Preview and here’s one thing that I noticed about the Confirmation Dialog.
By default, the Windows 8 doesn’t ask you for the confirmation when deleting a file or a folder.
So, when you press a delete key on selecting a file or a folder, the file/folder is deleted straight away and moved to the Recycle bin.
If you want to enable the “Delete Confirmation” Dialog, you can do that by following the instructions below.
How to enable Delete Confirmation Dialog in Windows 8?
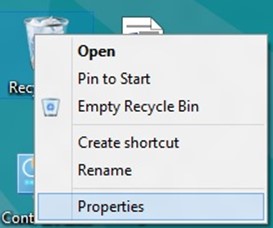
1. Right Click on the Recycle Bin and select Properties.
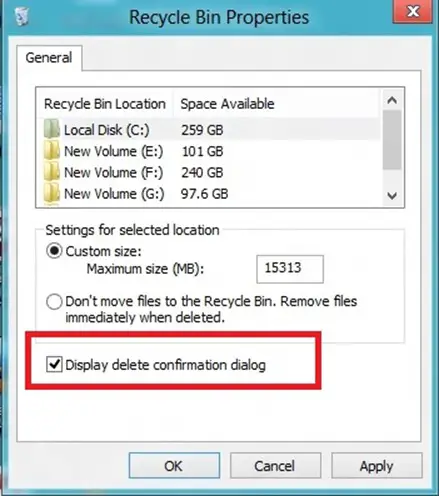
2. In the Properties Dialog of the Recycle bin, enable the “delete confirmation” dialog option and click ok to apply the changes.
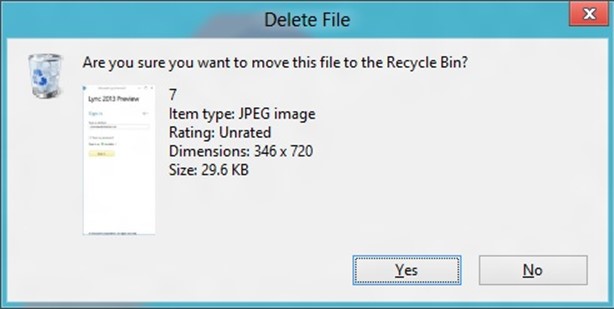
3. Now, try to delete the file. You should see the confirmation dialog before deleting the file.