This post demonstrates how to change the line spacing in your document in Microsoft Word.
To improve the readability of your document, you can change the line spacing in your document.
Change Line spacing for entire document in Word
To change the line spacing of your entire document, do the following steps:
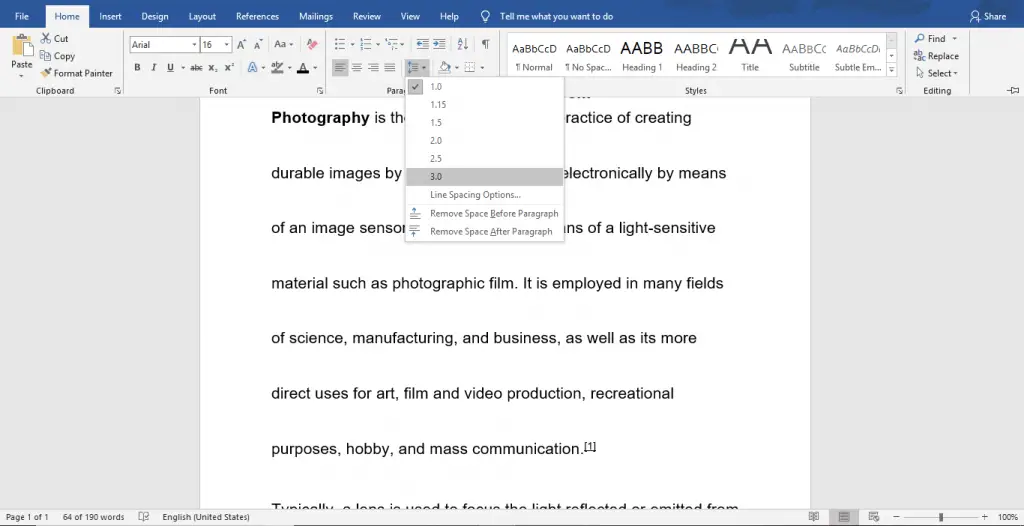
- Click the Paragraph Spacing button on the Design tab in the ribbon.
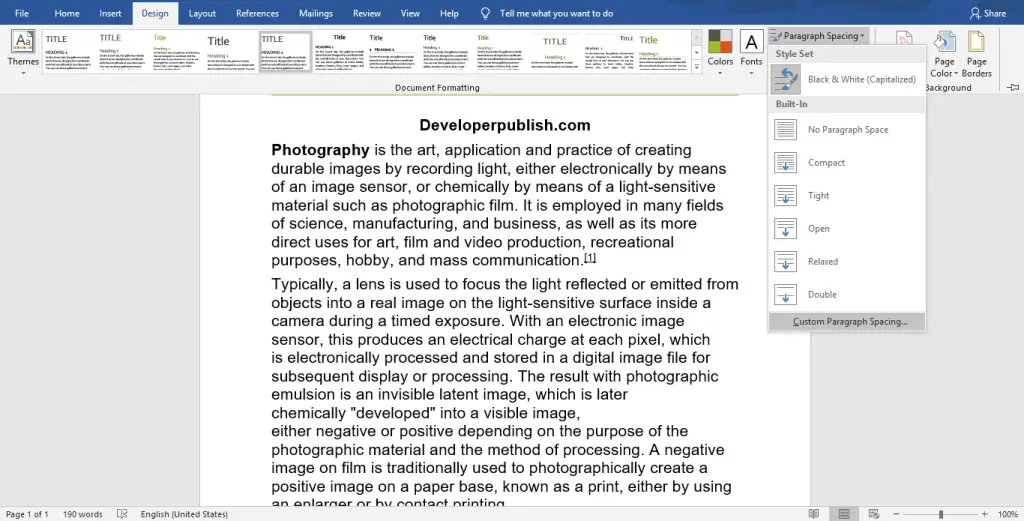
- Now, you can see a pop-down menu with the list of build-in spacing
- You can select the desired spacing or customize the line spacing by selecting Custom Paragraph Spacing.
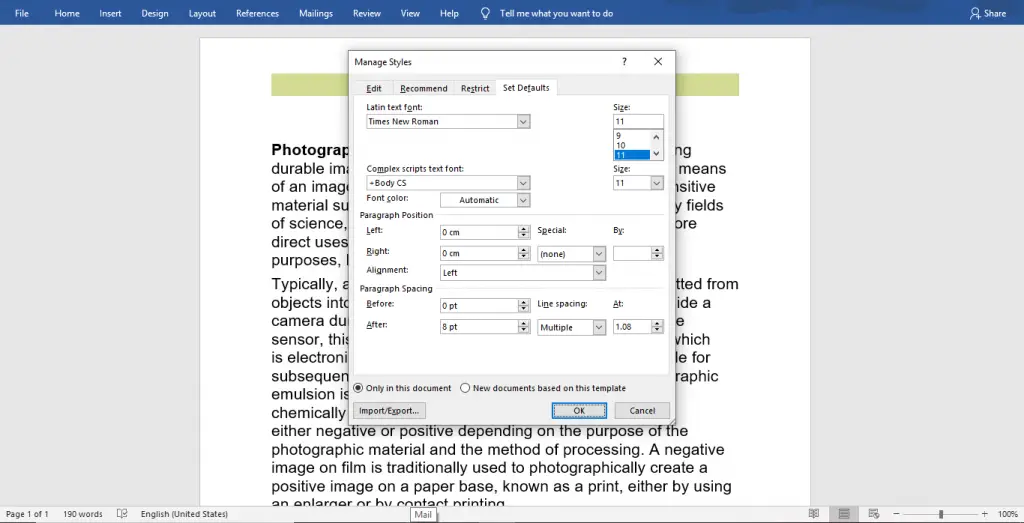
- The Manage Styles dialogue box will appear on your window as in the above image.
- Select the type of line spacing by clicking the down arrow and enter the value in At text box.
Change the Line Spacing on Selection in Word
To change the line spacing on a selection in a document, do the following steps:
- Select the portion, you need to change the line spacing.
- Now, click the Line spacing button on the Home Tab.
- You can select the value for the spacing from the drop-down list or select line spacing options to get more options.
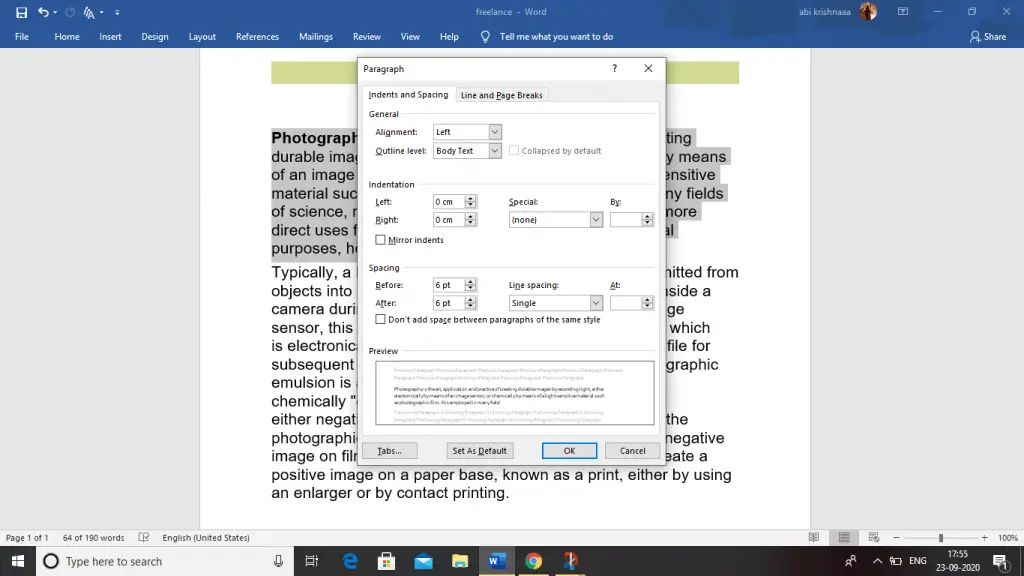
- A paragraph dialogue box will appear on your window as in the above image.
- You can see the various options like Before, After, Line spacing, and At in the Spacing section.
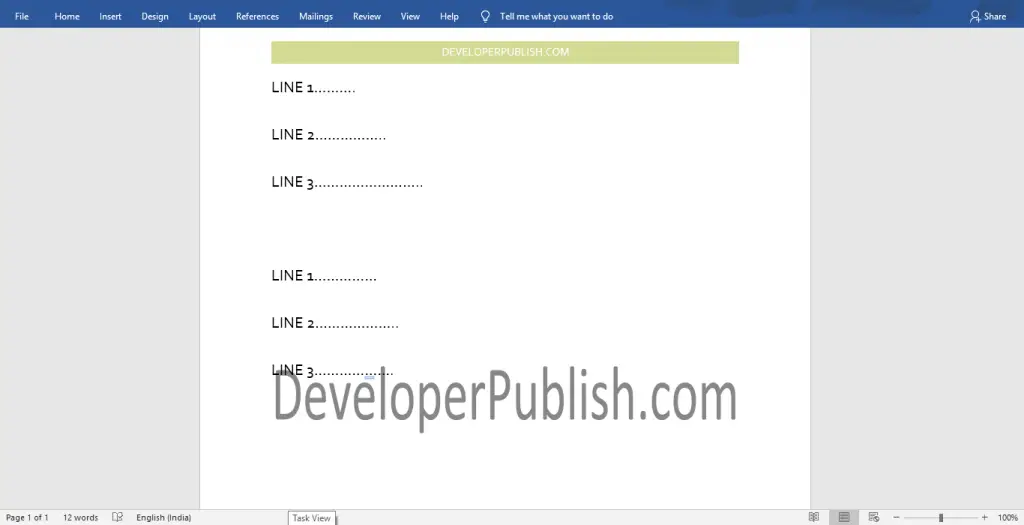
In the above image, you can see the line spacing is applied with value 2.5.