In this article , you’ll learn how to change Visual Studio Theme by creating and installing additional color themes for Visual Studio 2019 IDE.
Microsoft Visual Studio 2019 comes with few default themes for the developers to use it. But these default themes are not just enough for few Visual Studio 2019 users. How about having additional color themes for Visual Studio 2019 ?.
How to Change Visual Studio Theme ?
One of the options to have the additional color themes in previous versions of Visual Studio is to install the Color Theme Editor extension. While , this extension was great , it is now deprecated in favour of Color Theme Designer .
There are other color themes for Visual Studio extensions available in the Visual Studio Marketplace which the other users have published.
One such theme is the Color Themes for Visual Studio extension by Microsoft DevLabs. While this plugin is similar to the Color Themes Editor , it does not comes with the theme editor but just the themes contributed by the community members and the themes from Microsoft’s color Themes Editor.

Create your Own Theme with Visual Studio Color Theme Designer
If you are one of the users who wants to be the author of your own themes , you can create one with the Color Theme Designer. This extension lets you to create your own theme faster and easy way.
To Create your own theme , follow the below steps
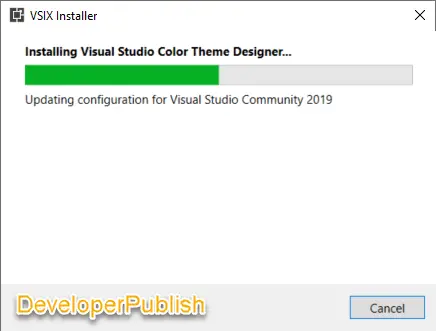
- Download and install Color Theme Designer for Visual Studio.
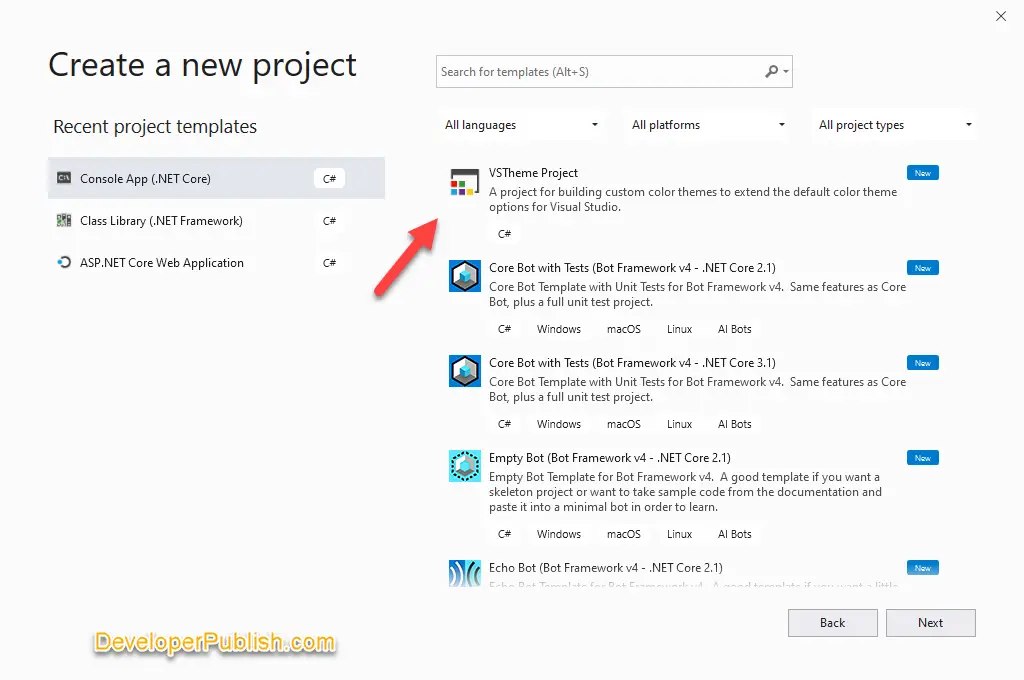
- Create a new project with the VSTheme template in Visual Studio.
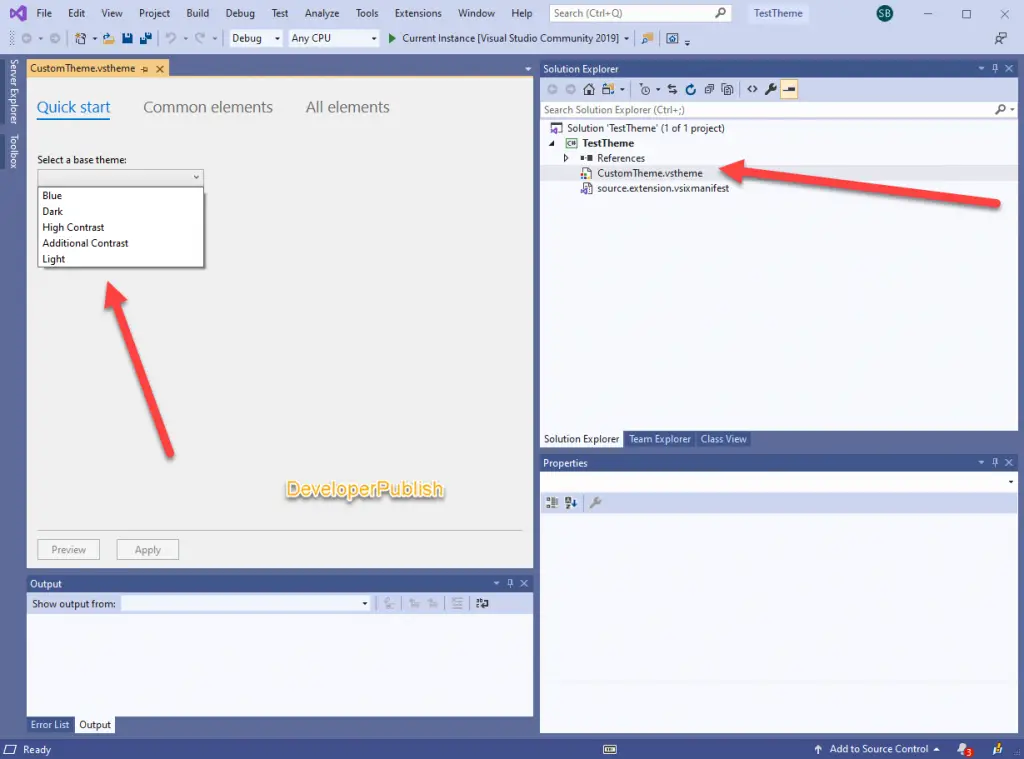
- This new project by default would contain the empty .vstheme file. When you open the file , you will receive an option to select the base theme. If you select the base theme it will update the theme file with the settings of the base theme which you can customize it later.
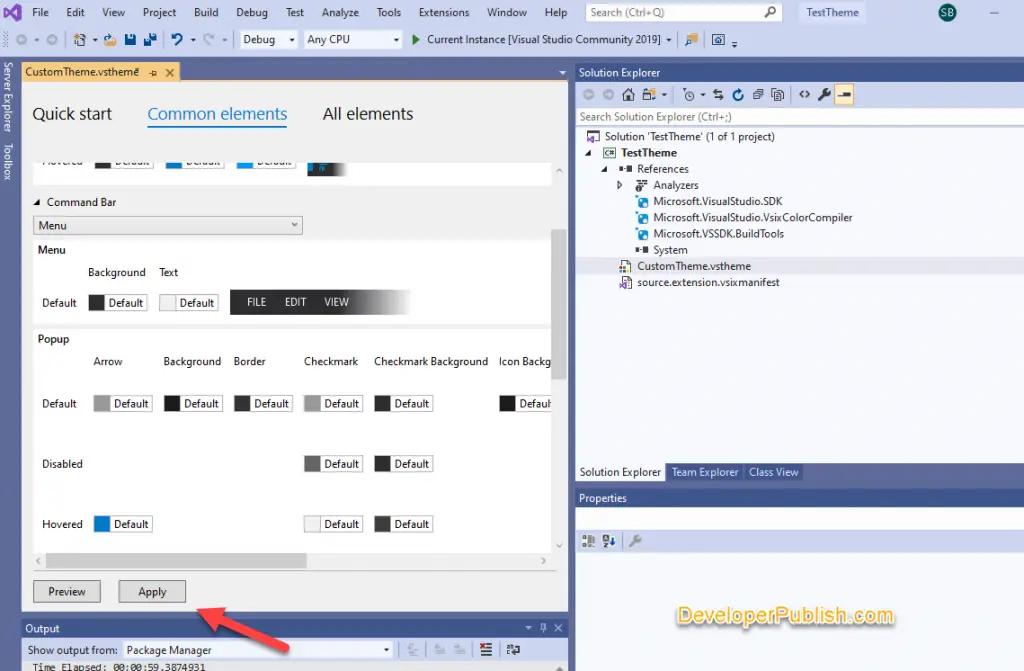
3. You can no start customizing your theme by changing the theme elements in the Common elements / All elements.
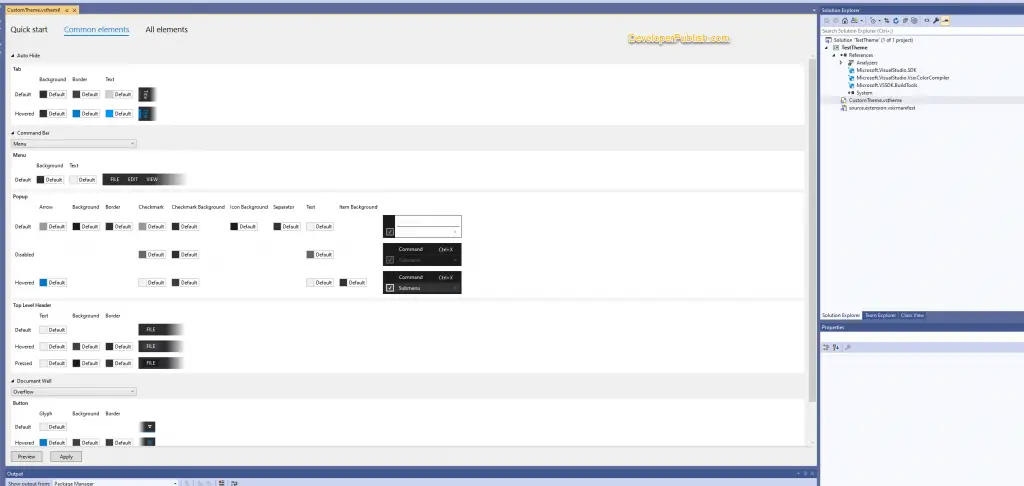
4. once you are done with the customization , click the Apply button to start using this theme immediately.
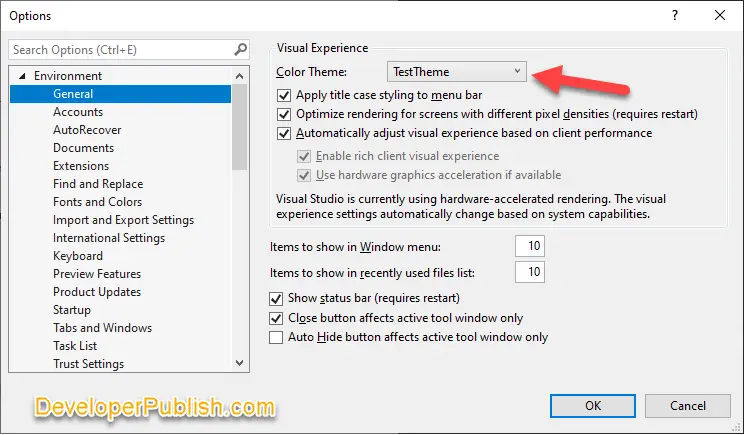
5. You can verify the current theme that is applied to your Visual Studio IDE from Tools -> Options -> General
You can also publish this theme to the Visual Studio Marketplace by building your theme and publishing or uploading the .vsix file to the Marketplace.