Mark Workbook as Read-only in Microsoft Excel
This post explains about the Read-only feature in Microsoft Excel and how you can mark a workbook as read-only in excel.
How to Mark Workbook as Read-only in Microsoft Excel?
By making the workbook read-only, the users cannot edit the data in the worksheet, they can only view the workbook.
Here is an example of how to mark a workbook as read-only.
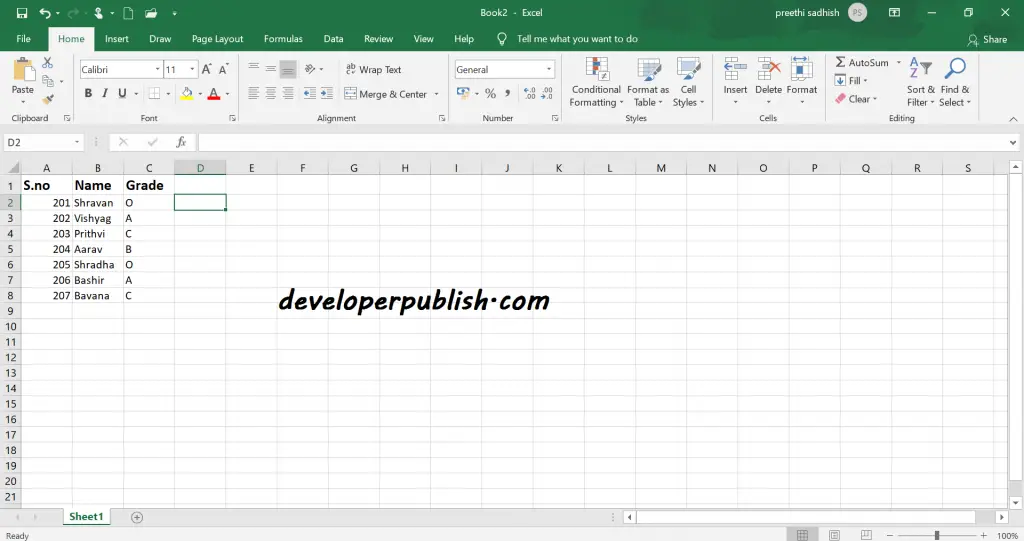
- Open a workbook.
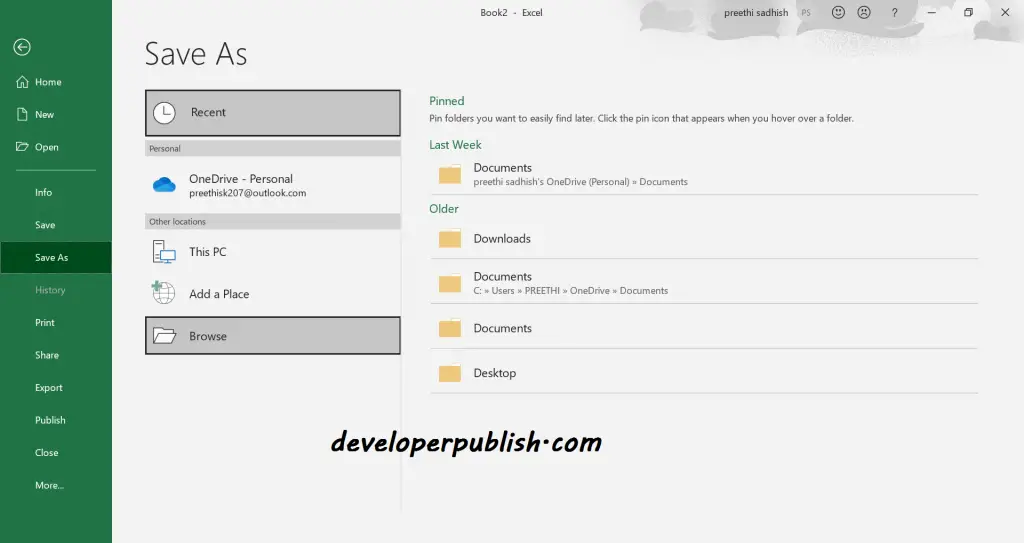
- Select File tab and select Save As.
- Click Browse.
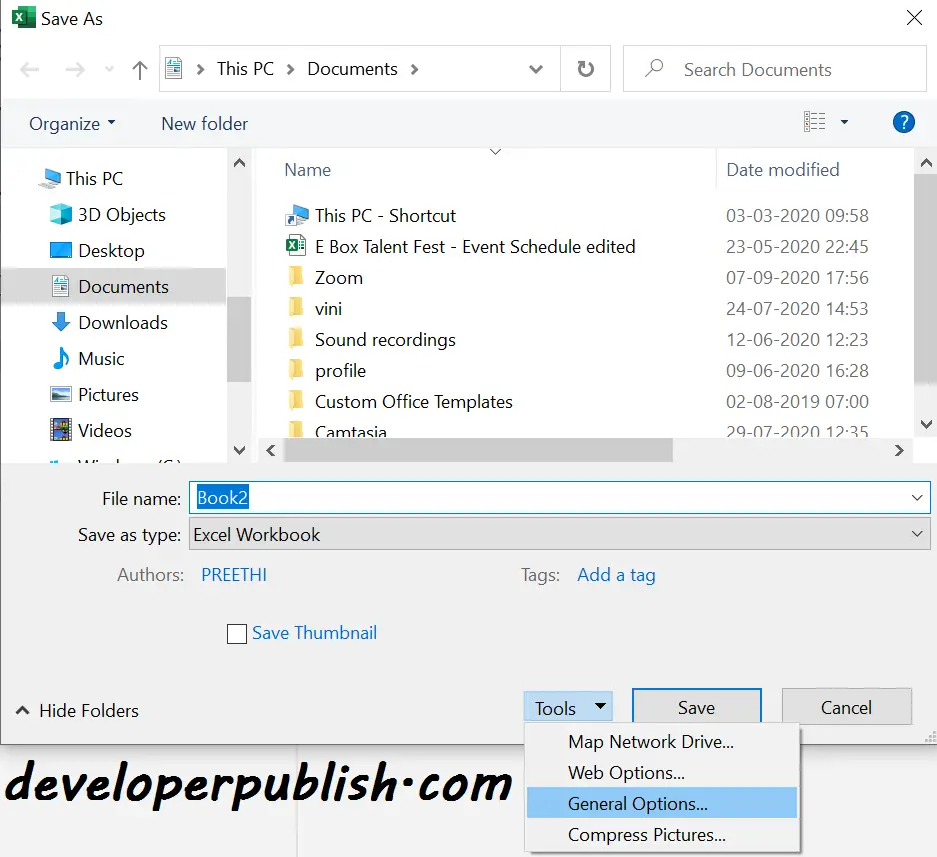
- Click on the Tools button on the bottom
- Click General Options.
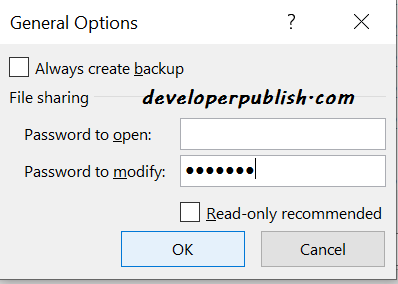
- Enter a password in the Password to modify box and click OK.
Note: If you want the users to open the Excel file as read-only without protecting it, then don’t enter a password instead check Read-only recommended alone and click OK.
- Reenter the password and click OK.
- Enter the file name and Save.
Now the file can be accessed only through the password and the others users can only read the file.


I have already used this method in my Excel but once again thanks for sharing.