In this post, you’ll learn about various ways ways to capture screenshots in Windows 10.
Screenshots are just shots of your screen. It can be just a part of your screen or your whole screen. Windows provides us with Control keys, applications, and tools to capture screenshots.
Let’s take a look at those ways.
How to Take Screenshots in Windows 10?
Print screen
Print Screen is a key on your keyboard. You can capture your screen by simply pressing the PrtScr key.
When you use this key your entire screen gets captured.
By default, the screenshot captured by using this key doesn’t get saved. It just gets copied to the clipboard from which you can paste it to use it.
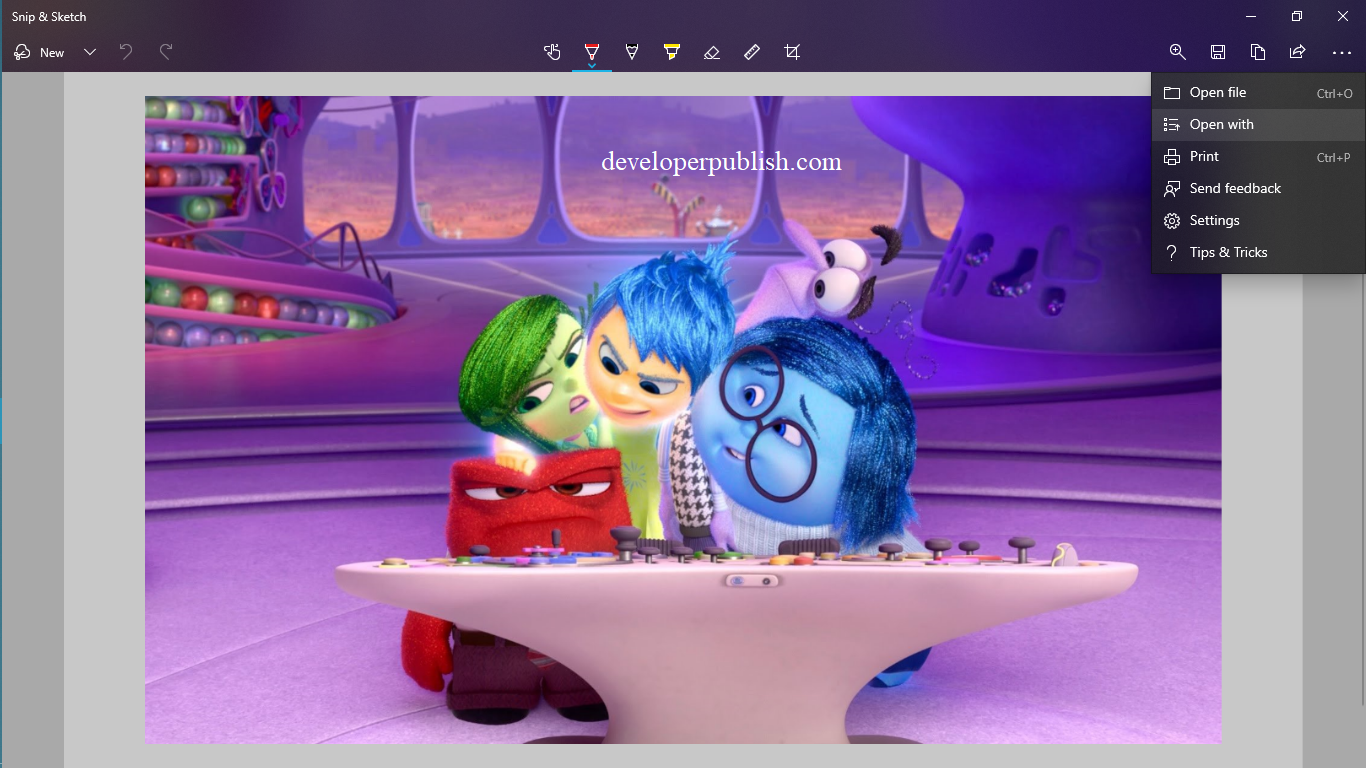
If in case you wanted to save the screenshot then open the screenshot by clicking on Open with and choose any editing application and then use the Save As option to save the screenshot.

How to capture a screenshot of the currently active window?
There is a simple way to capture a screenshot of just the active window you’re working on currently.
Use the control keys Alt+PrtScr to capture the currently active window.
By default, the screenshot gets copied to the clipboard, if you wanna save it do the same as mentioned above.
How to capture screenshots of just parts of the screen?
The above-mentioned options let you capture only the whole screen and not parts of the screen.
Windows allows us to perform this action, by using an application called Snip & Sketch. It has four ways of capturing.
Snip & Sketch allows us to capture the parts of the screen in a rectangular form snip, free form snip, full-screen snip, and windows snip.
To open Snip & Sketch either go to Start<All applications<Snip & Sketch or use control keys Windows+Shift+S.

When the application opens, four options get displayed in the mid-top of the screen.
The rectangular snip allows you to capture just parts of the screen.
This also doesn’t save the screenshot you only get a notification of the screenshot you captured, click on it to open it.
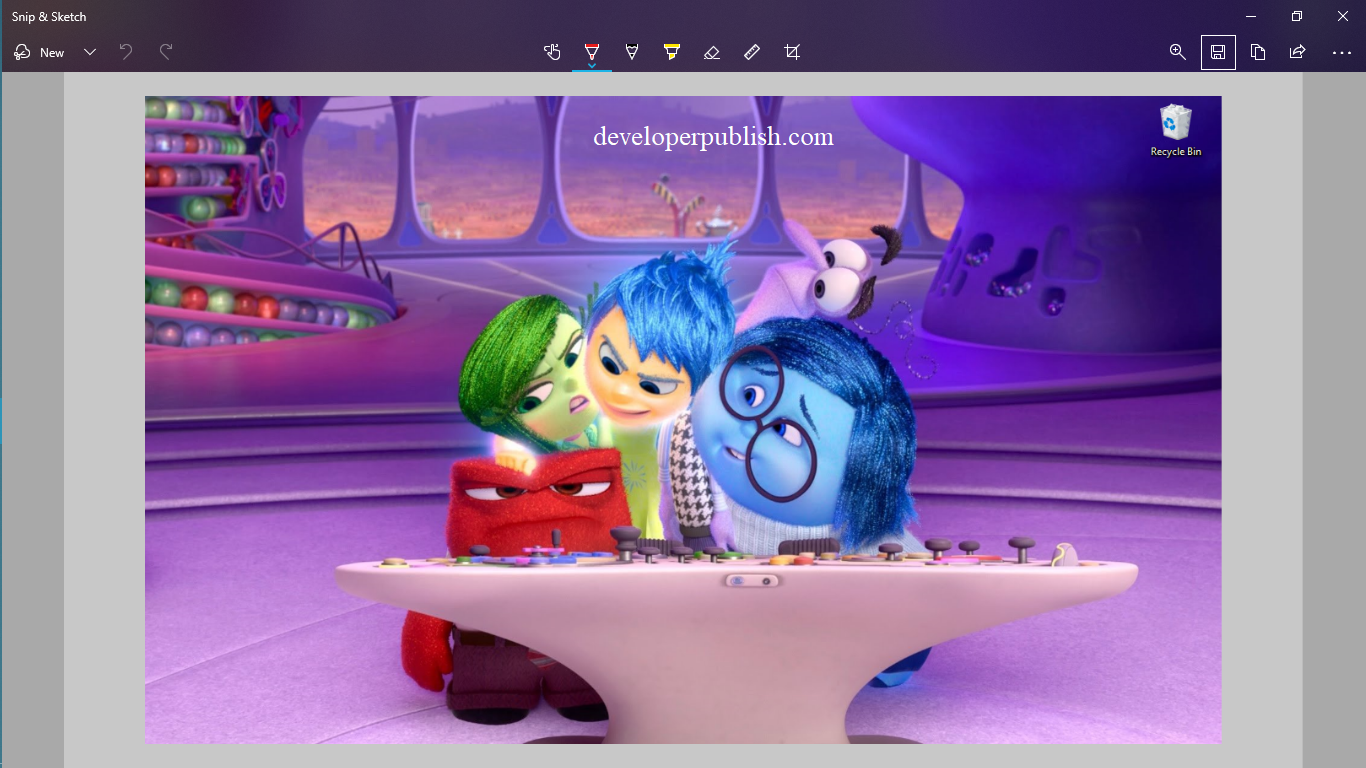
When you open the screenshot it allows you to edit it such as draw on it, crop it. It also allows you to save the screenshot and share it.
Take Screenshot using Snipping tool in Windows 10
It is also an application provided by Microsoft.
To open go to Start<Search<Snipping tool.
The Snipping tool opens up with a dialogue box.
Click on New drag the cursor over the screen to capture the screenshot.
By default, the Snipping tool captures rectangular snips.
The Snipping tool has four options similar to Snip & Sketch i.e, Rectangular, free-form, full screen and, window snip.
After capturing the screenshot it gets copied to the clipboard but you need to save it for further use.
Take Screenshot using Game Bar in Windows 10
Another way to capture a screenshot is by using the Game Bar.
It is designed to prove useful when you’re playing a game but it can be used even when you aren’t playing one.
Firstly make sure that Game Bar is allowed to capture screenshots by Settings<Gaming>Gaming Bar. Here see to that screenshots are enabled.

To open the Game bar use the control keys Windows+G.
Now you can click a screenshot.
You can also change the control keys of your choice by going to Gaming Bar options in Settings.
Take Screenshot using SnagIt in Windows 10
SnagIt is an application that is used to capture not just shots of your screen but also videos.
It can be bought from its developer site, techsmith.com. You can try the free trial provided on the site.
It allows you to edit your screenshot and screen recordings such as trim the video and draw over the screenshots.
One of its useful features is that you can save your videos and snips within the application itself in an organized way for future reference. And all these can be shared by using over 15 applications supported by Windows.
When you open the application a dialog box opens up, under the File tab you can find the option to record and snap the screen.