In this post, you’ll learn how to create Flowchart in Microsoft Word document using shapes and SmartArt options.
How to Create Flowchart in Microsoft Word?
To create a flowchart in Microsoft word document follow these steps
1. Open a blank document in Word
2. Add shapes
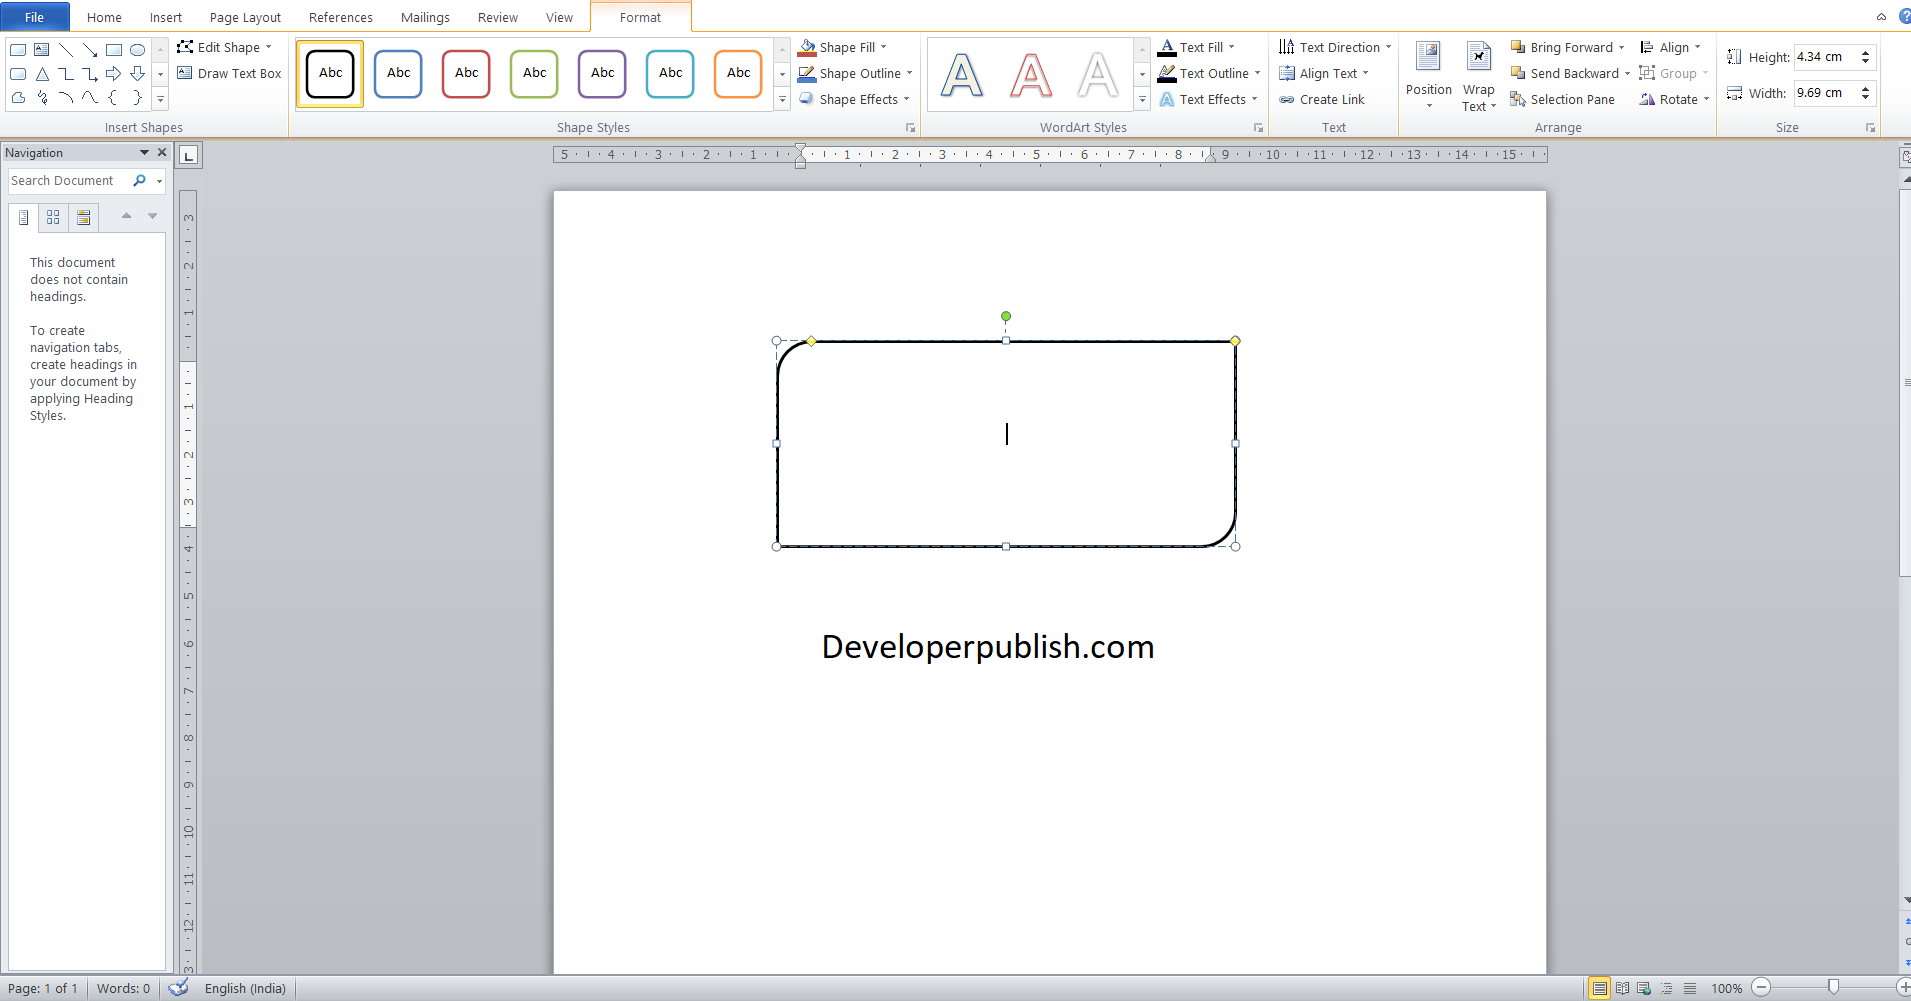
To add shapes to the flowchart in Word, in the Insert tab within the Ribbon and choose SmartArt or Shapes.
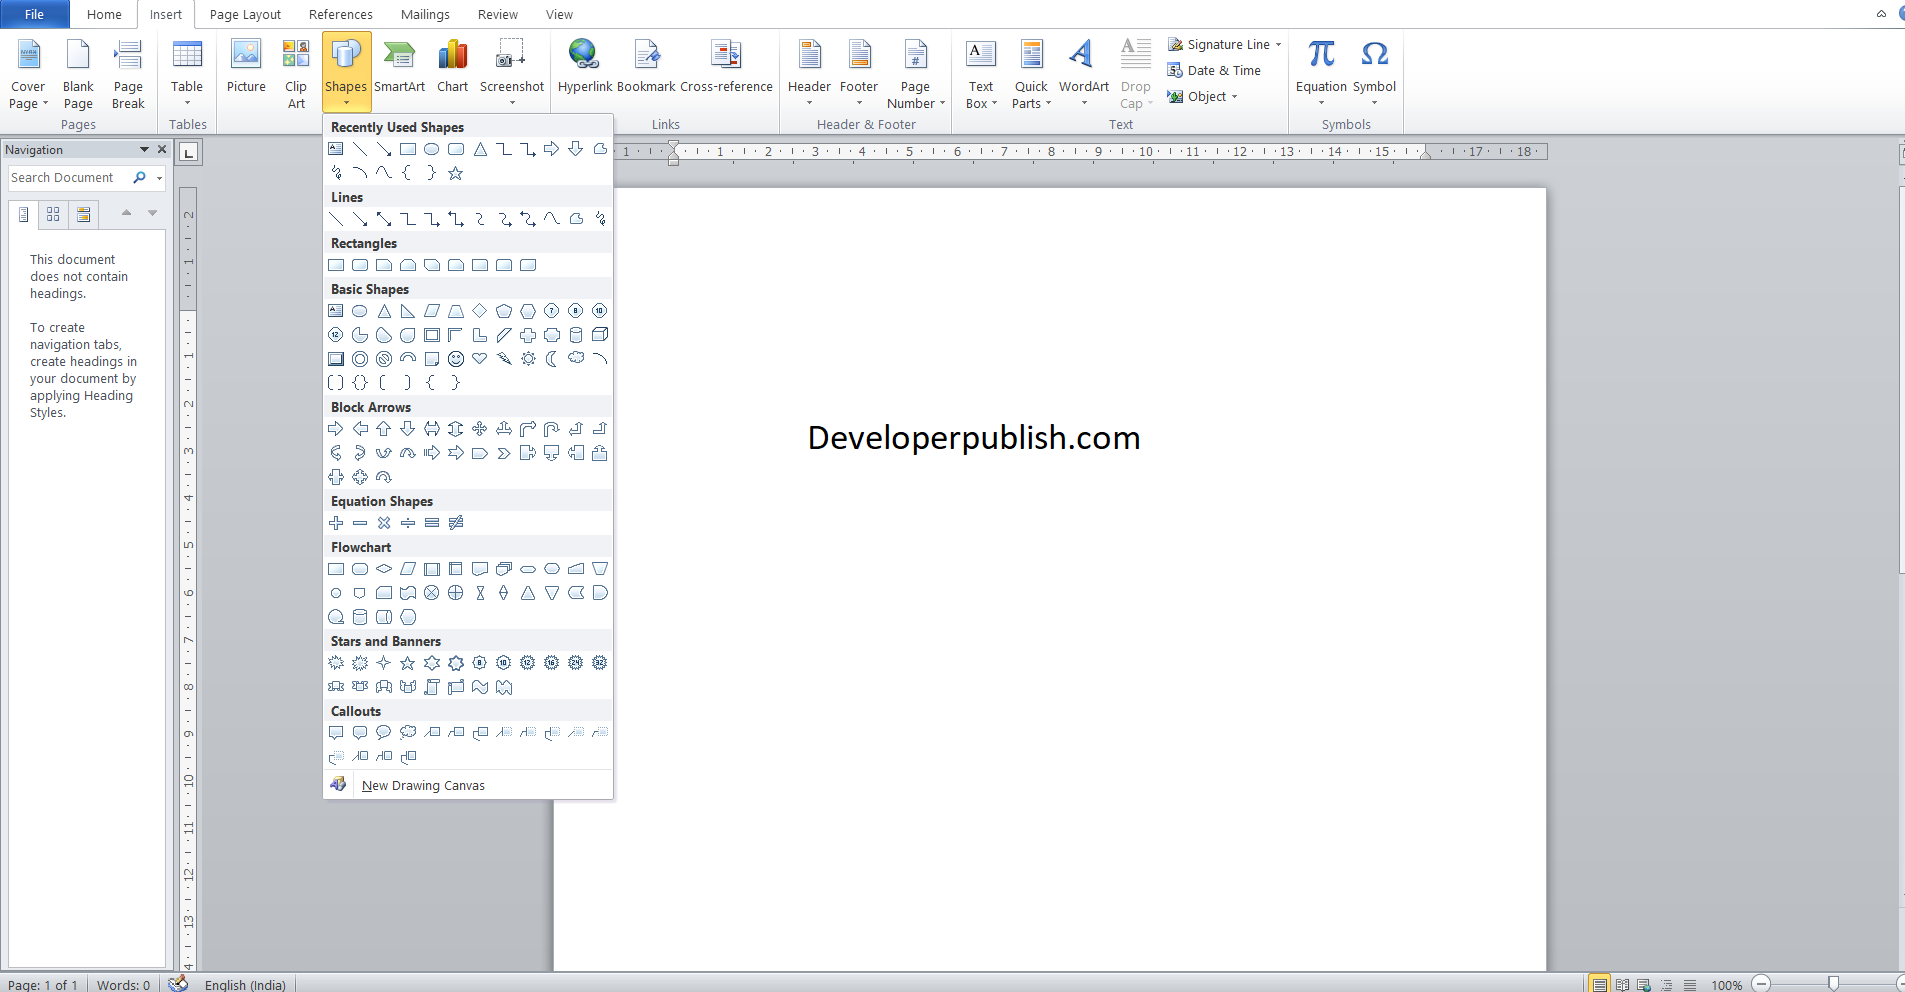
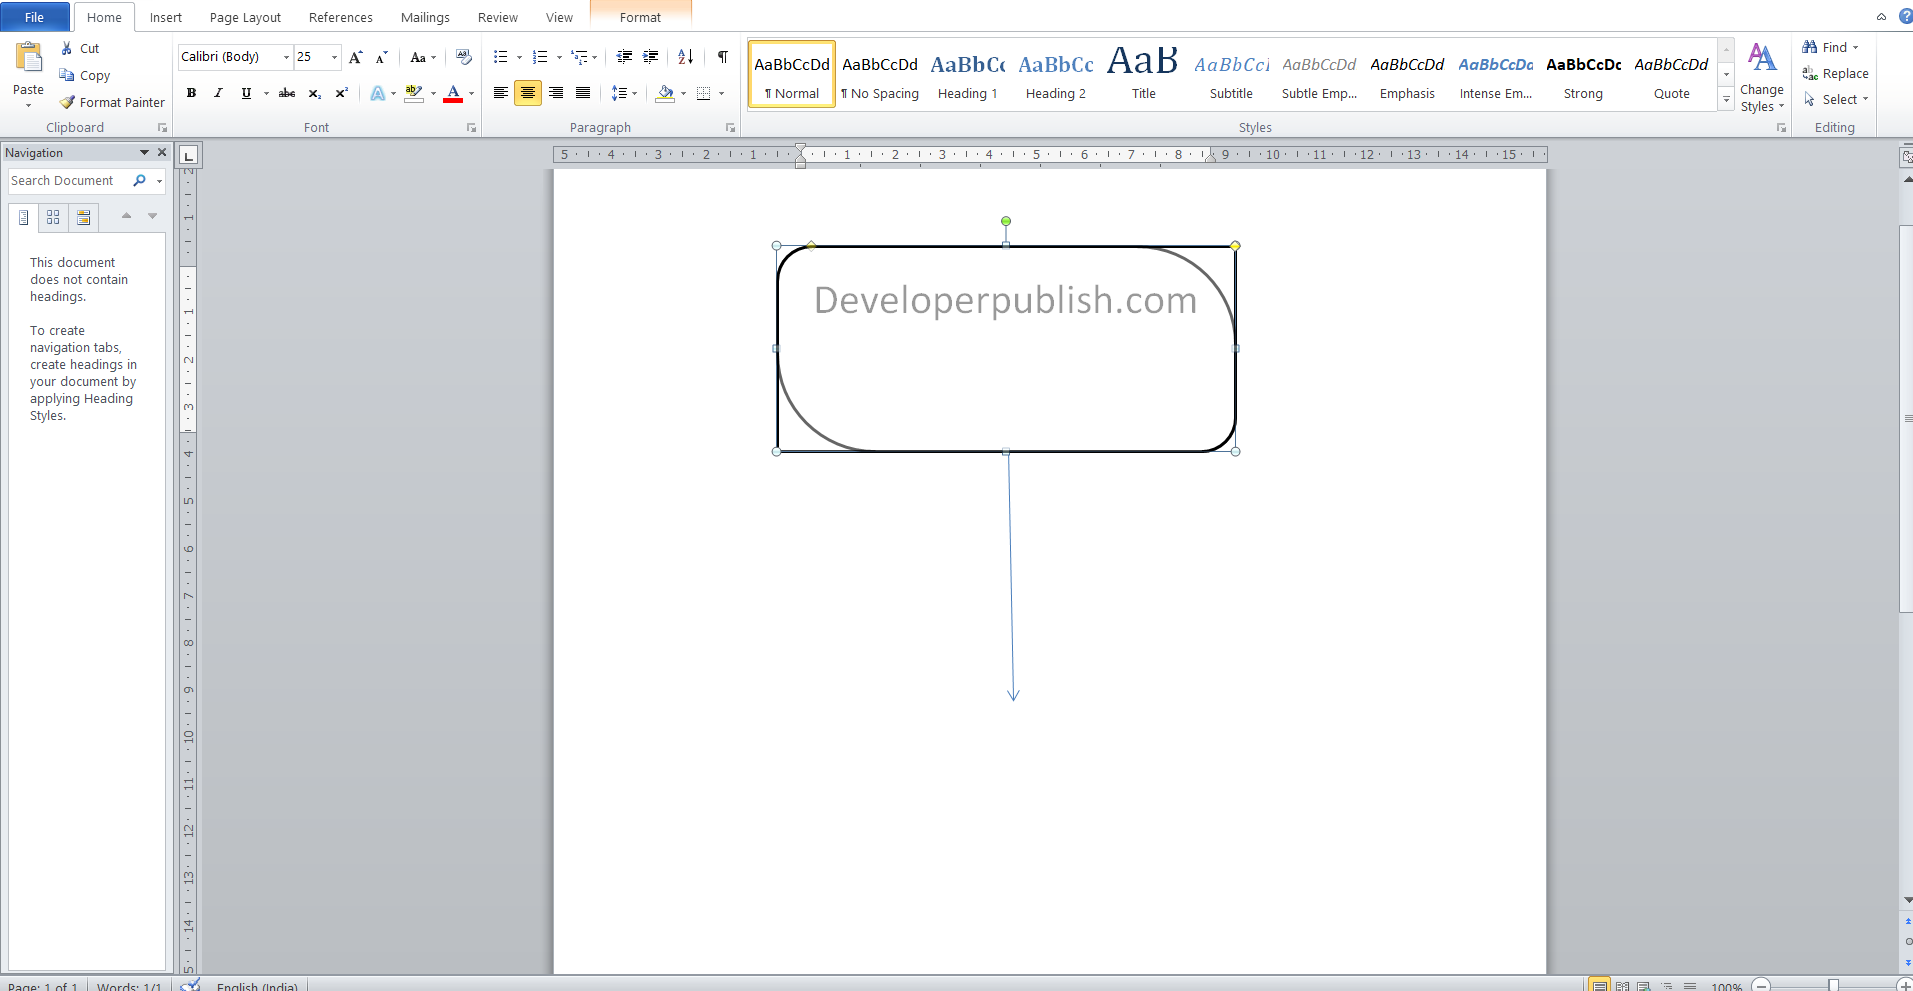
- The Shapes tool provides a basic selection of shaped objects that can be inserted and edited onto the document.
- Then click and drag it to the required size
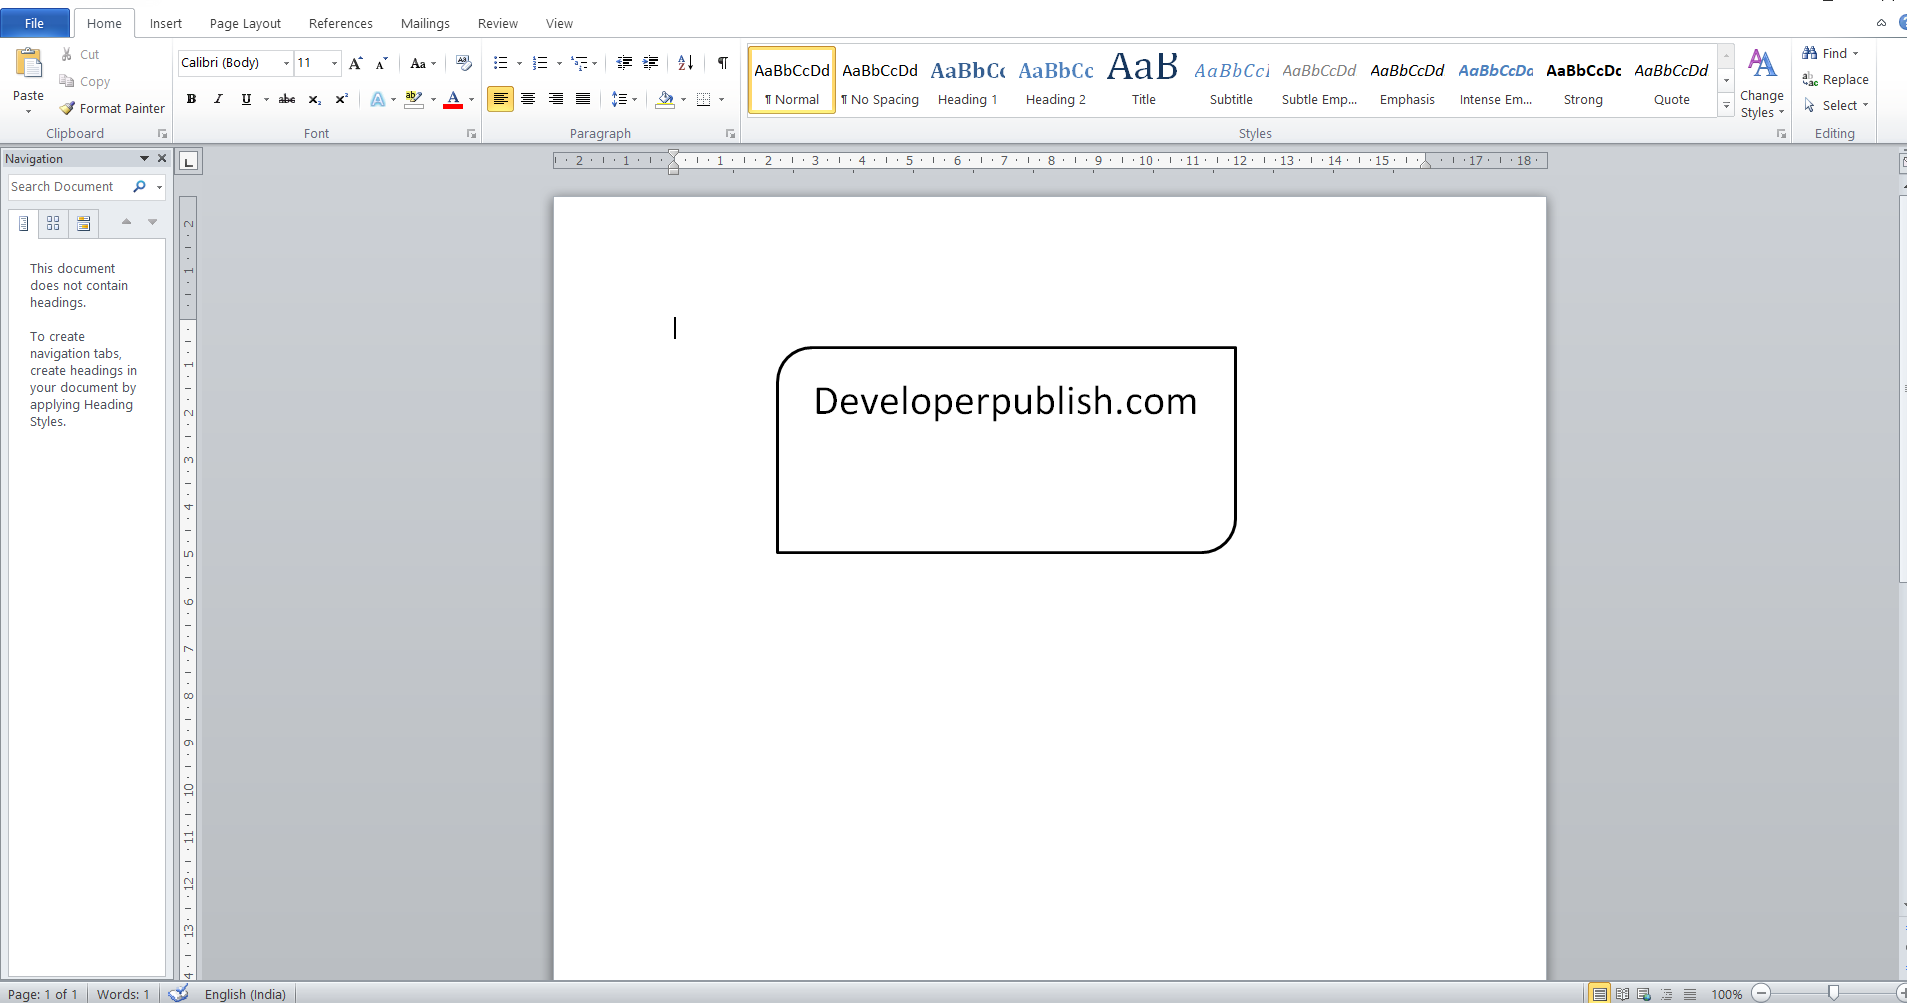
3. Add text
To add text to the shape
- Double click the object and start typing.
- Customize your font, using the toolbox that pops up.
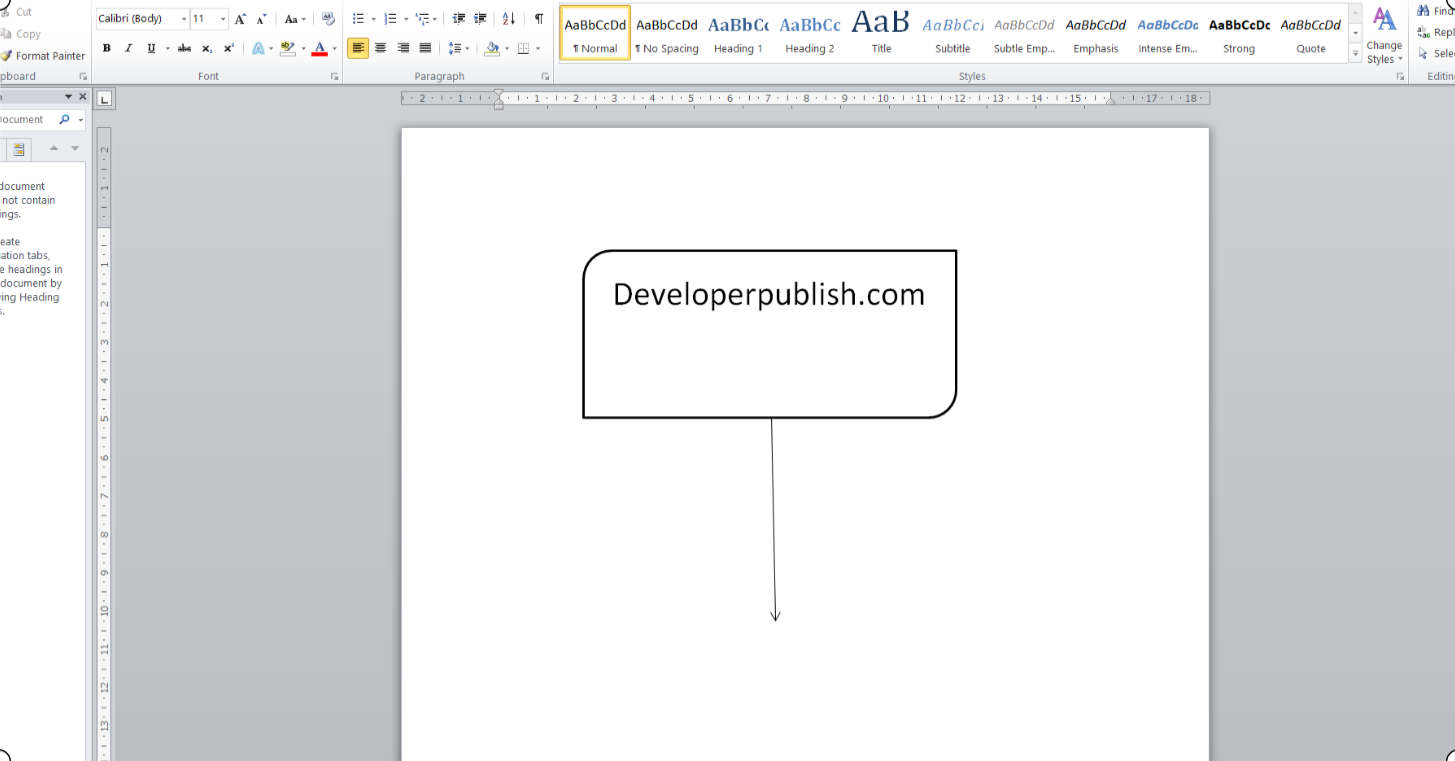
4. Add lines
To draw lines between shapes,
- In Insert, click on Shapes and select a line style.
- Then click and drag on the page to add the selected line.
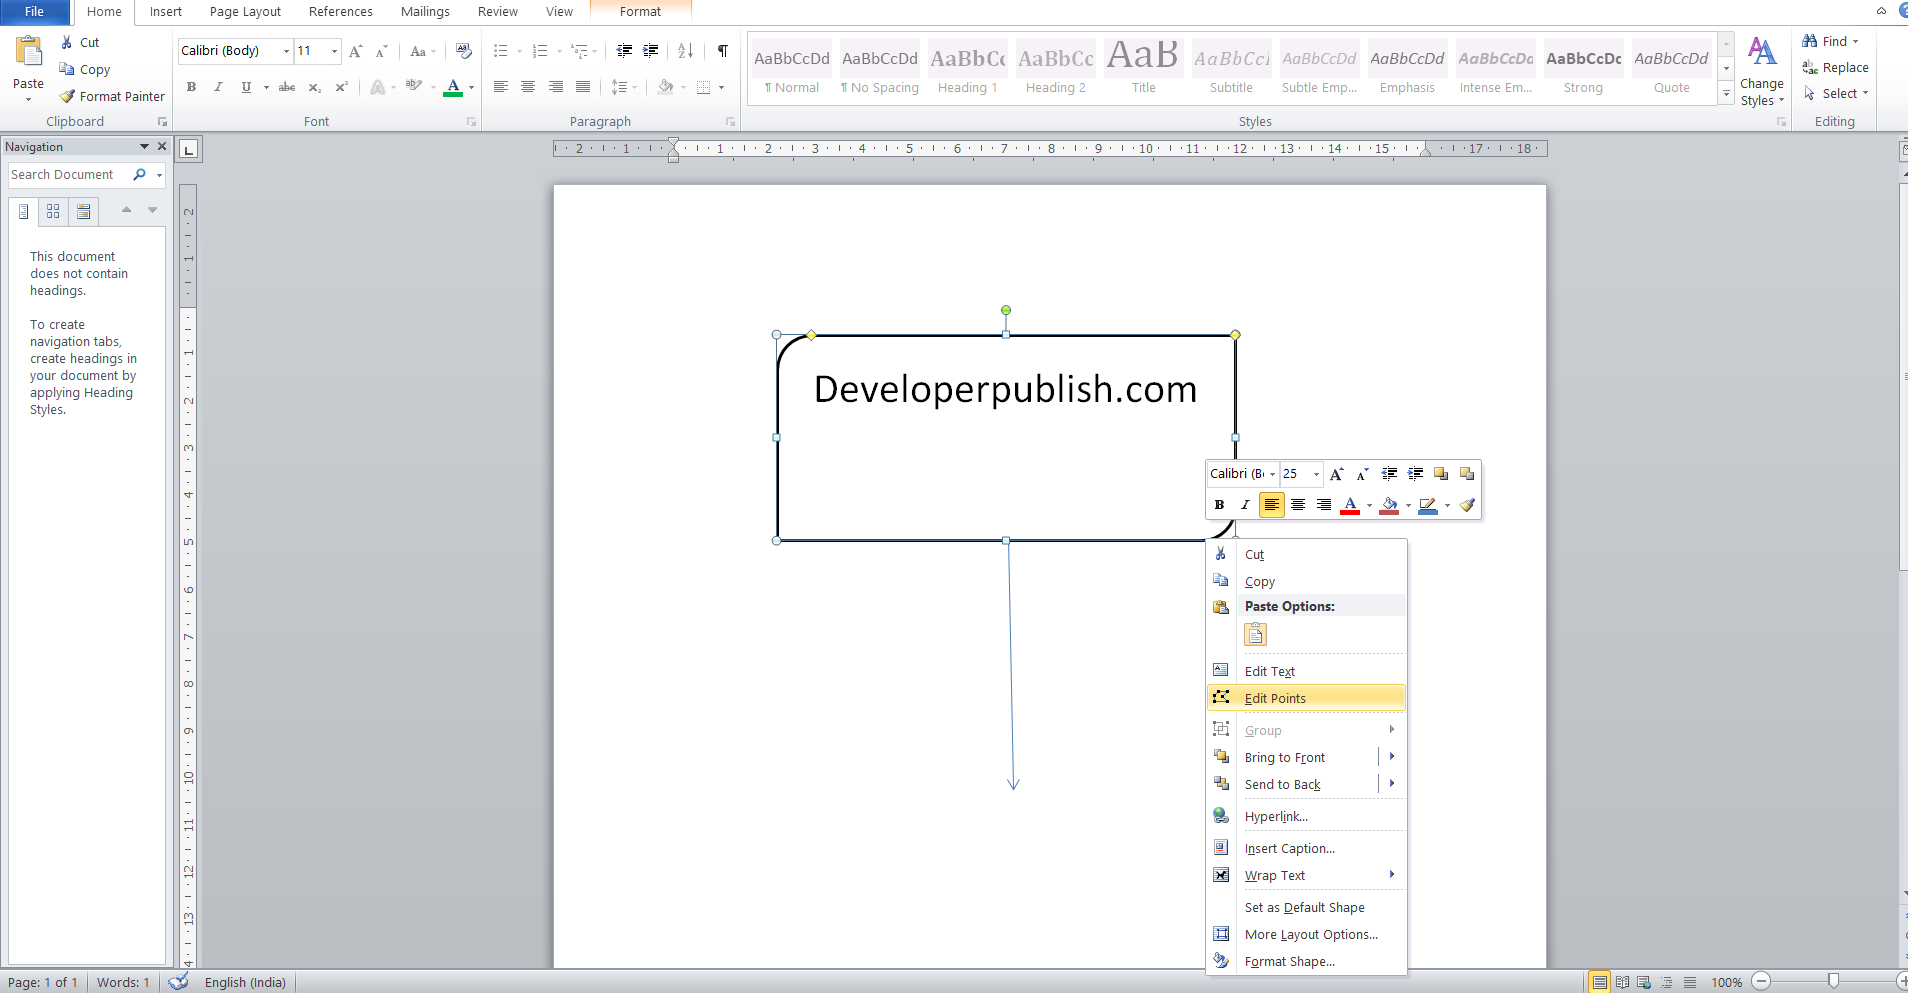
5. Format shapes and lines
To format the shapes and lines, follow these steps.
- Right click on the object; a menu will appear with basic editing options.
- To edit text layout right-click a text box .
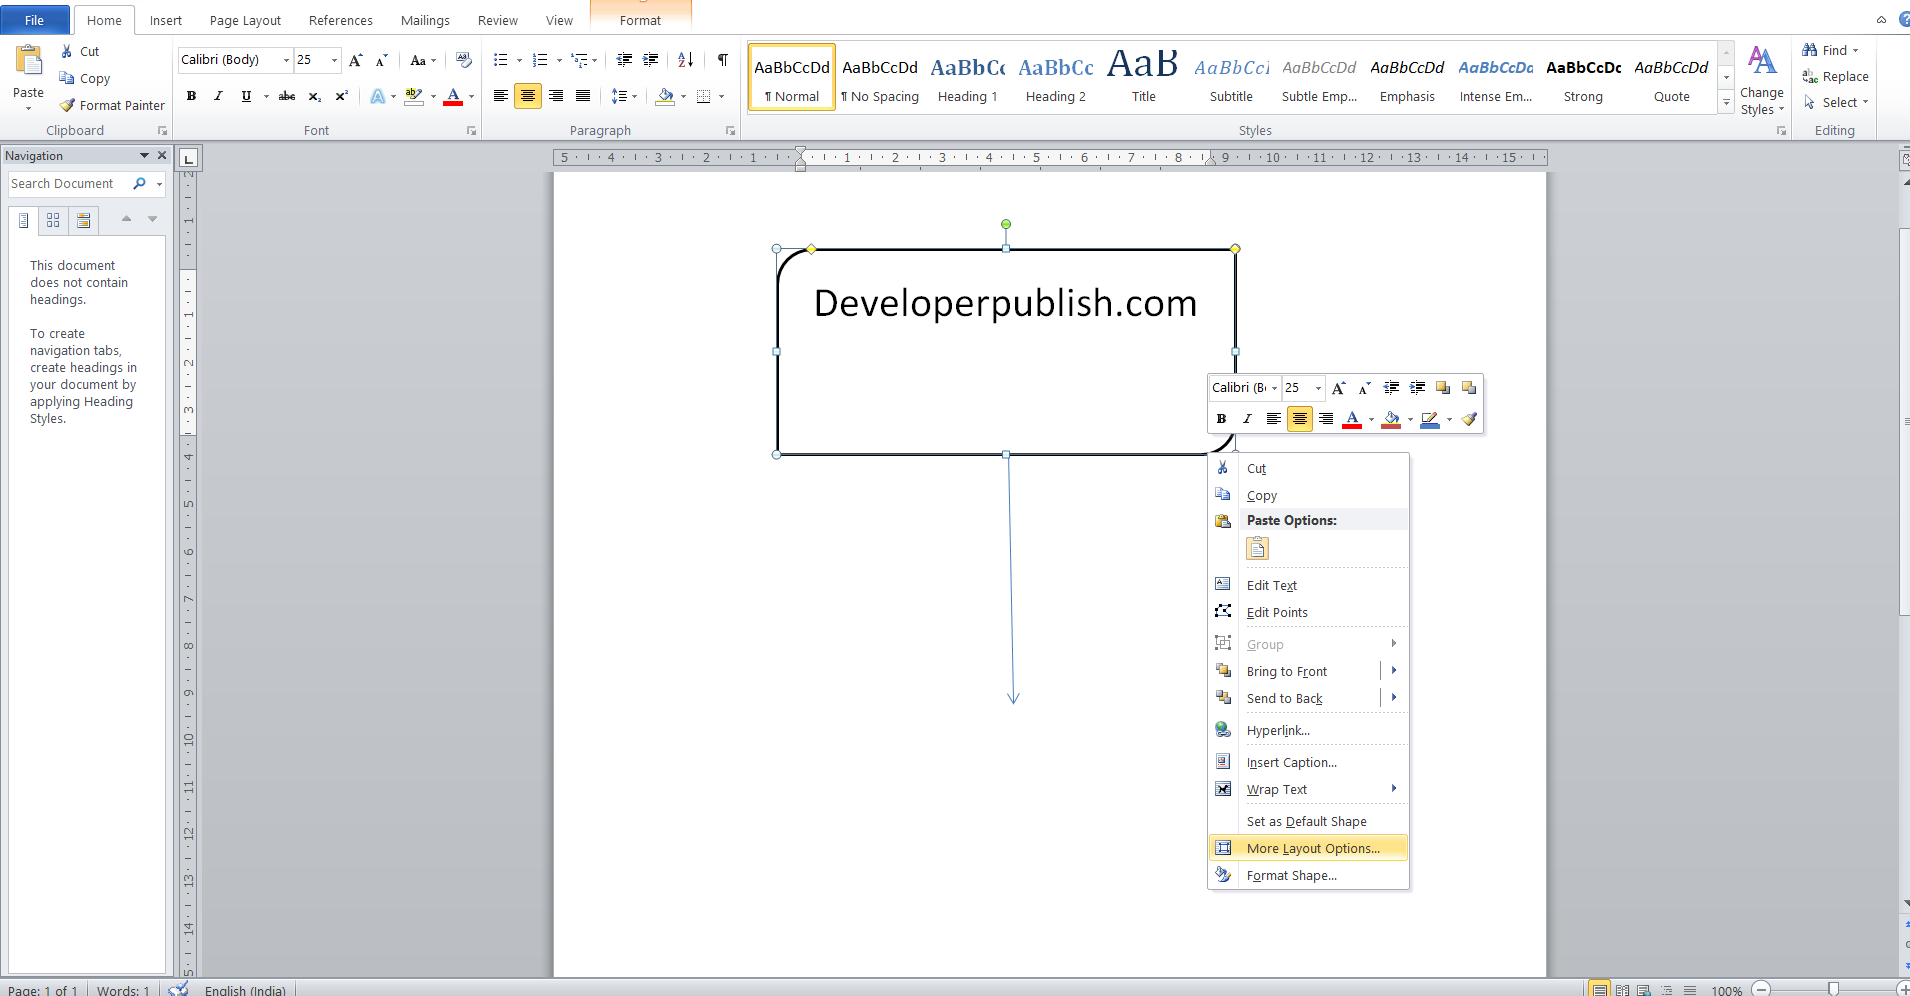
- Click the Layout Options icon that appears .
- Choose your preferred layout.
- Move a shape or lines on the Word document by simply clicking and dragging.
- To resize the image, click and drag from a corner of the object and use the handle icon to rotate the shape