Tools Menu in the Save As Dialog Box in Word
In this post, you’ll be learning about the tools menu in the save as dialog box in your Word document.
The Tools drop-down menu in the save as dialog box has various features, starting from network mapping to encrypting your documents. Let’s see them in detail.
Tools Menu in the Save As Dialog Box in Word
- Under the file tab, click the save as option.
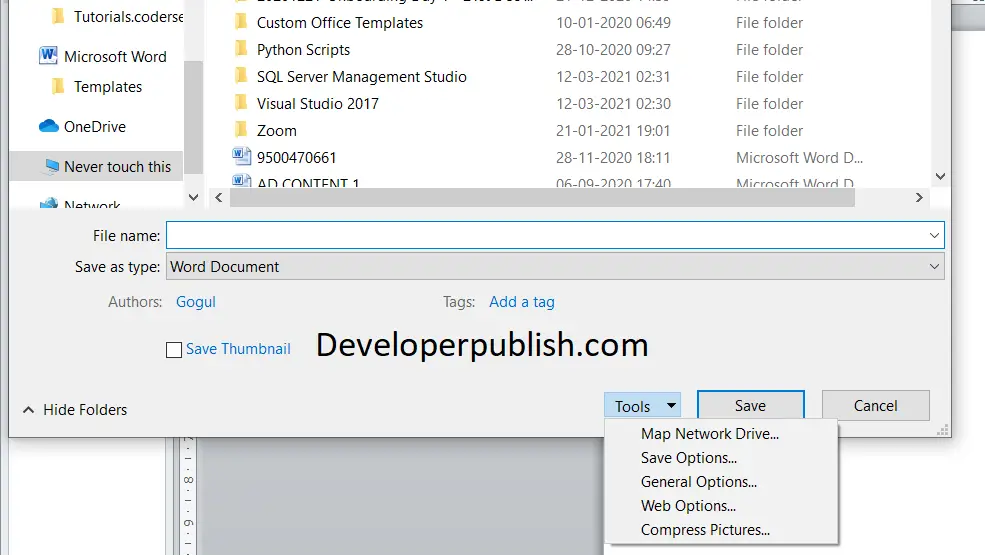
- The save as dialog box opens, just before the save button you can find the tools drop down menu.
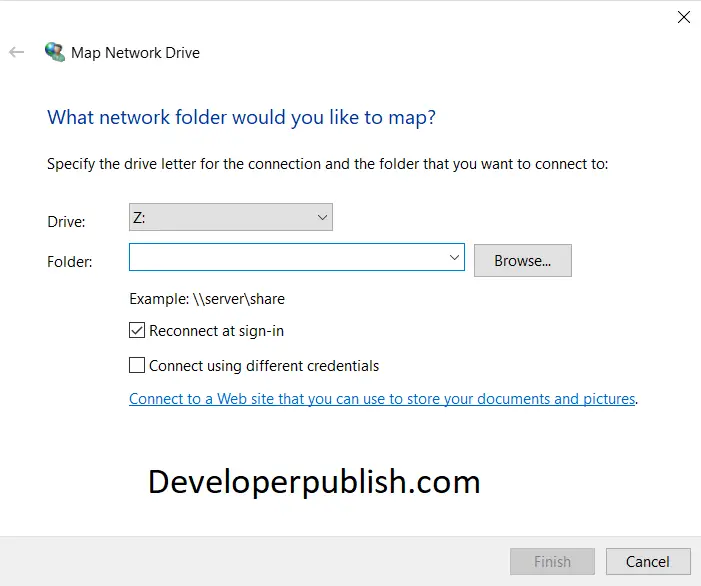
Map network drive
Map a network drive to get to it from File Explorer in Windows to have it handy whenever it is necessary. So you can find the document without having to look for it or type its network address each time.
1. Open File Explorer from the taskbar or press the Windows logo key + E.
2. Right click on the ‘this pc’ or ‘my pc’ and select Map network drive.
3. In the Drive list, select a drive letter.
4. In the Folder box, type the path of the folder or computer, or select Browse to find the folder or computer.
5. Select Finish.
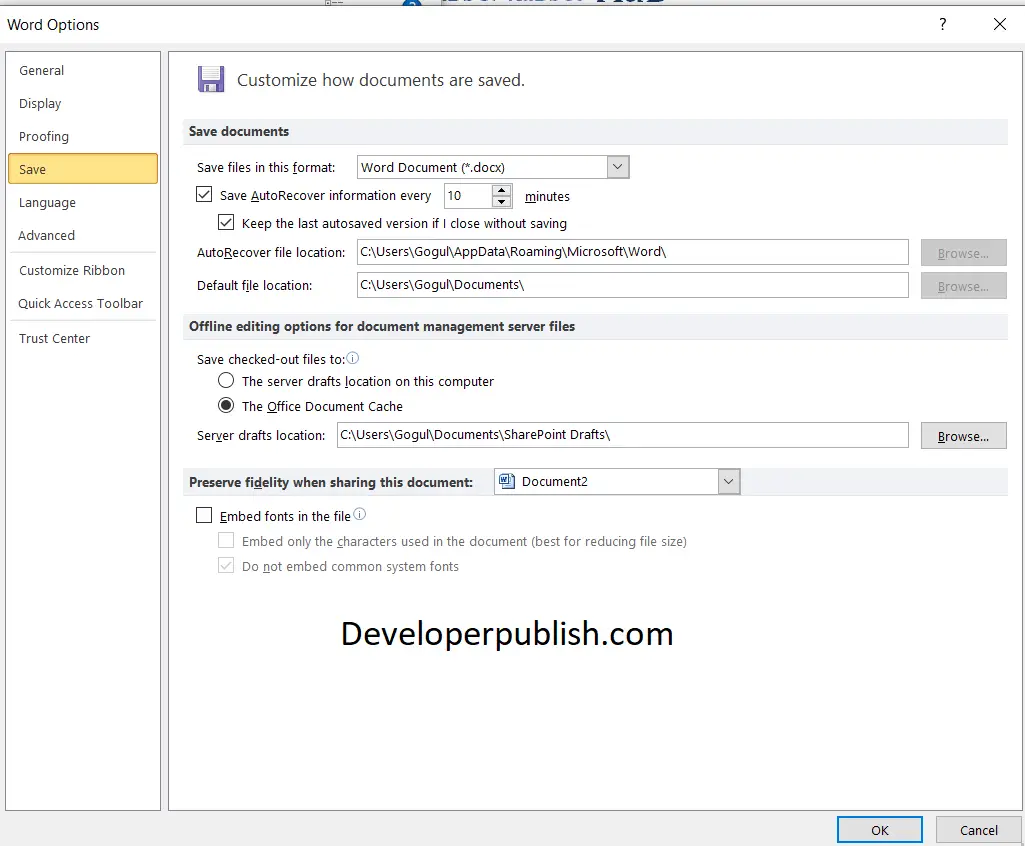
Save options
The save options dialog box has a number of features that eases your work. You can alter the format of the file; you can find and modify the location of the file and etc.
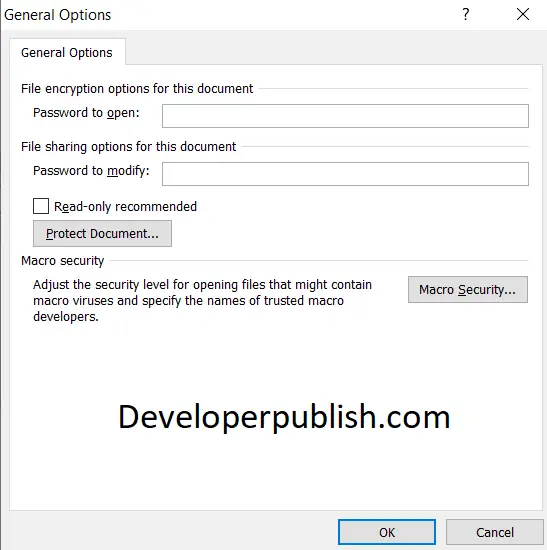
General options
In the general options, you can encrypt your word document by setting up a password or changing it into a read-only format or you can even add macro security to the files.
Web Options
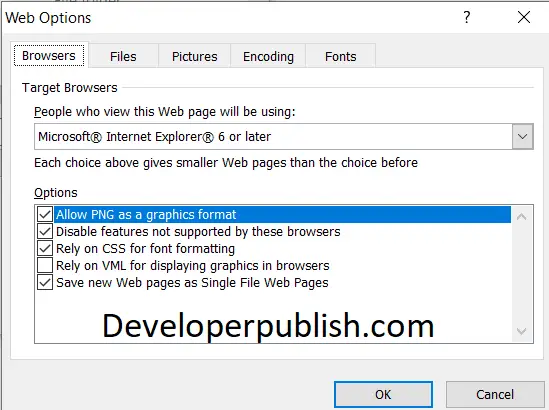
At any time during the saving process (until you click the Save button), you can access Web Options by clicking the Web Options button in the Save As dialog. This opens the Web Options dialog. Using this option you can check the browser compatibility options, formatting, and encodings.
Compress picture
Using this option you can compress the pictures in your files depending on your usage. It has various options for compressing pictures. You can render it for printing, web pages, and email.




Leave a Review