Oxygene & WP8 – Creating First Windows Phone 8 Project
Oxygene and Windows Phone 8 tutorials – Article Index
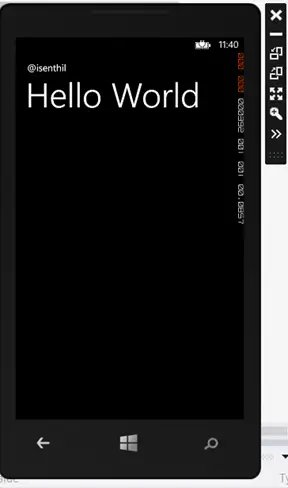
This blog post will demonstrate how to get started with the Windows Phone 8 development using Oxygene by creating a simple “Hello World” app.
Make sure that all the prerequisites are installed as described in the Oxygene & WP8 – Setting up the Development Environment blog post.
To create a Windows Phone 8 Project using Oxygene, follow the below steps
- Launch Visual Studio 2012 on your Windows 8 PC.
- Click “File” menu and then “New Project”.
-
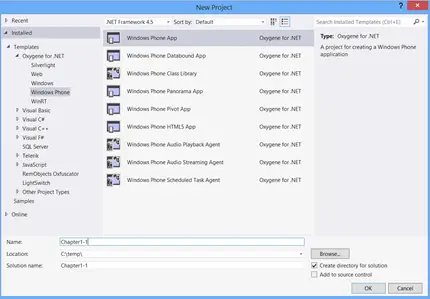
In the “New Project Dialog”, select “Oxygene for .NET” in the template (left sidebar) and then click “Windows Phone”. This will display the list of available templates for Windows Phone development using Oxygene for .NET as shown in the below screenshot.
- Provide a Name for the Windows Phone project and choose the location where the project should be created and click “OK”.
-
This should being in a dialog which prompts the user to select the “Target Windows Phone OS Version” as shown in the below screenshot. Let’s select Windows Phone OS 8.0 and click OK.
- If you are using the trial version of the “Oxygene for .NET” , this will prompt you a message indicating the trial version , In this case , click “Continue as trial” to continue.
-
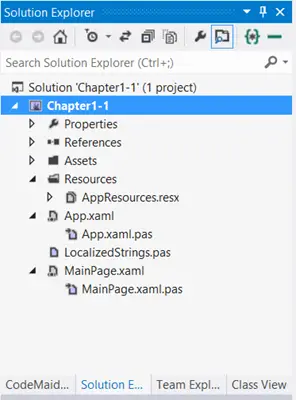
You will immediately see that the Windows Phone project is created. You can see the list of files created in the project from Solution Explorer which contains the MainPage.xaml , MainPage.xaml.pas along with other files and folders as shown in the below screenshot.
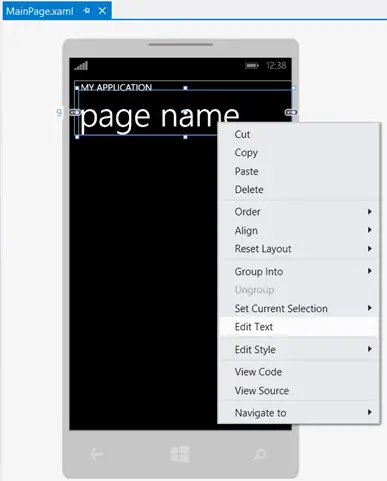
- Double click on the MainPage.xaml to open the Windows phone page in the designer.
- Now , select the TextBlock that displays as “Page name” , right click and select “Edit Text”




Leave a Review