How to Insert Picture Into a Cell in Excel?
This article will show you how to insert a picture in a cell in a Microsoft Excel worksheet.
How to Insert a picture into cell in Excel?
To insert a picture in a cell, follow the below steps
- Firstly select the particular cell. Go to the Insert menu in the menu bar.
- Select Illustrations.
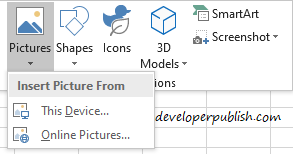
- Click on Pictures under Illustrations group.
- Again select from This Device or Online Pictures.
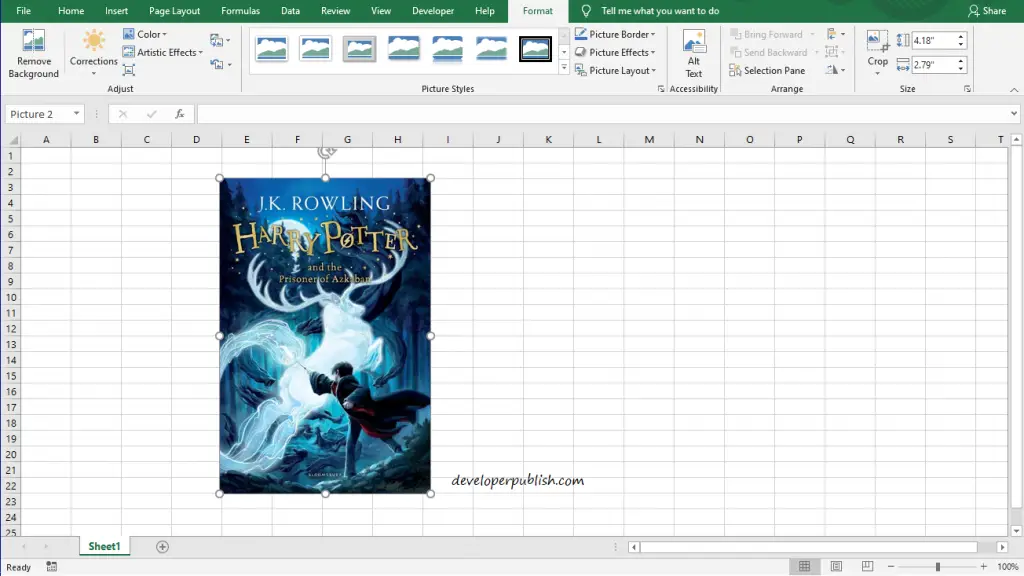
- If you choose This Device then choose a picture from the Insert Picture dialog box and select Insert to insert it.
This is how you insert a picture from your device.
If you choose Online Pictures. A Dialog box pops up.
NOTE: You can use this option only if you are connected to the Internet.
Here you can either search for the picture you want or select from the categories that are already provided.
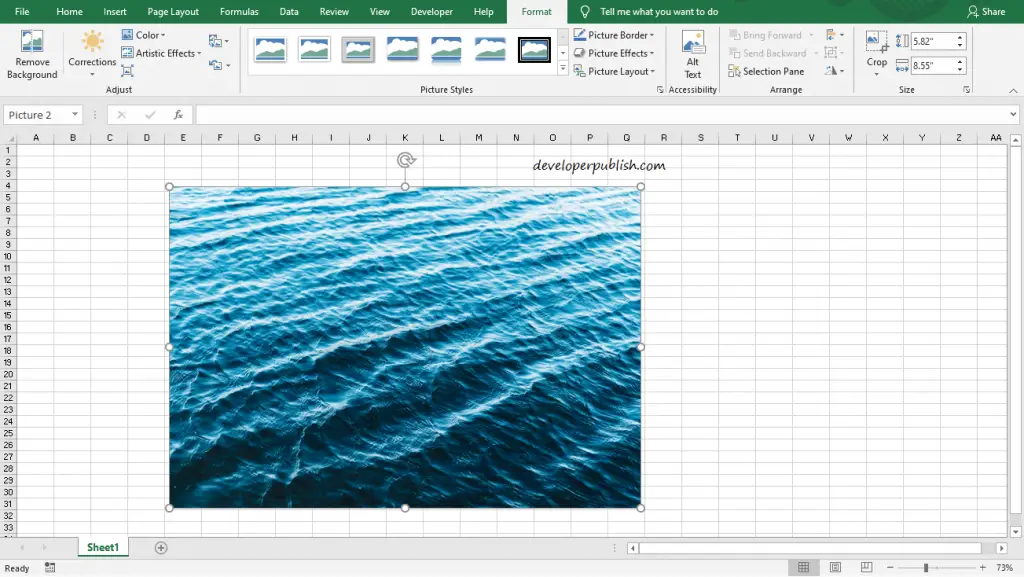
For instance, here we’ve selected the category water. Then you can select how many ever picture you want and click on Insert to do so.
Then the pictures get downloaded.
After they are downloaded they get inserted into the worksheet.
How to lock the picture with the cell in Excel?
To lock the picture with the cell in Excel, follow the below steps.
- Select the picture you want to lock.
- Right-click on the picture.
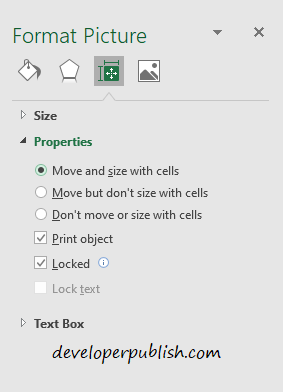
- Select Size and Properties.
- Now Select Move and size with cells under properties so as to fit the cell size.
Now the picture will be locked.










Leave a Review