In this post, you will be learning how to download SQL server management studio and install it so that you will be able to connect to your SQL Server instance.
What is Server Management Studio?
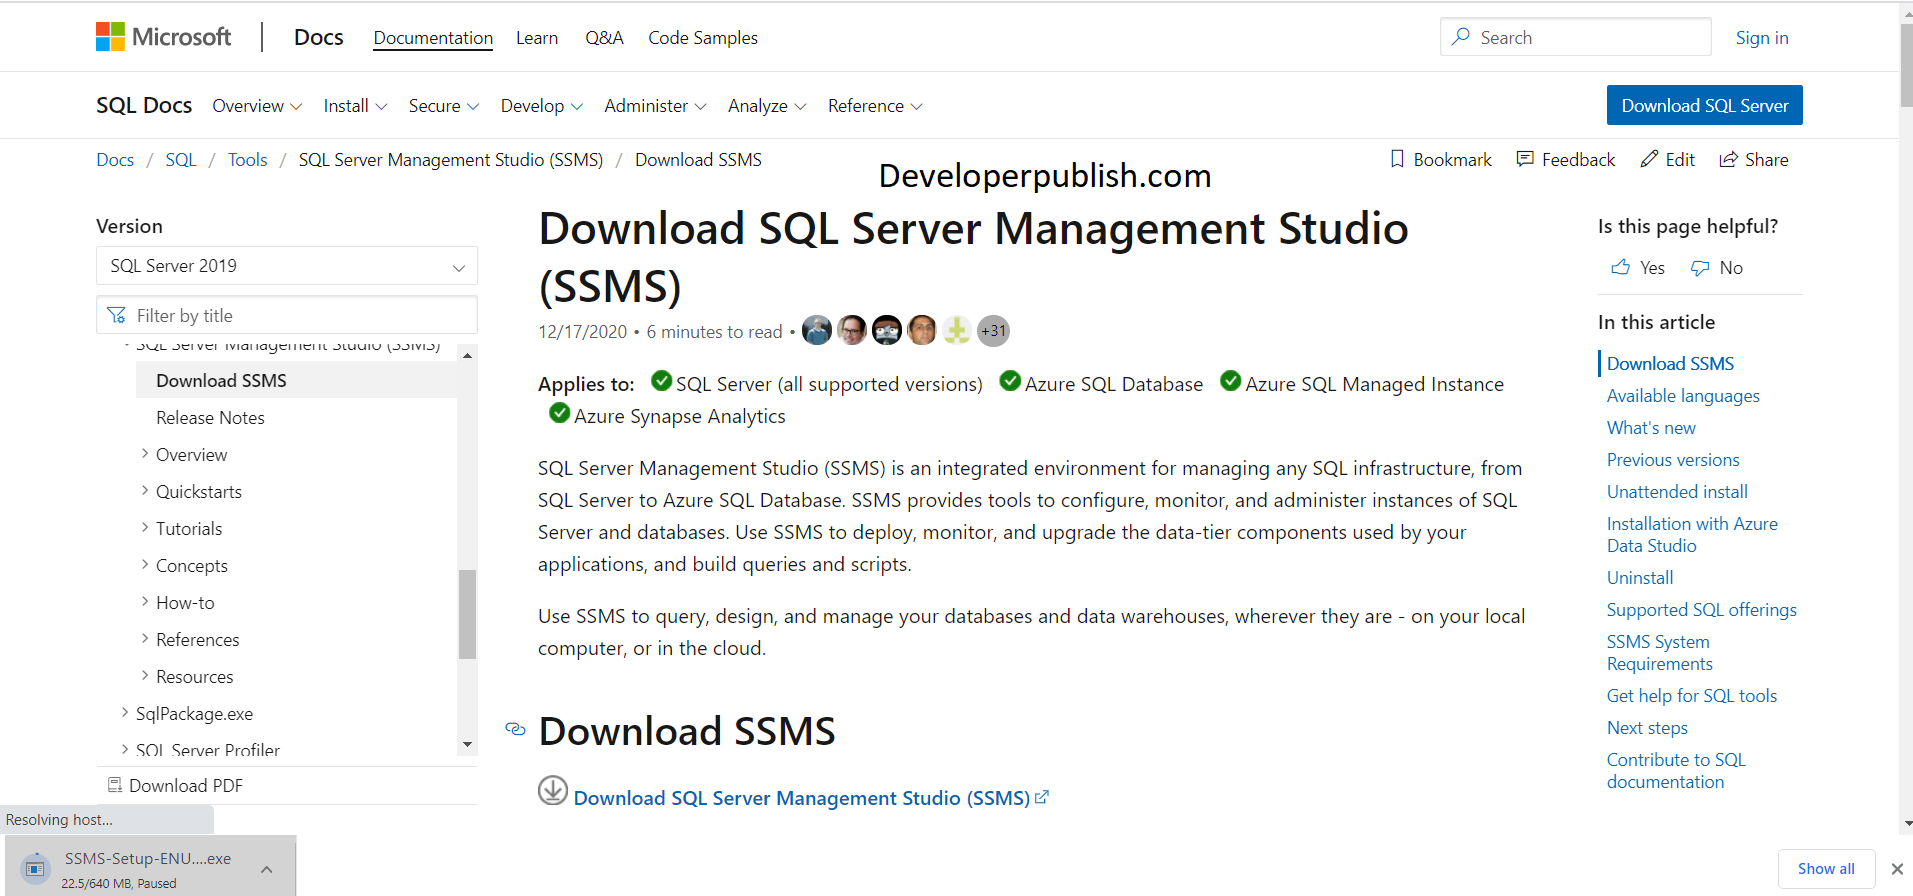
SQL Server Management Studio (SSMS) is an integrated environment for managing any SQL infrastructure, from SQL Server to Azure SQL Database. Using SSMS you can deploy, monitor, and upgrade the data-tier components used by your applications, and build queries and scripts. You can also use SSMS to query, design, and manage your databases and data warehouses, either on your local computer, or in the cloud.
How to Download and Install SQL Server Management Studio
Follow these steps to download and install Microsoft SQL Server Management Studio (SSMS):
Download the application from the SQL Server Management studio download page Click the and download the application.
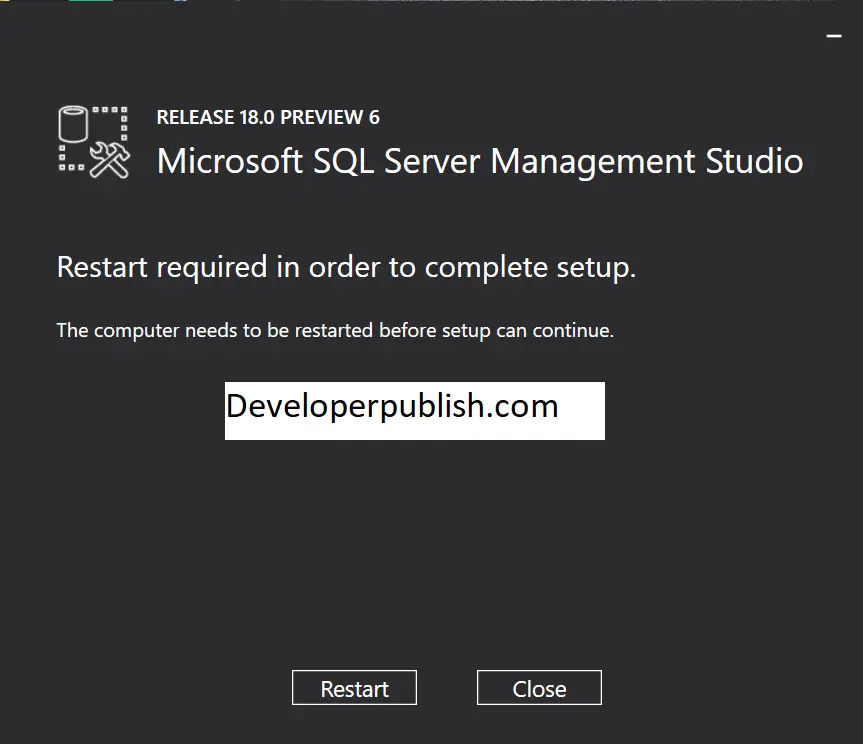
- Find “SSMS-Setup-ENU.exe.” in your file manager/download directory and double click on it
- If you haven’t restarted your computer in a while or if you have multiple applications running in the background, the server setup will require a restart.
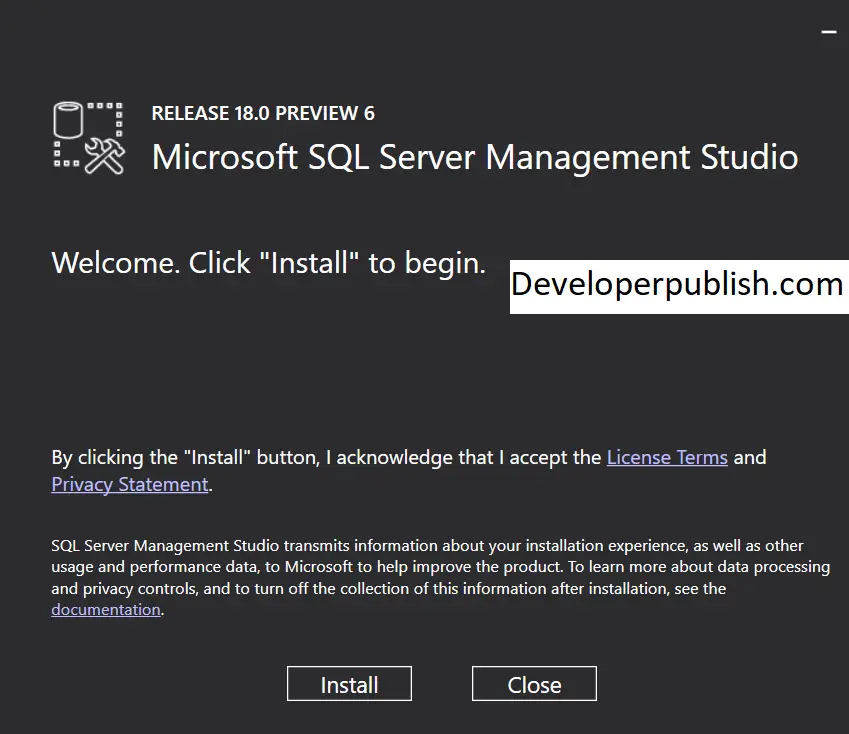
- A dialog box appears, click on the ‘Install’ button to install MS SSMS on your system.
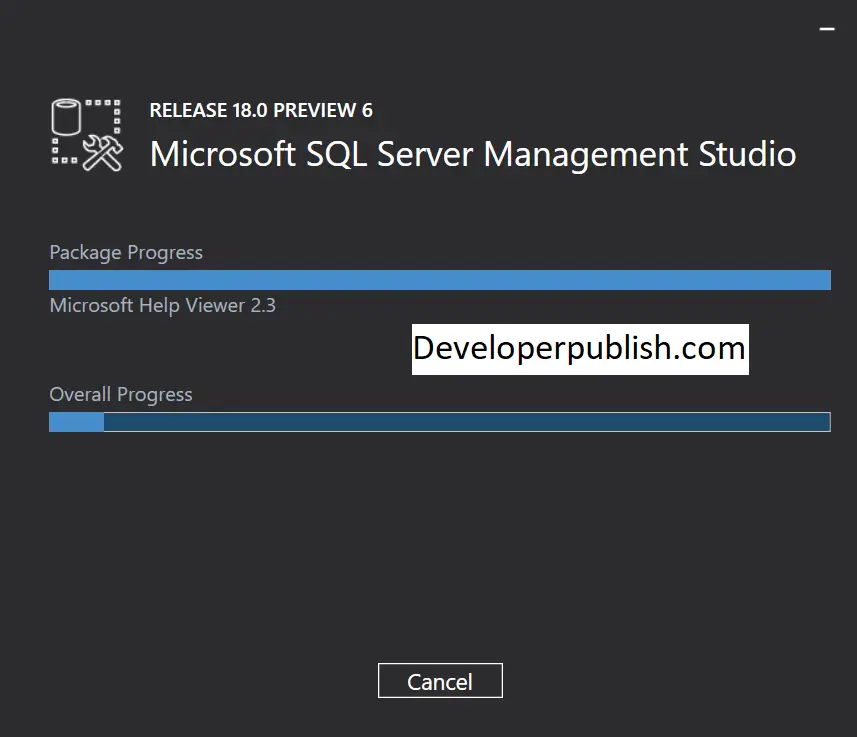
- The installation has just begun and it will show the Packages progress and Overall Progress.
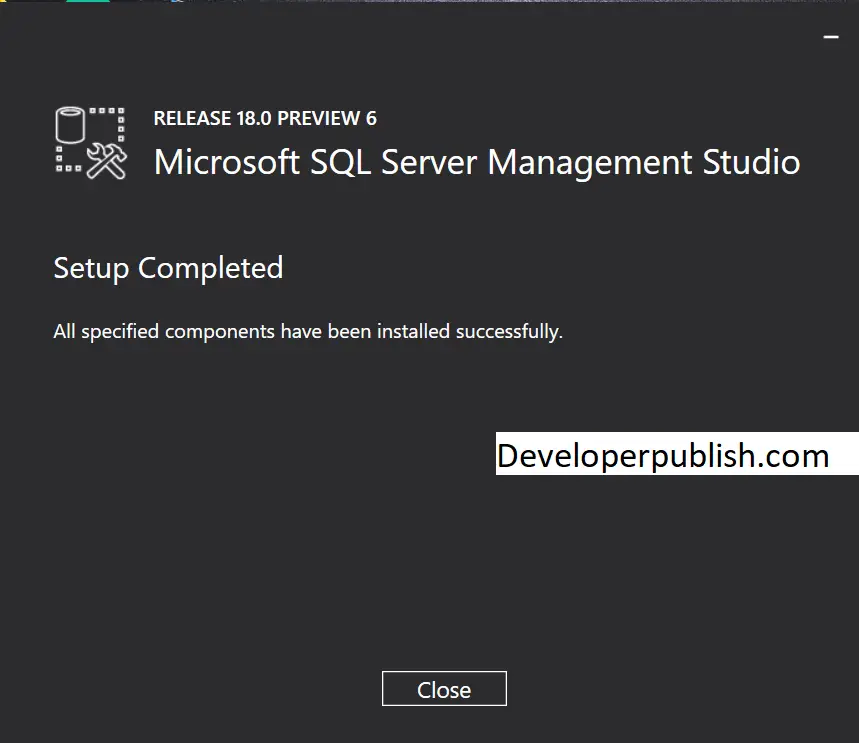
- Once Completed, SSMS Setup will pop-up a dialog box with the message “Setup Completed”.
Now let’s see how to access the SQL server management studio.
How to access the SQL Management Studio?
Follow these steps to access the management studio.
- In the Start Menu search “Microsoft SQL Server management studio”.
- Click on the application, it will complete the initial setup.
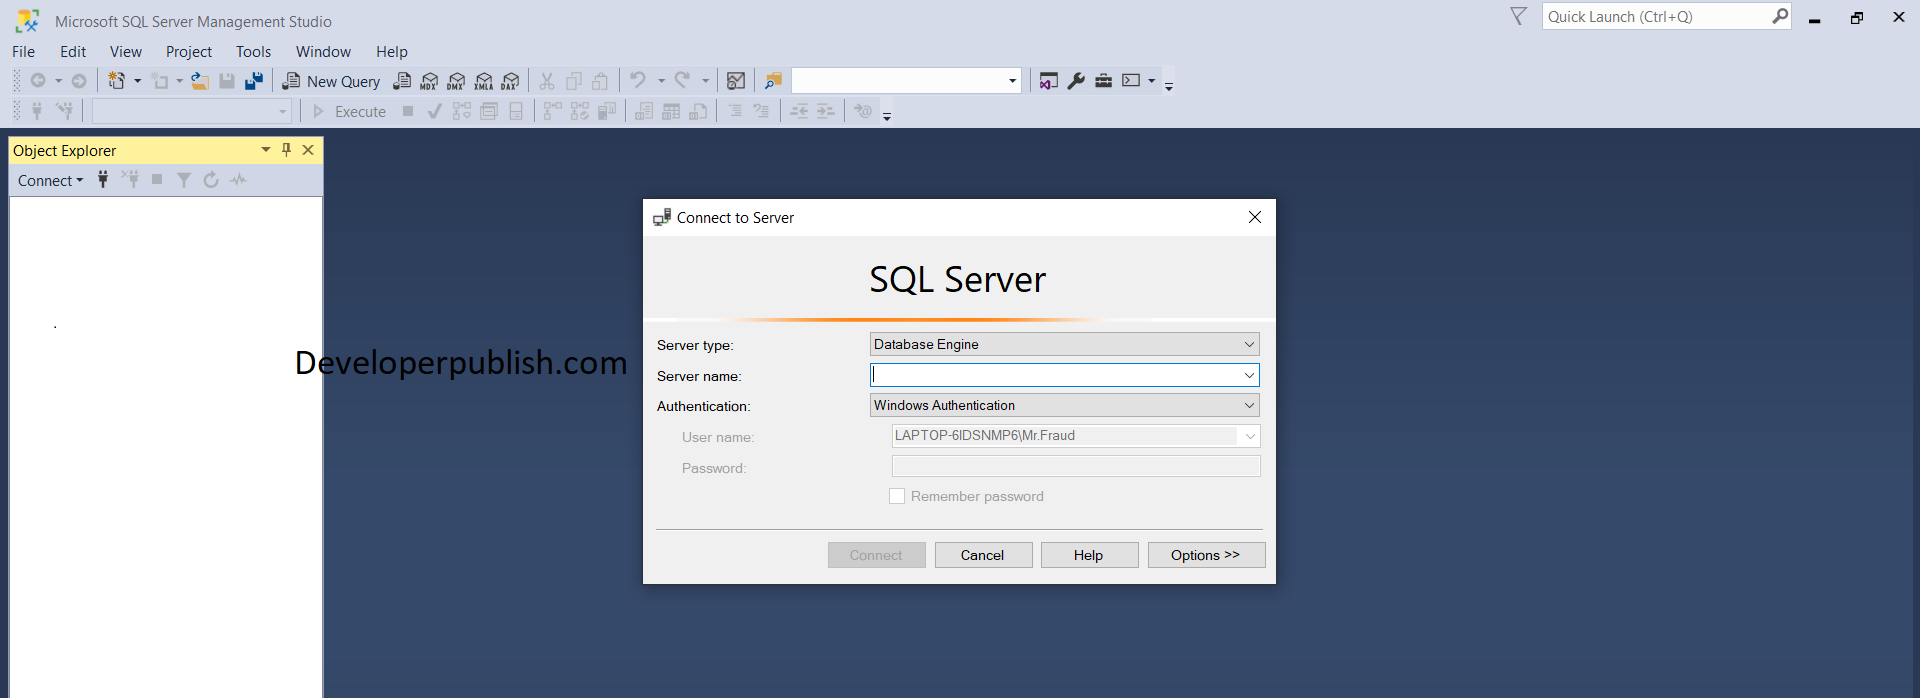
- A new screen pops-up, you need to enter the server name in the server name column. (Server name is the default name that you selected during the installation of the MS SQL server).

Enter all the details and click on ‘Connect.’ Now you will be connected to ‘Data Management Studio.’
Let’s see the above fields in detail:
- Server type: SQL has four server services namely “Database engine, analysis services, reporting services, and integration services”. You can choose any one based on your requirement.
- Server name: It is the MS SQL server (server name is the name given to the SQL server while installing it.) And it is important to establish the connection with that server.
- Authentication: In default it is “Windows Authentication” only if we use “Windows Authentication” during SQL Server Installation
- User name\Password: In case of Authentication option is selected rather than “Windows Authentication” such as “SQL server Installation” then it will be required.