Splash Screen for different Screen Resolutions in Windows Phone App
When you include a splash screen image to your Windows Phone project , the phone will automatically scale the image to the phone’s resolution .
But , if you need to include different splash screen for different screen resolution . Here’s how you do it.
1. Add 3 different images with the below names to the root folder of your Windows Phone project.
- SplashScreenImage.screen-WVGA.jpg
- SplashScreenImage.screen-WXGA.jpg
- SplashScreenImage.screen-720p.jpg
2. Set the Build Action of each of the image file to “Content” and Copy Local to “Copy Always”.
3. Now , try running the application in emulators/ devices with different screen resolution. You will notice that the device or emulator automatically picks up the right image based on the screen resolution and the correctly named images. Note that this technique works only for the splash screen .
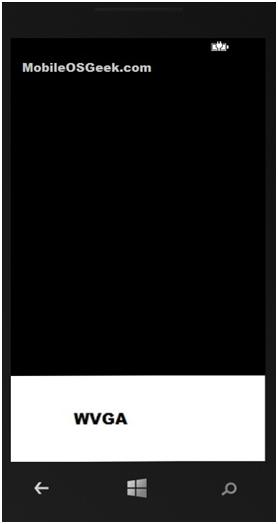
4. Running the Project in the Emulator WVGA 512 MB will display the following.
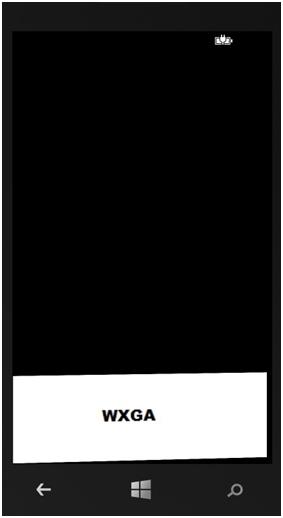
5. Running the Project in the Emulator WXGA will display the following.


Leave a Review