Download & Install SQL SERVER 2019 Developer Edition for free
In this post, you’ll learn, how to download and install SQL SERVER 2019 Developer Edition for free.
About SQL SERVER 2019 Developer Edition
Microsoft product, SQL Server Developer edition is a full-featured free edition, licensed for use as a development and test database in a non-production environment.
Just like other applications, SQL server is also available for various operating systems like windows, macOS, Ubuntu etc.
Download & Install SQL SERVER 2019 Developer Edition for free
Download the application from the Microsoft SQL Server Downloads page
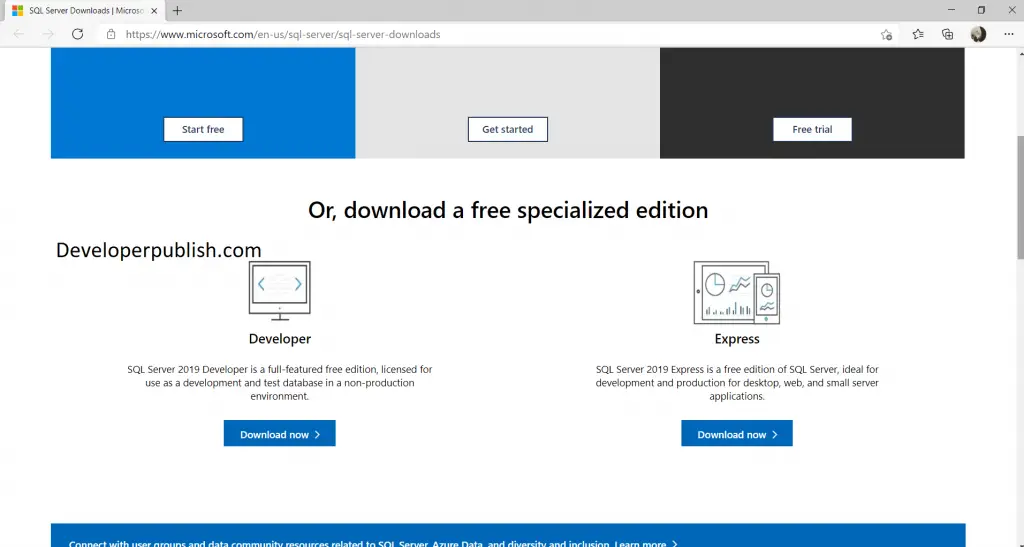
Let’s see how to install SQL server 2019 Developer Edition in your computer.
Step 1: Double Click on the downloaded file.
Step 2: A dialog box pops out, and you can see the available installation types. It shows the “Basic“, “Custom” and “Download Medium” installation types.
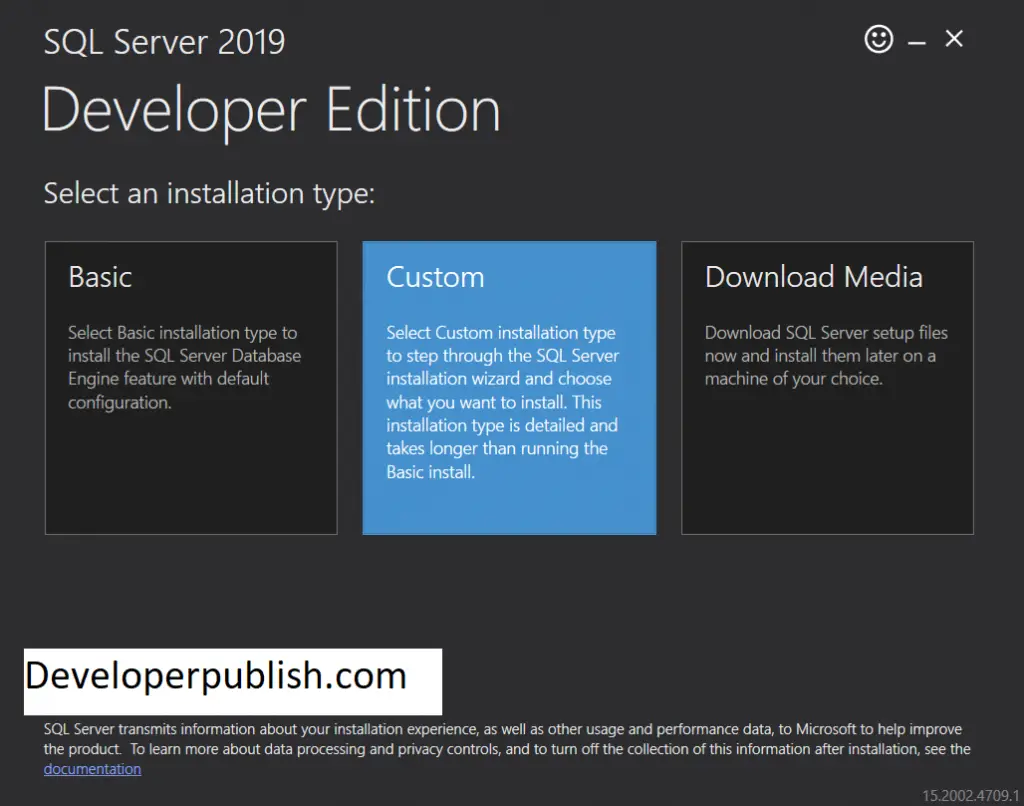
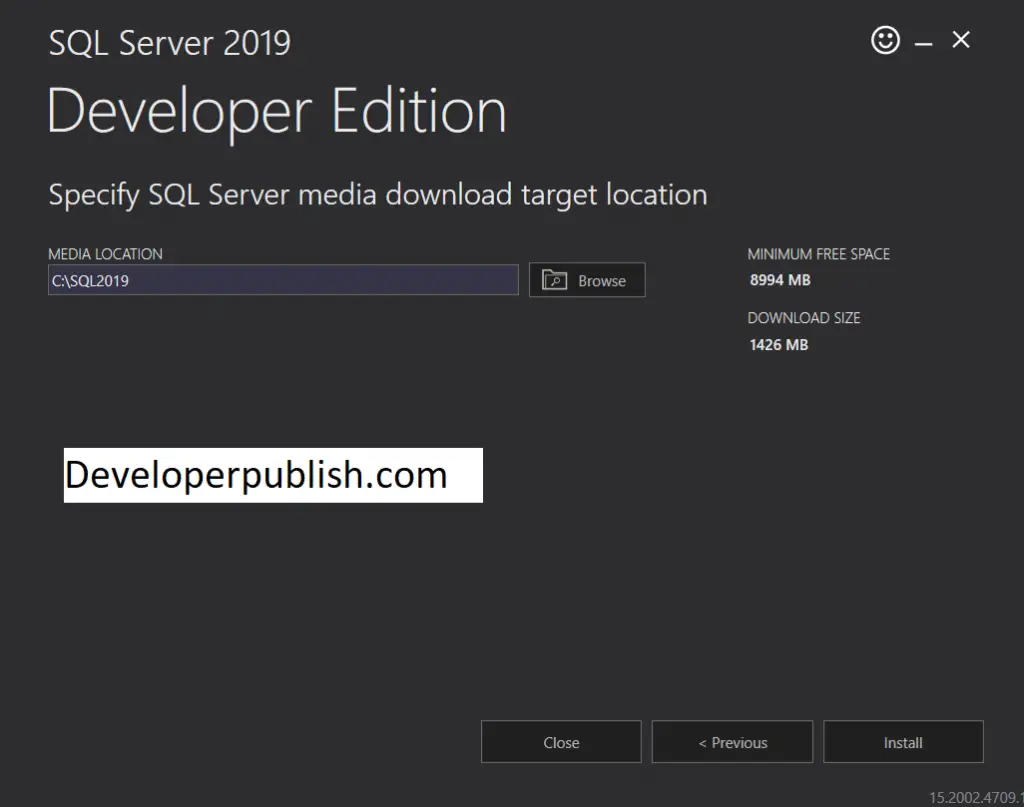
Click on the Custom section and specify the directory where SQL Server will store files downloaded for installation.
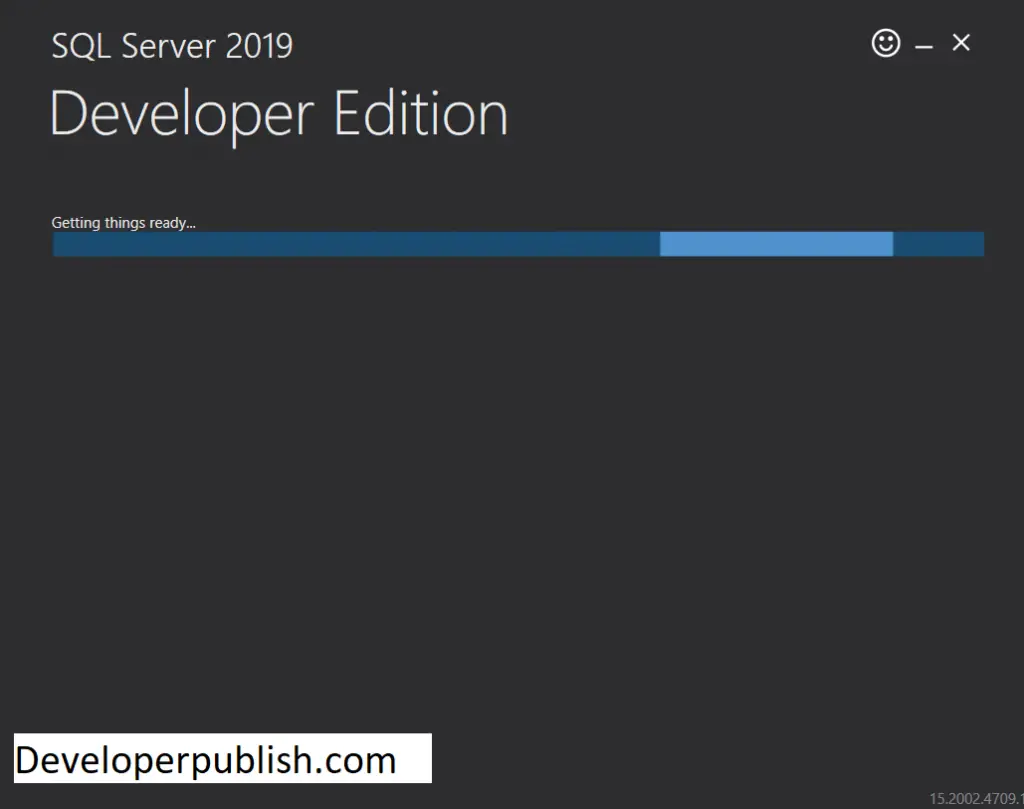
It will start downloading the required packages, and it will take some time.
Step 3: After all of the packages have downloaded, Click “Installation” on the left side of the page.
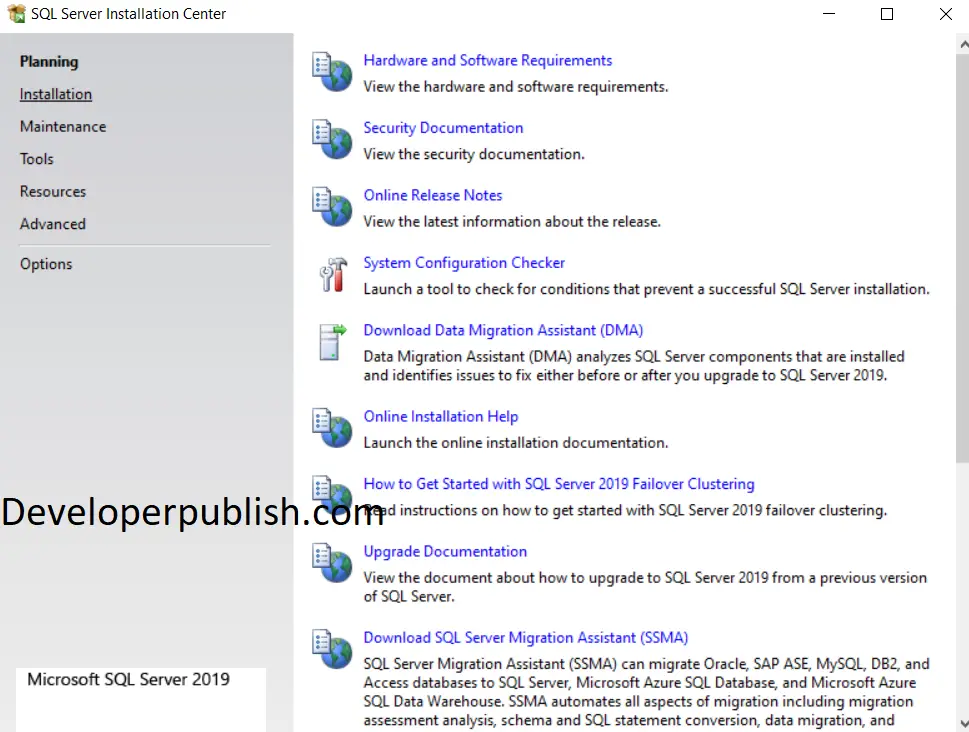
Step 4: Choose “New SQL Server stand-alone installation or add features to an existing installation” option on the top of the list.
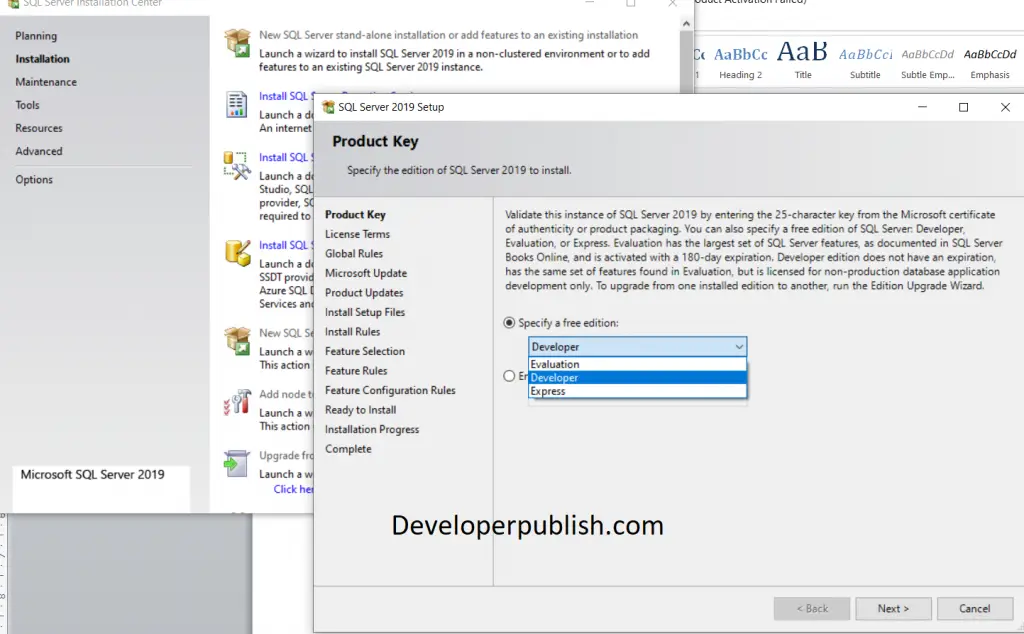
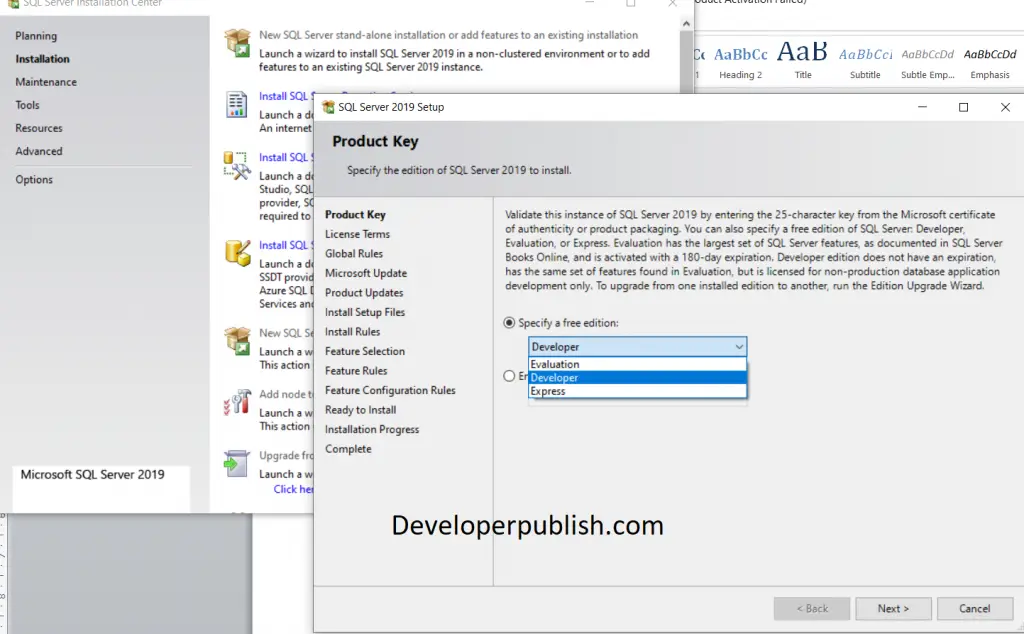
Step 5: The next menu shows the editions available “Developer“, “Evaluation” or “Express“. Click Developer option and click next.
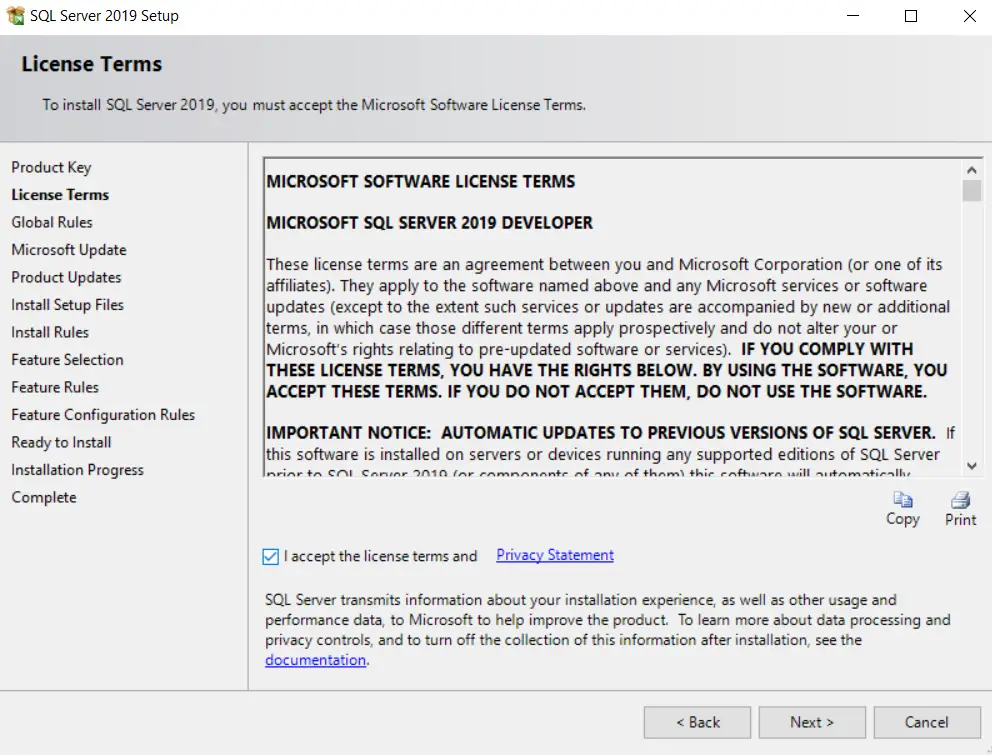
Step 6: Check the “I accept the license terms and Privacy Statement” and click on “Next“.
Step 7: Here, you can either select the “Microsoft update” radio or you can just click “Next“.
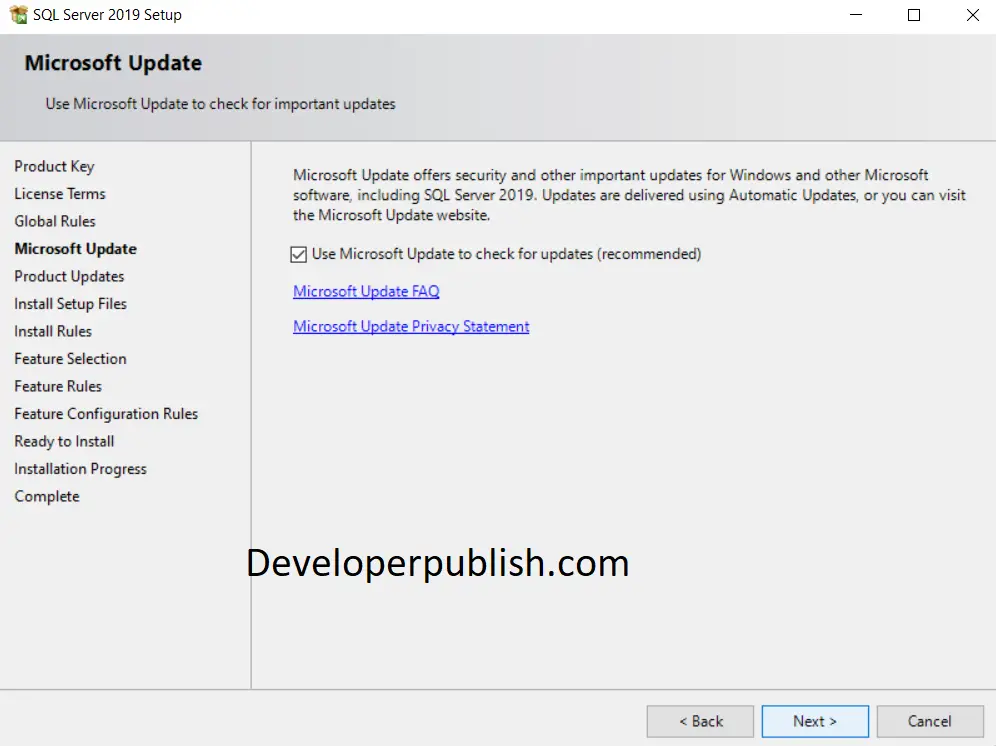
Step 8: Here , you might find a warning sign for “Windows Firewall” if your firewall is running, which reminds you to open appropriate ports post the installation process. Click “Next”.
Step 9: Select the features that are required and then click next.
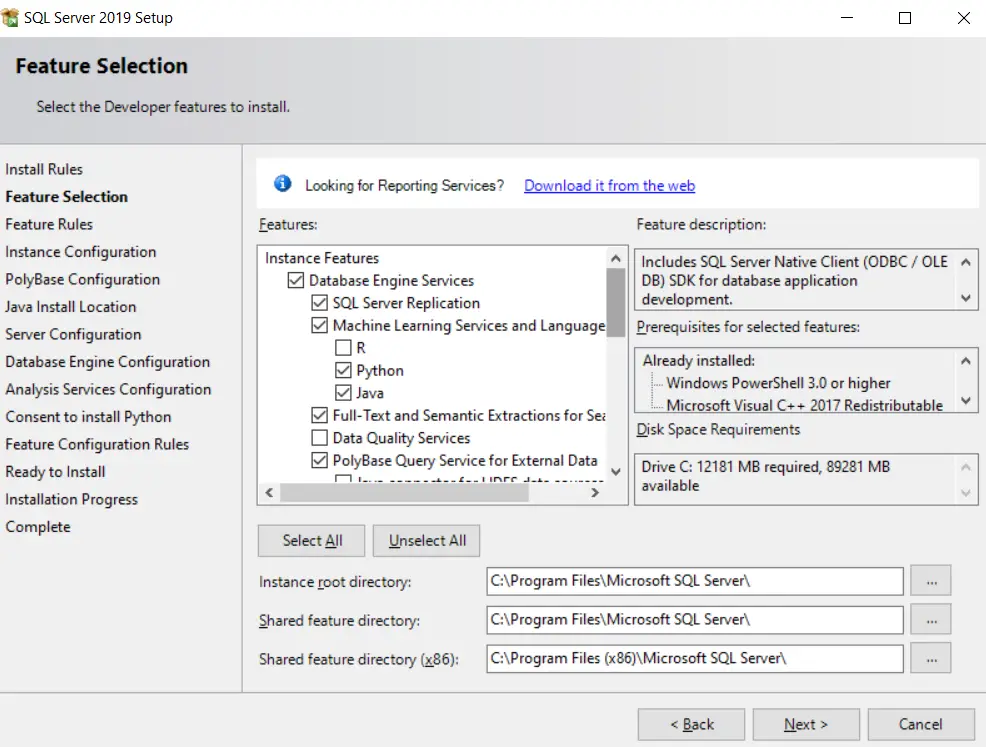
Step 10: Name your instance in the instance configuration box and click on “Next“.
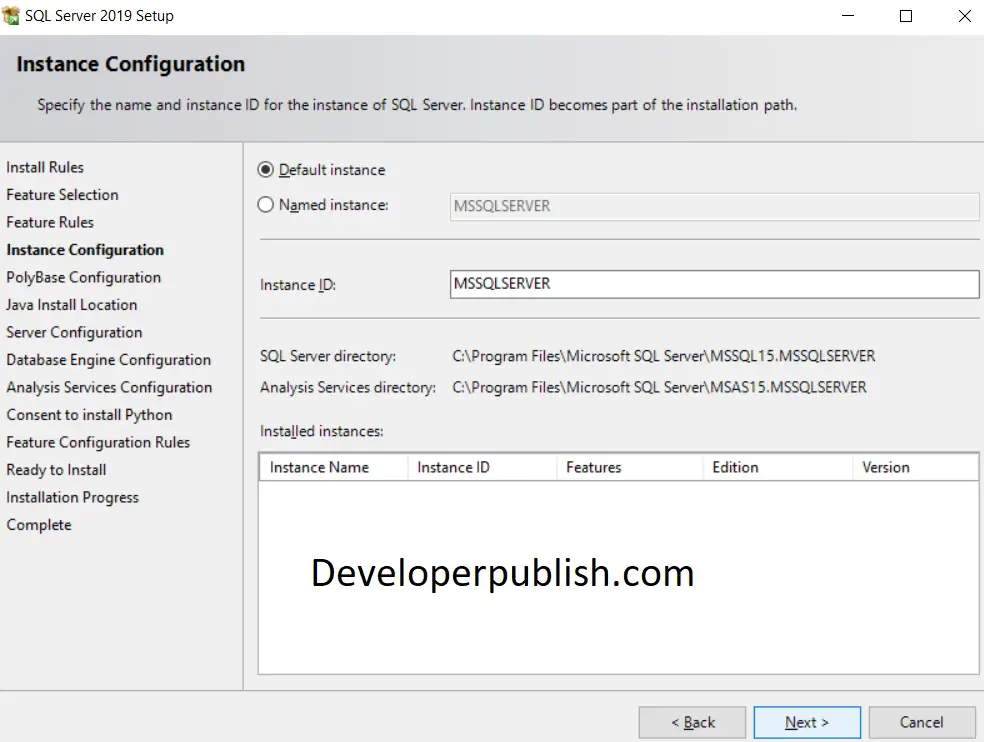
Step 11: Specify the service accounts and collation configuration here. Then, click “Next”.
Step 12: Certain configuration steps which are need to be taken care in this step, and these are the available options are: “Server configuration” ,“Data Directories”, “Memory“, “TempDB“, “MaxDOP“, and “FILESTREAM“. On completing your configurations, click on “Next”. Add an admin user in this step.
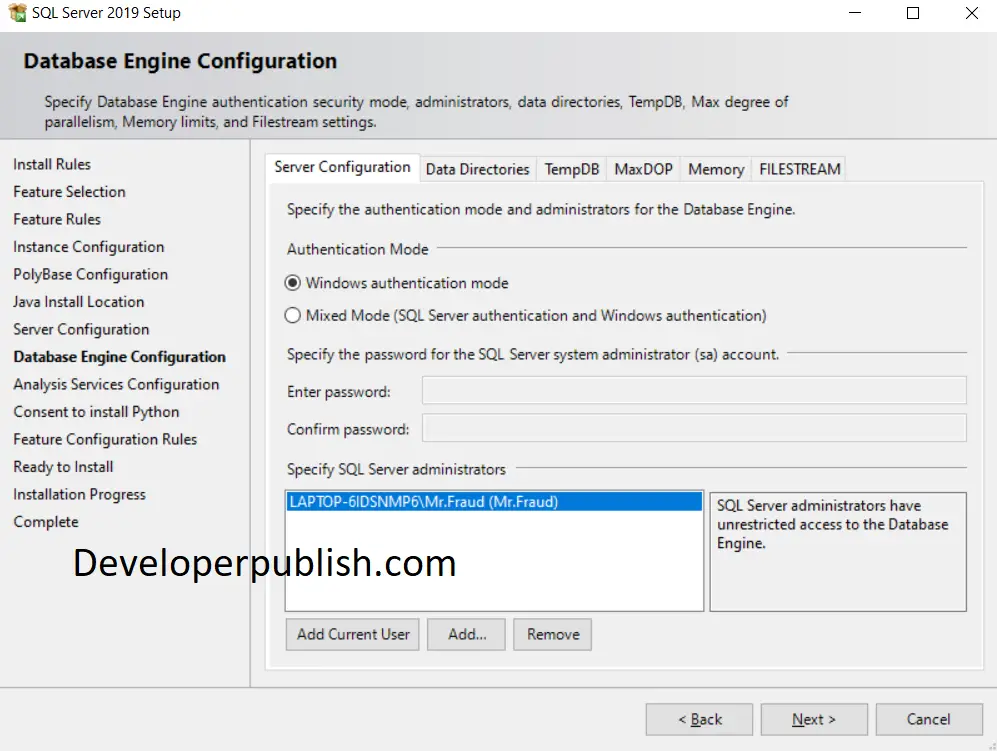
Step 13: Since I enabled analysis functionality, this is the step where I configure them. Choose an administrator and set the server mode that you prefer. Click on “Next“.
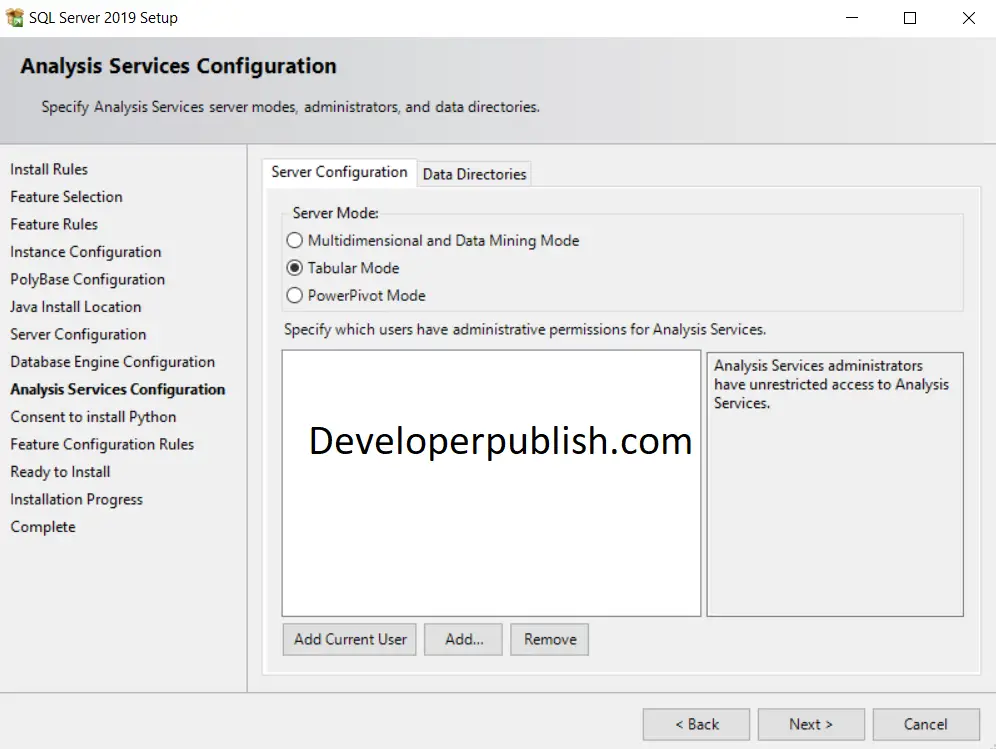
Step 14: On customizing a specific package in Step 9, you will be presented with a installation guide and settings tailored for that specific service. Accept the prompts and Click “Next” to proceed.
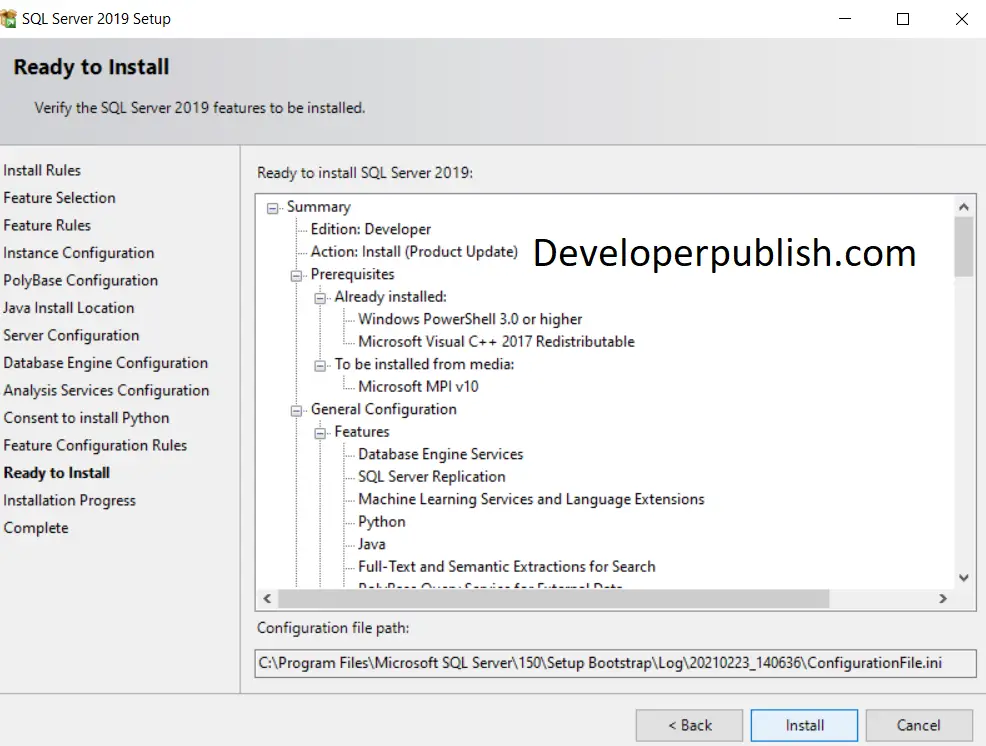
Step 15: Here, the tab shows the summary of the installation process, read the summary, then click on “Install“.
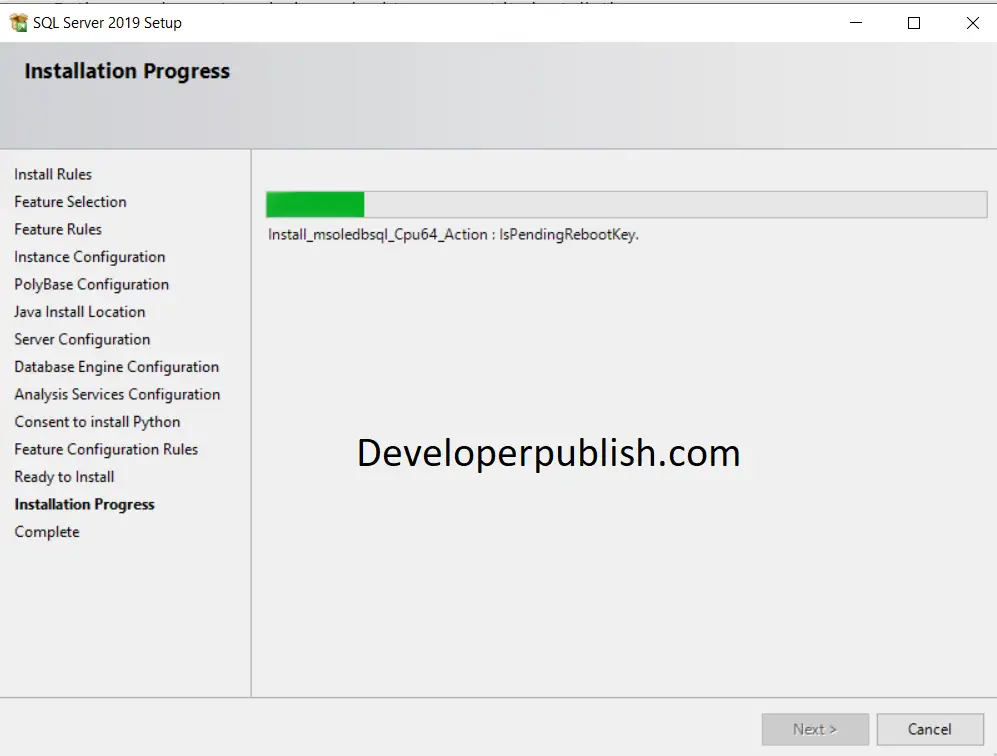
Step 16: After your installation is complete, click on the Close option.
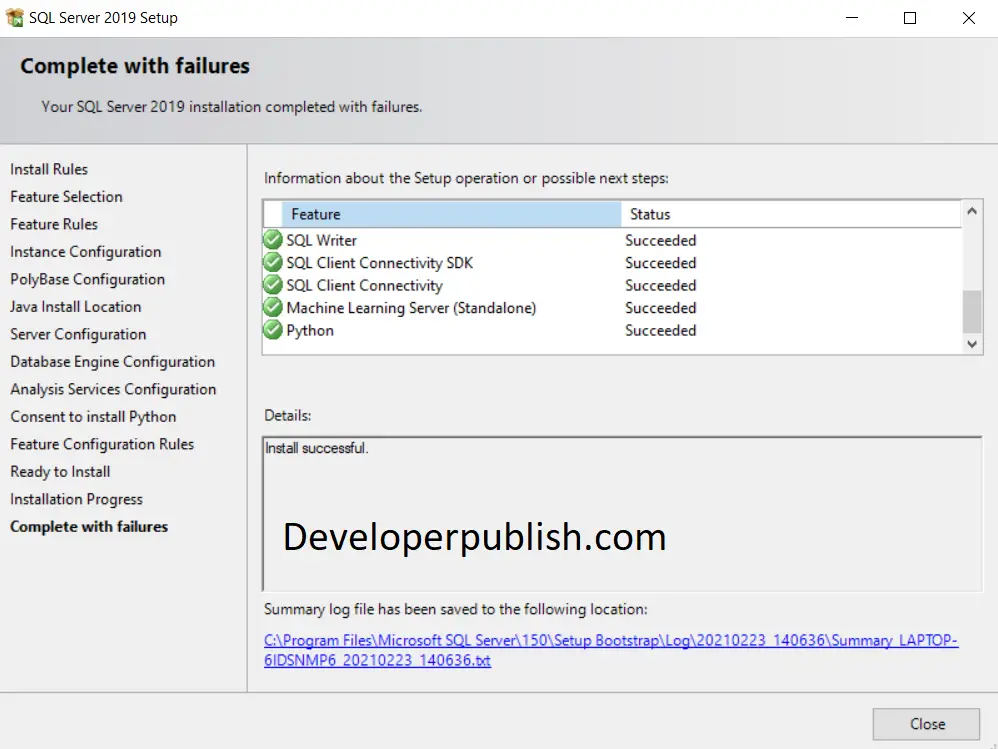
Finally, SQL SERVER 2019 Developer Edition is installed successfully.


Leave a Review